

A pictorial step-by-step of the bow-making process.
This quick look isn’t intended to replace the one-on-one learning of a real teacher or to cover all aspects of the art that come from years of practice. Expect both success and failure and don’t let either one dominate your learning. Education is a process, not an instance.

Splitting the seasoned Osage orange (Bois d’Arc) stave is shown above. Not visible here are short hickory wedges that are jammed into the growing crack to keep the stave from snapping shut. With some woods the staves will simply pop apart but it seems that, more often than not, the splitter must overcome the tenacity of the fibrous wood. Power sawing is definitely a possibility but requires more tools, more energy, and does not show the irregularities as well. Splitting puts you in touch with the soul of the wood.

Splitting can be a tough process. As can be seen in the photo above, I use an axe, froe, and hammer. I’m awful when it comes t remembering to stop and take photographs. After cleaning up and heading to the next phase, I had to re-stage this photo and forgot to put the wedges back in.

Some species of white woods debark quite easily and the bow can be made directly from the outer growth rings. Not so with Osage orange. The whiter new wood is visible in the stave above as the outer rings are worked down to a single thick growth ring. This process is easiest with a sharp draw knife working downward. Your weight can be used to pull through the bark. Gravity is your friend.
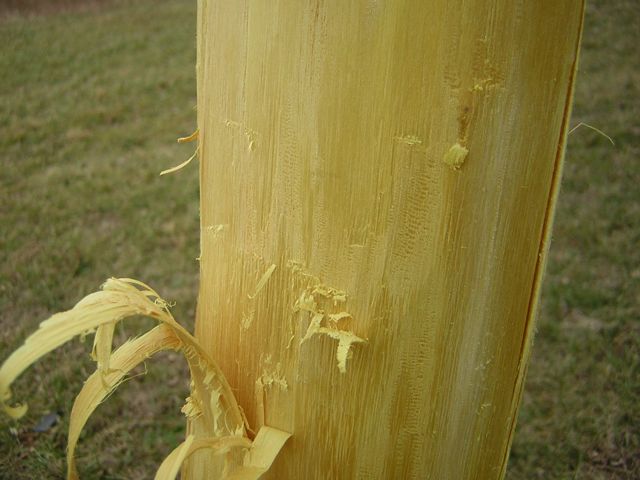
Above is a close-up of working down to a single growth ring. With Osage, there is a white, porous, vesicular layer between hard wood rings. This is just visible here as the white wood. It should be worked down to a single, dark and dense layer; preferably a thick, slow-growth year ring.

Not perfectly straight, but then it would hardly be Osage otherwise. I can work with this. It’s time to imagine a perfectly straight line down the back of the bow. This will be your starting point when laying it out.
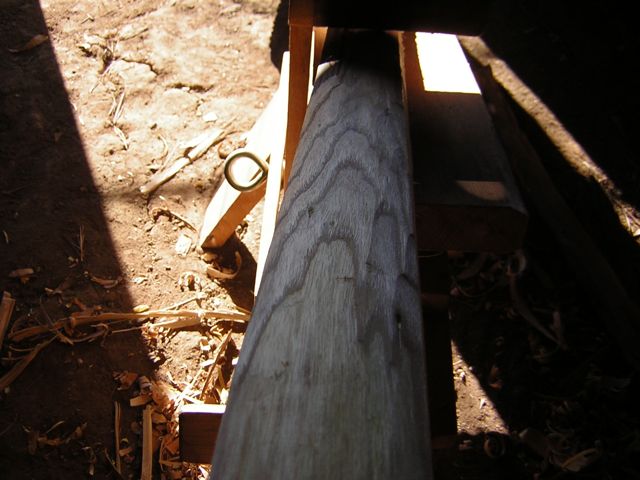
The growth rings are quite visible in this low, raking light. The smooth area nearest the viewer is down to the desired ring. This will be the “back” of the bow, meaning the side facing away from the shooter. Crossing the rings could cause the limb to “lift” and crack as the rings are stressed and pulled apart.

This is nearing its final shape. This is a different stave from the one shown above but gets the point across. I’ve documented the next part of the process elsewhere but will recap soon.
If you want to make a bow, dive in, don’t be afraid. Get a piece of wood and go to it.
