This is an excellent idea, especially for a skilled willow weaver.
If you need a bicycle wagon and can get a lightweight frame built, this seems to be a great, eye-catching option. I suggest watching the short videos on their site as well. I find their site somewhat difficult to navigate, but who am I to talk with all the clutter around here?
Here is a quick link to the video about the Weaving Wagon:
Click here for their full post about the Weaving Wagon and I suggest looking around. They have some neat stuff going on.
I think I would really love to have something like this.
Here is an update on the most recent possibles bag I have been working on:
The buffed leather reflects a lot more than I realized while photographing.
Sorry the photos aren’t so great but here is the description: Made from 7 oz (~3 mm) Hermann-Oak full-grain harness leather top dyed and antiqued Fiebings medium brown with a single patch pocket inside. It still needs a little edge detailing, waxing and buffing before it is truly done but that will happen later today.
The interior is natural but will darken with use and waxing.
Rustic, laced construction, unlined, 18th century “English-style” bag. The main pocket is 8 x 8 inches (1.5 litre in volume), while the overall body length is about 12 inches.
The edges are all burnished for a smooth and comfortable feel in hand. The thick oak-tanned will soften with time and use.
The eared shape is to keep the bag from riding around to the front or back of the torso during use. This leather will age nicely and will last longer than any of us with normal rugged use.
All sewing is double needle free-hand saddle stitch.
1 1/4″-wide strap extends to about 56″ to fit the most well-padded or heavily coated hunter. Going out for trade in the next couple days.
Here is a shop update on a couple of the many leatherworking projects undertaken lately. I decided to use up all the leather I have been storing and put it to good use. I have about 100 projects I’d like to make for myself but the Yule season is coming, gifts are expected in many quarters, and we have an invite to show our wares at a local crafts fair. So, without further fanfare…
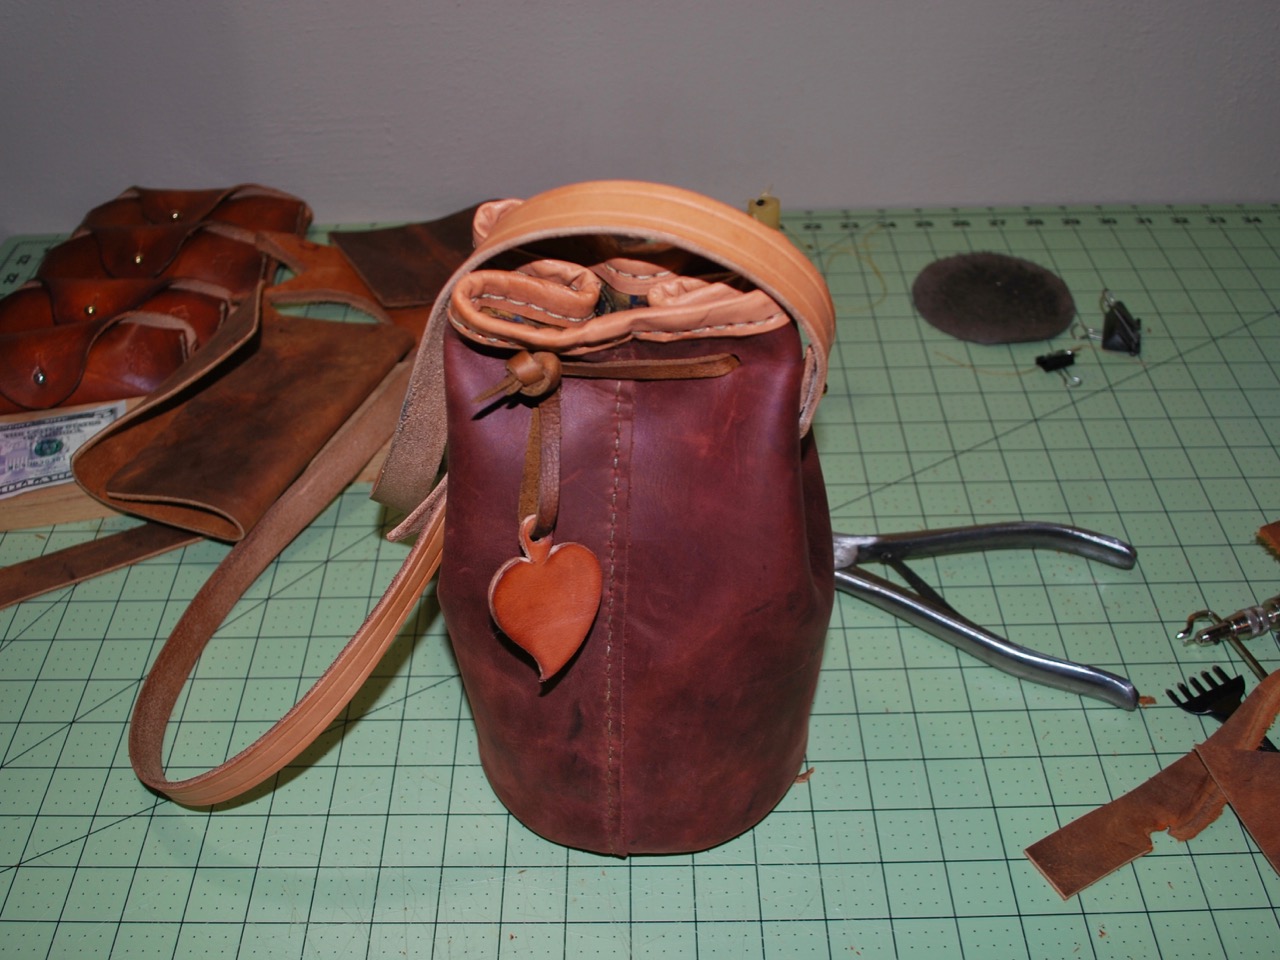
A waxed leather bucket-style purse. I hear these are the rage in certain groups now. I remember seeing many in this style back in the 1980s coming out of Morocco and Spain.And I decided to make a few bomb-proof wallets of various designs to go with it.
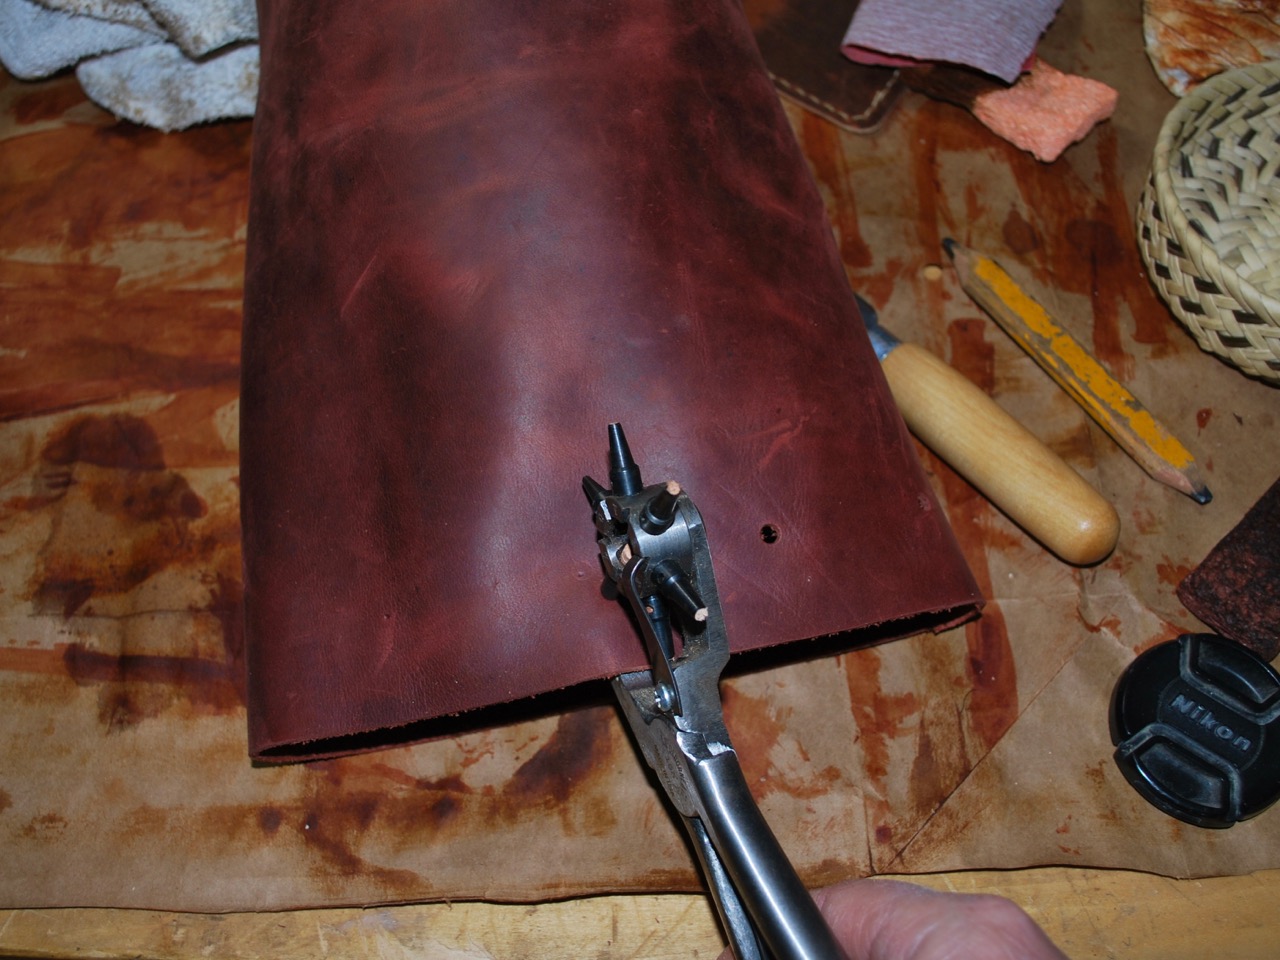
A surprising amount of work can go into even a relatively small project like this.
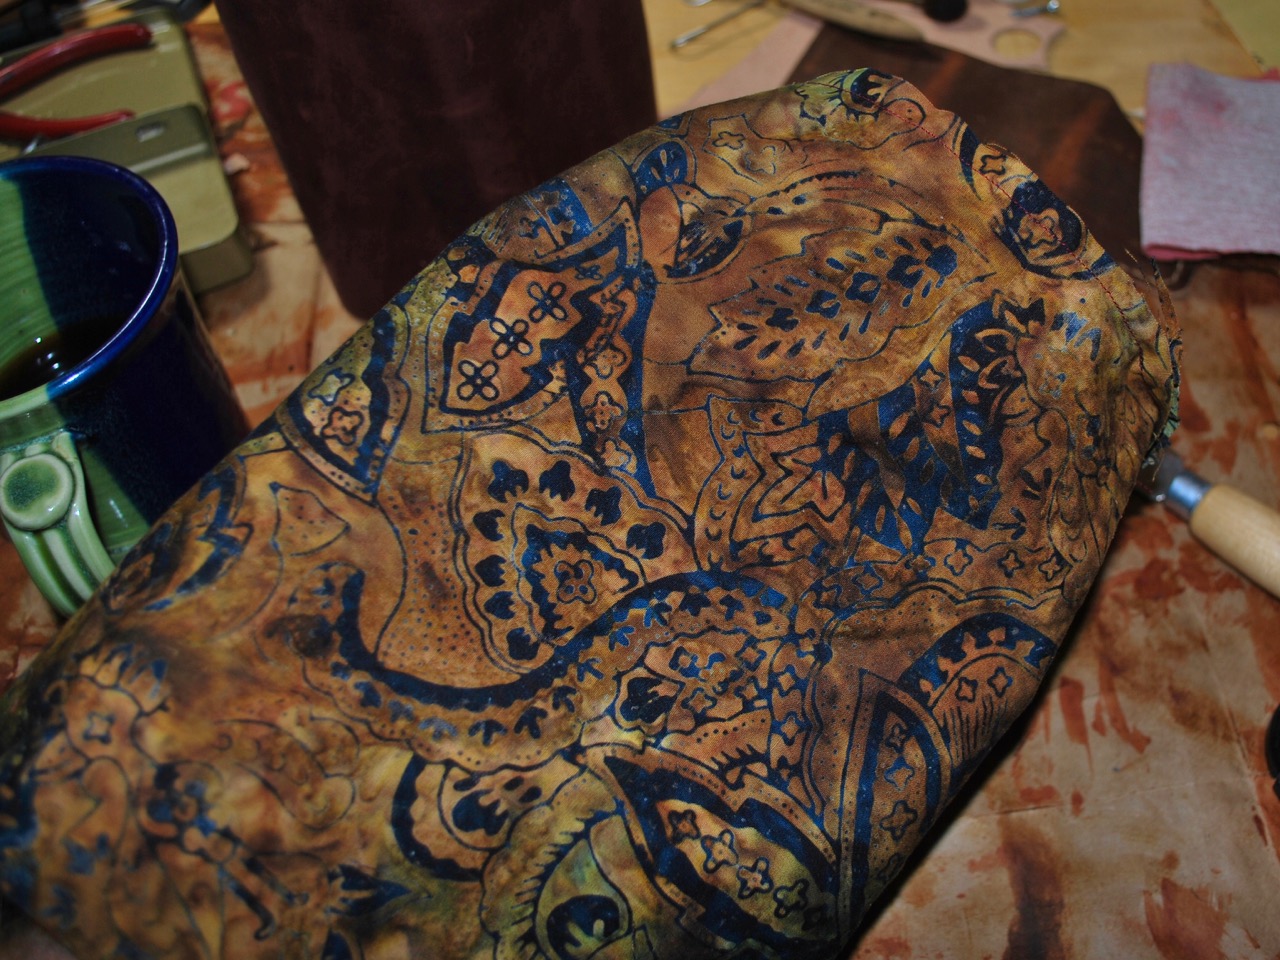
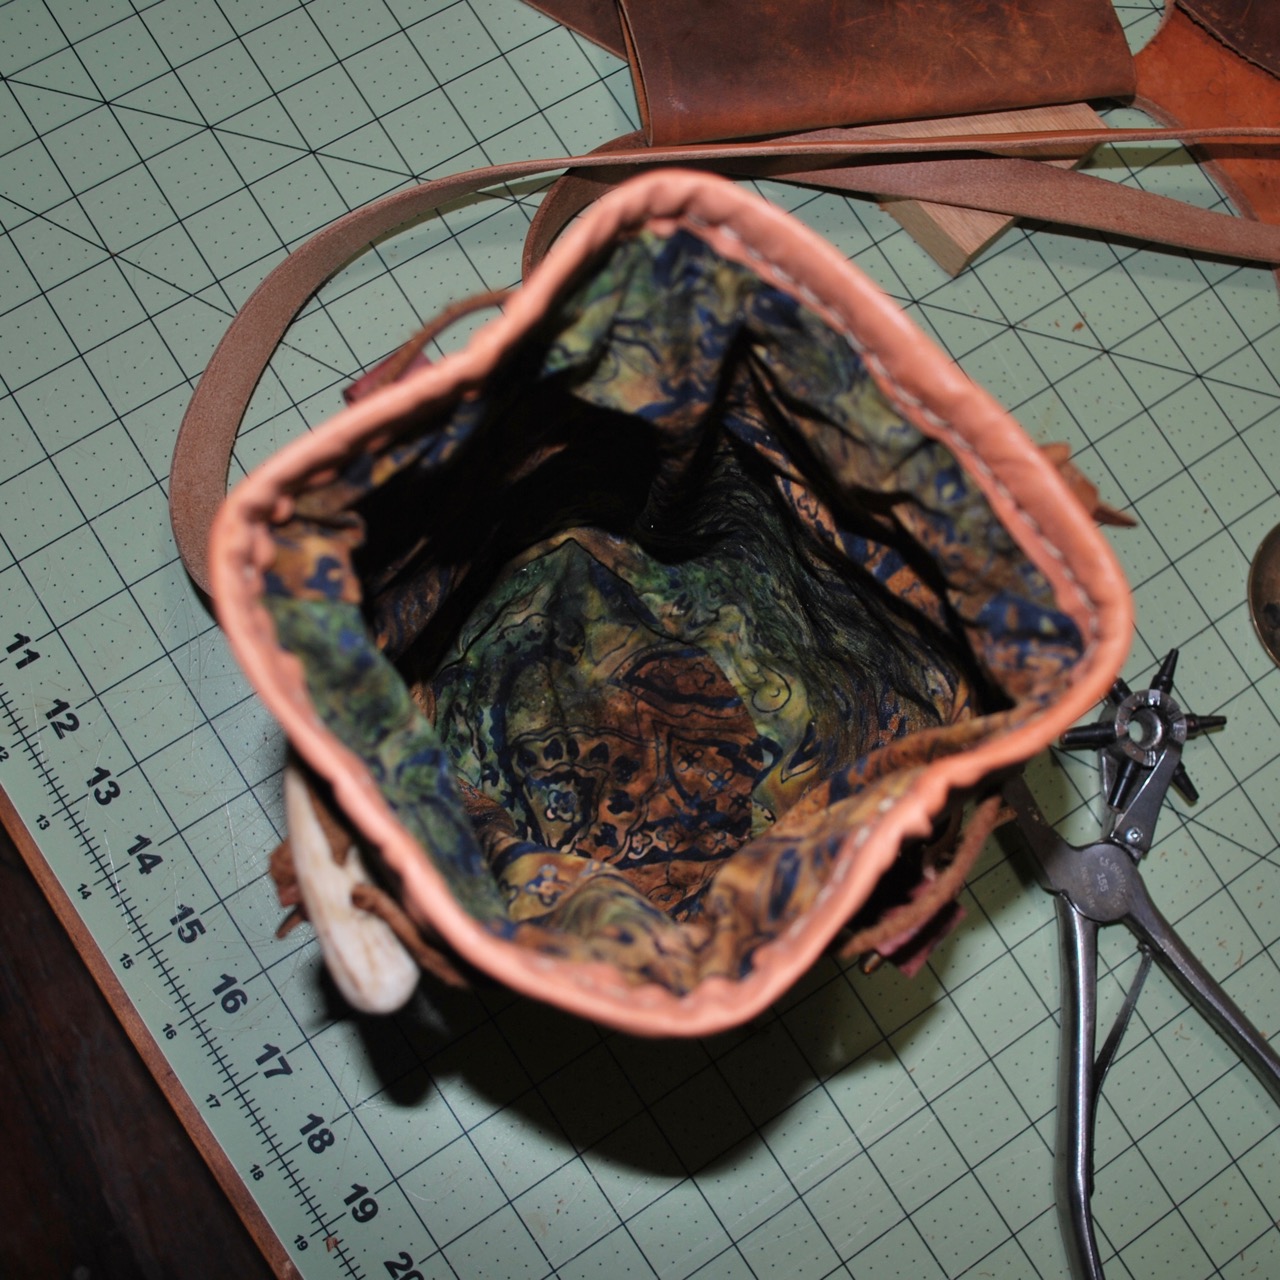
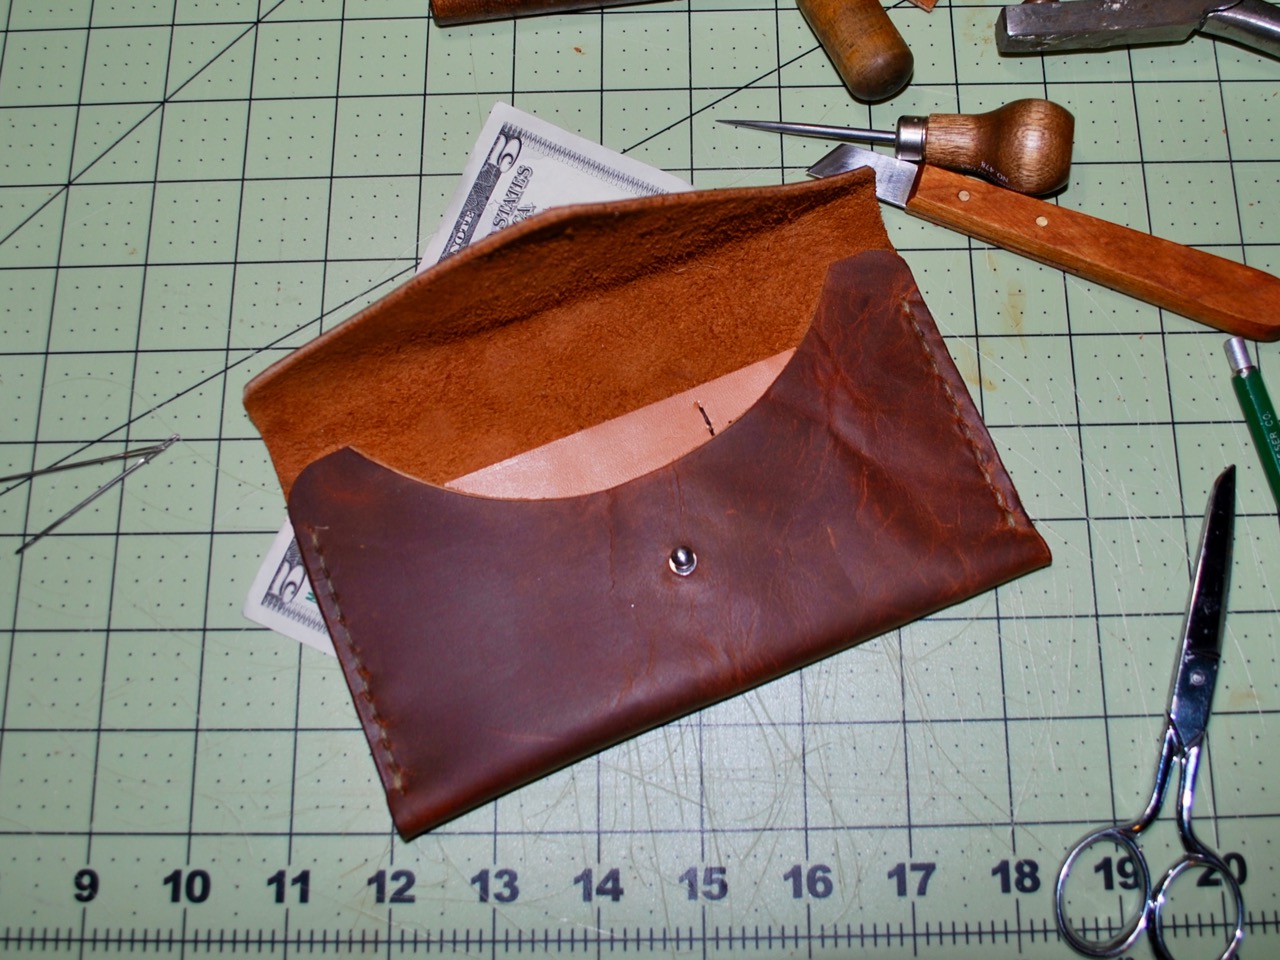
Temporarily gluing the welt to the bottom.Sizing the bottom to the side before sewing.The exposed welt after sewing and turning the bag.Marking and punching the holes. Tiresome for the hands.Choosing an appropriate lining; strong and beautiful.Drawstring added, holding the leather edge biding while sewing.The ‘ears’ for holding the shoulder strap sewn on, strap attached, and it is done!The antler toggle helps keep the bag secure and adds a bit of primitive flash.Difficult to photograph, but the liner gives the bag some class and a feeling of “completeness.”This is a new traveler’s wallet design. Three pockets, large capacity to hold money, cards, and passport.This one might be a bit too small to hold a check book but not a lot of us carry those these days.The button stud is a favorite closure of mine as it is simple and effective without the need for a large hole.After a quick buffing, the wax shines up nicely. This one should last a lifetime.
There are some new projects coming off the bench.Here’s a new minimalist traveler’s wallet. I’m still working through the design and construction process but like it so far. Simple three-pocket design; a vertical a horizontal card pocket as well as a large one for bills.
A bucket purse made from an oil-tanned leather. Welted and bound with thin harness-grade bark tanned leather with a heavier leather shoulder strap.
I try to put some sort of bling into projects. This is a historic heart design was cut freehand and balances the antler toggle on the other side.
Fully lined with a batik print my daughter bought for a skirt.
In Britain and Ireland, the Romany Gypsys and the Traveller community are often associated with low-skilled work such as scrap dealers, horse traders, musical entertainers, or more nefarious activities outside the societal norms. However, there were plenty of skilled craftsmen and craftswomen providing goods and services to people around the country.
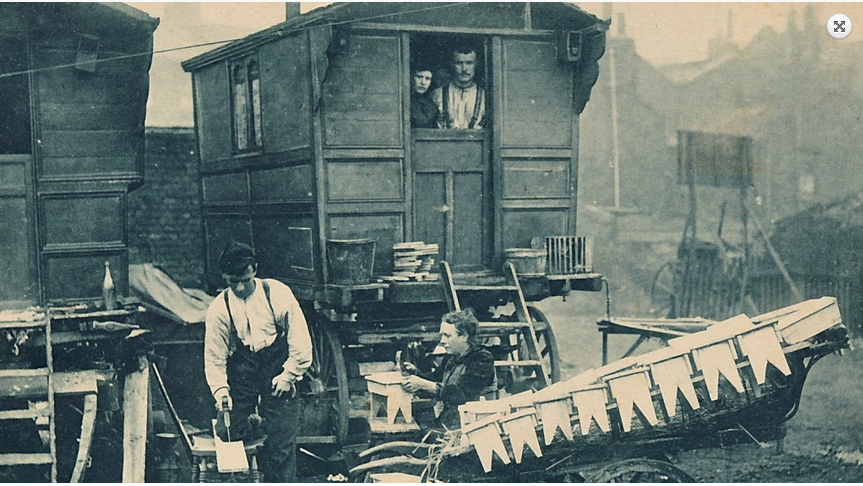
Below is an image of a couple, working together making footstools outside their vardo while another couple looks on from the comfort of their wagon.
Gypsy carpenters making small and large stools for market. From an early 20th century postcard. Source: Romany and Traveller Family History Society.
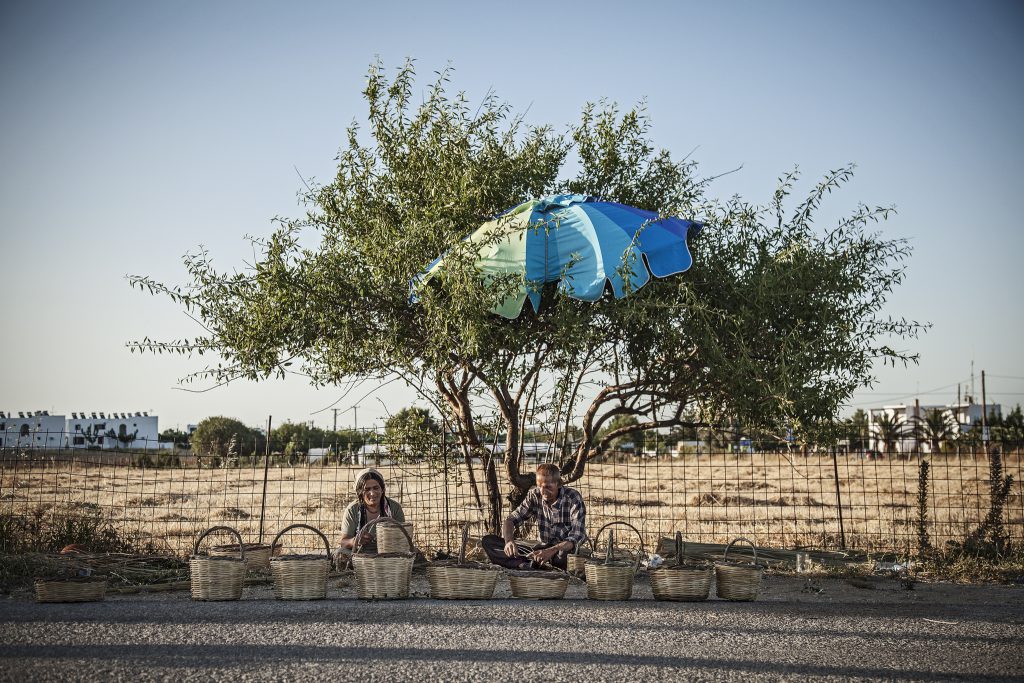
Other Gypsy families were blacksmiths, basket weavers, or similar occupations that could be taken on the road, required little stock or overhead, and could be performed independently or with a minimum of family help.
Nomads are not loners. In fact, humans do not do well alone in any setting. We have always been communal people, depending upon one another for help and support. Many hands make light work and it is essential to be near others you can depend on.
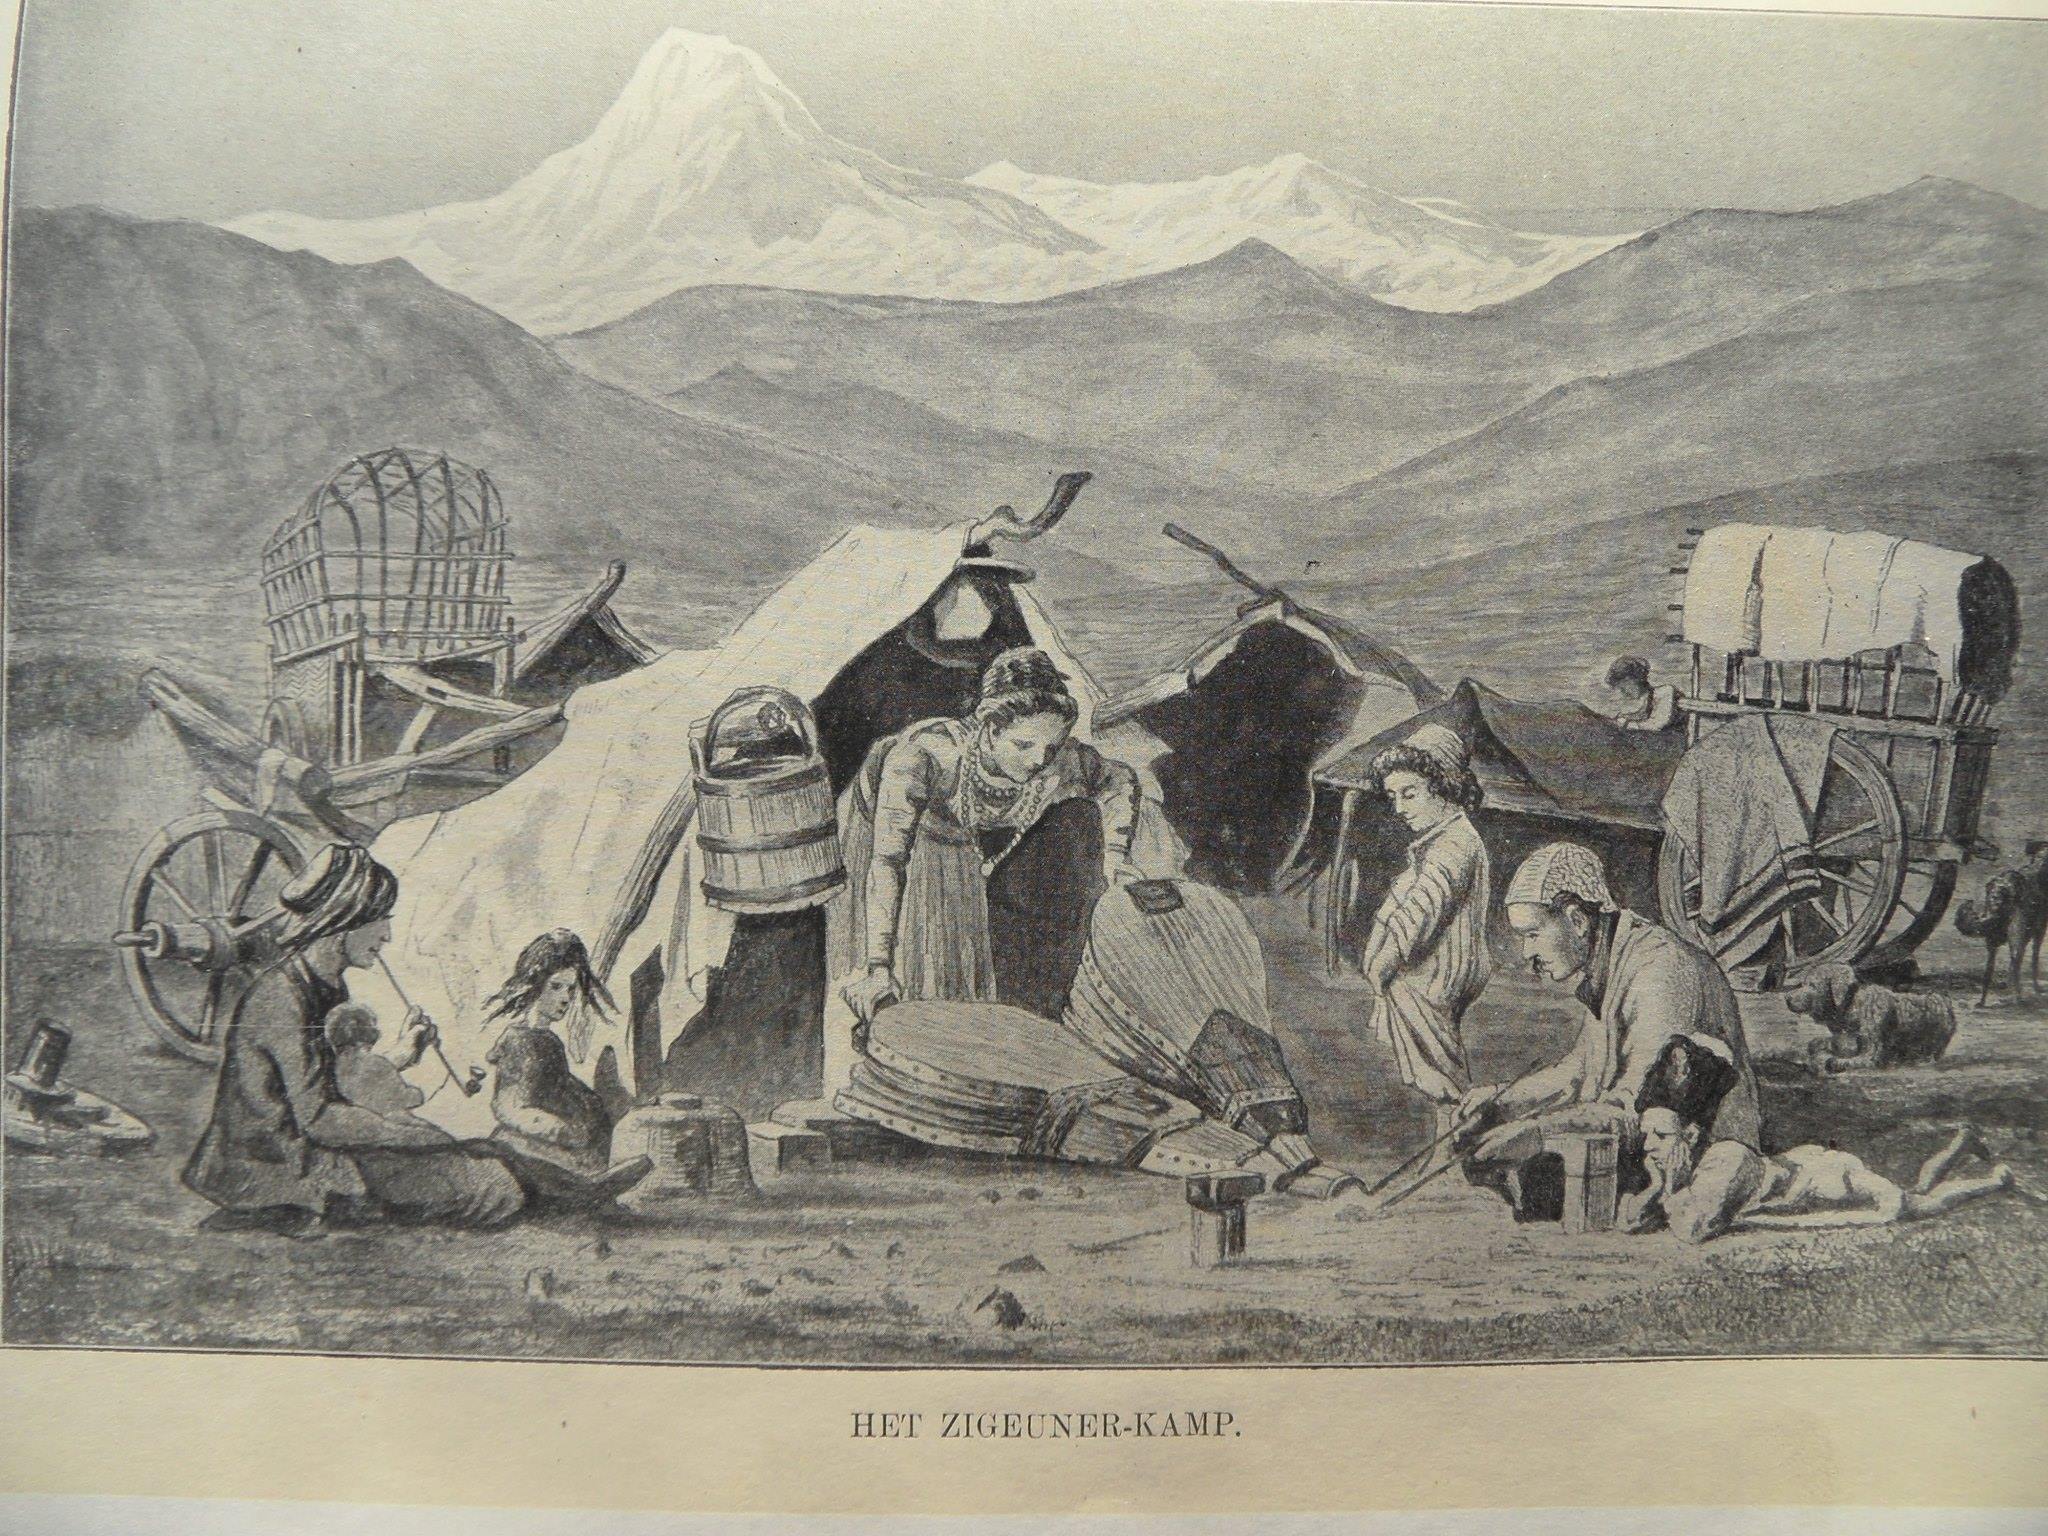
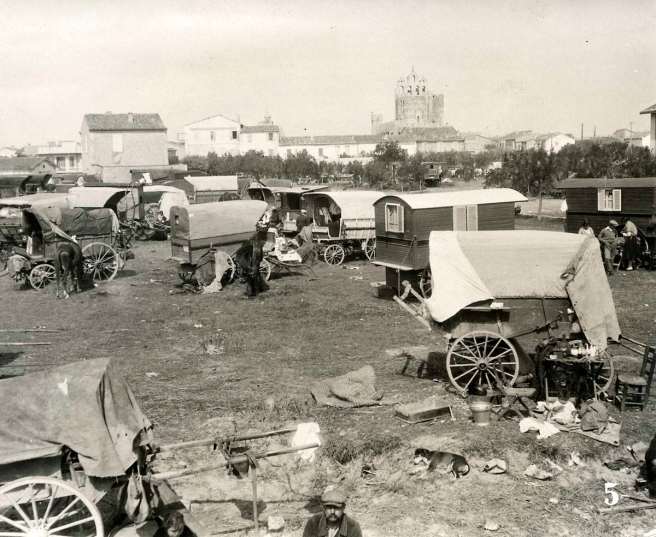
I have been collecting images of Traveller communities for many years and I really enjoy the gritty, homespun feel of the old encampments with peeling paint and makeshift tarpaulin shelters. I’m sure this image was not welcome in settled communities around Europe and the shiftless nature of these wanderers led to many suspicions, both unfounded and real.
These are not the rolling home of the wealthy showmen of idle rich but the best compromise for families destined to live on the road.
The vardos bear many differences but within fairly tight physical contraints of size, weight, needs, and technology. It’s important to remember as well that historic travellers of most varieties didn’t design or build their own accommodations but often modified or improved that which they acquired.
Even though they show few relevant details of the caravans themselves these are some of my favorite images; they give us a glimpse of the people who called them home.
Although Traveller families lived (and live) on the margins of “normal” society they were (are) more like their neighbors than not.
I hope you enjoy the photos as we head into the season of Thanksgiving here in North America and give thanks for what we have.
We are at our best and worst in groups, whether that is family or friends. Humans are social animals.
I have needed a stitching pony for a long time now…
The two-hour stitching pony.
Like so many other undone projects, this one has been stirring around in my head for several years. Since my efforts have been so focused on sewing leather lately, the time had come for a new and useful tool in the shop. I’ve looked at plenty stitching horses and ponies over the years and even used a few n person so I understood the basics of what I needed and began eyeing up the scrap pile for obvious parts.
Not absolutely necessary, but it’s nice to be able to open the jaws fully.
I decided to keep the project simple, small, and portable while making as few purchases as possible. I was able to gather up the lumber, leather, hinge, screws, glue, and tacks in just a few minutes and get to work. Power tools make jobs like this easy so the boards were quickly ripped, cut, and clamped up to dry overnight. A little cleanup in the morning yielded a working model suggesting a few minor changes. The opening of the throat was widened by 1/2″and I decided a longer bolt would be useful for fat projects.
This meant a trip to the actual hardware store setting the project bill up to $1.07 with a total work time of about two hours. We’re good to go…
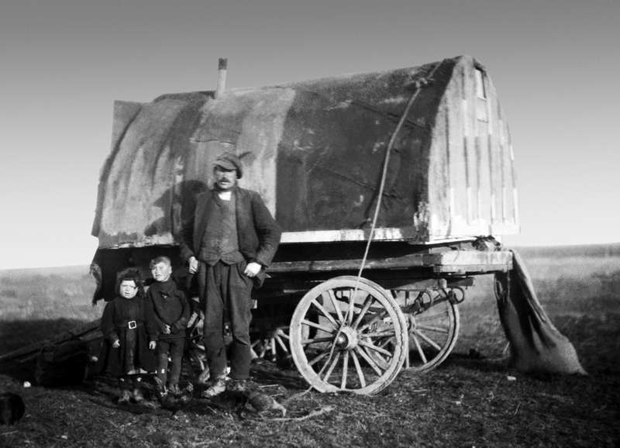
Here’s a wonderful old photograph of a “Tinker Family in Scotland.” It is believed to be taken sometime in the 1920s but the location was not identified. The wagon could just about pass for a western American sheep camp. Even thought they had the wealth to own a wagon it was still a pretty tough life, often unwanted in non-traveller (sic) communities, these people have been marginalized for centuries.
I found this one while perusing the Johnston Collection on the Document Scotland webpage. Have a look if you are interested in great images of a beautiful country.
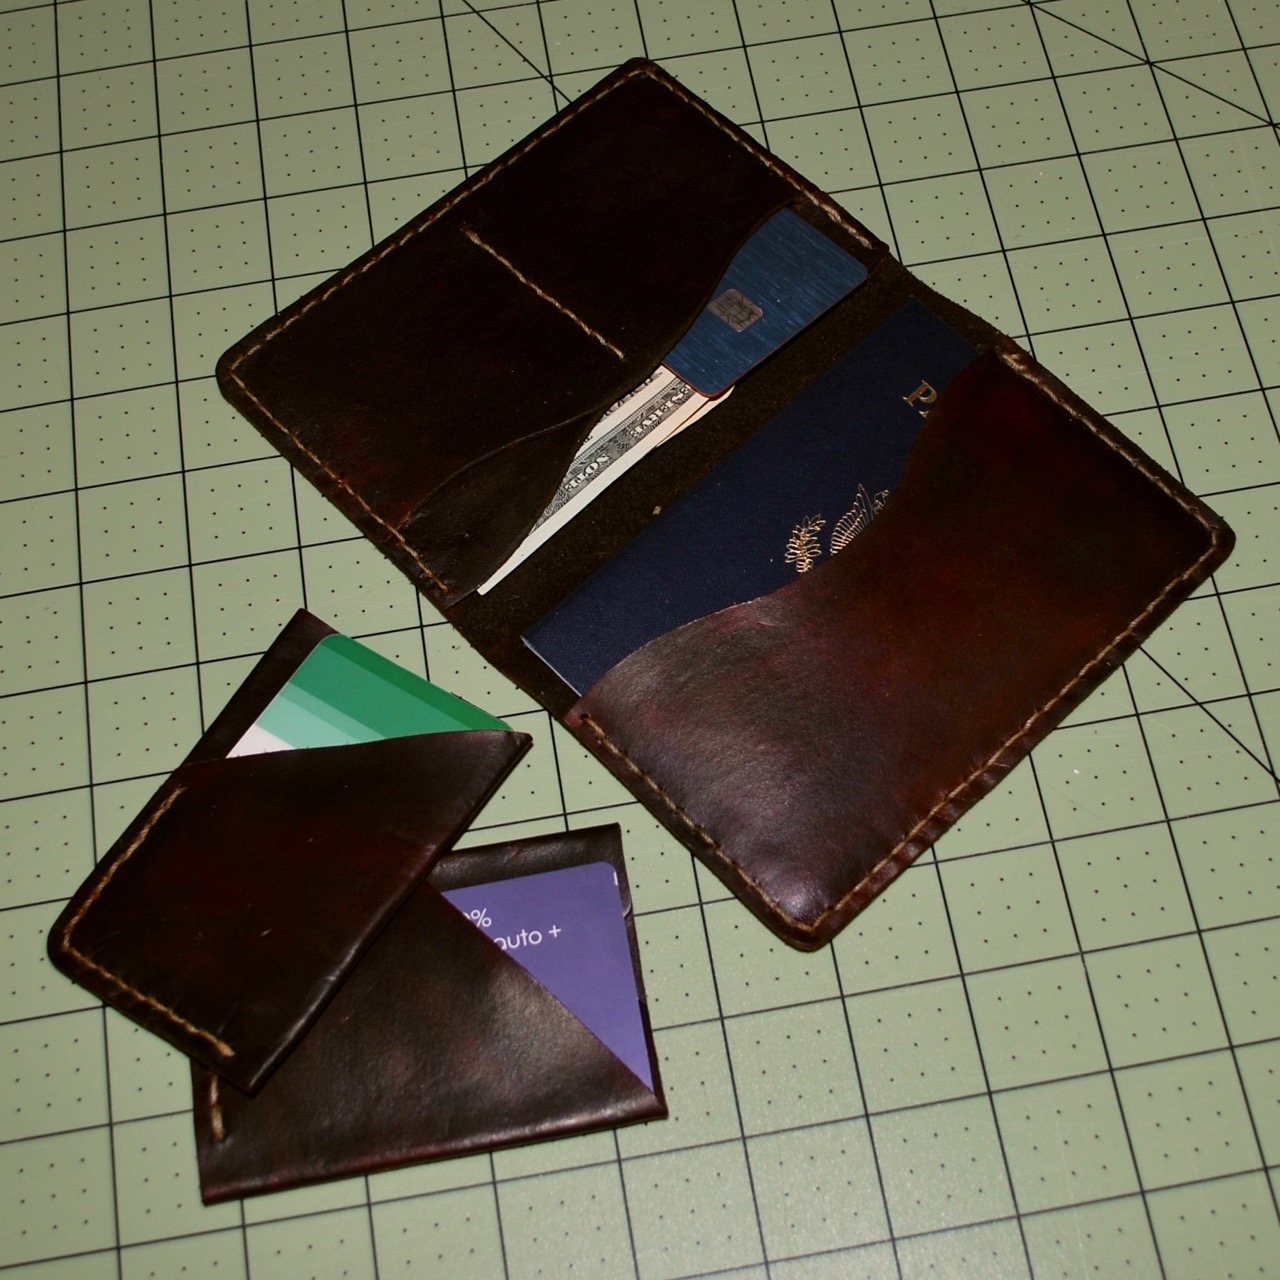
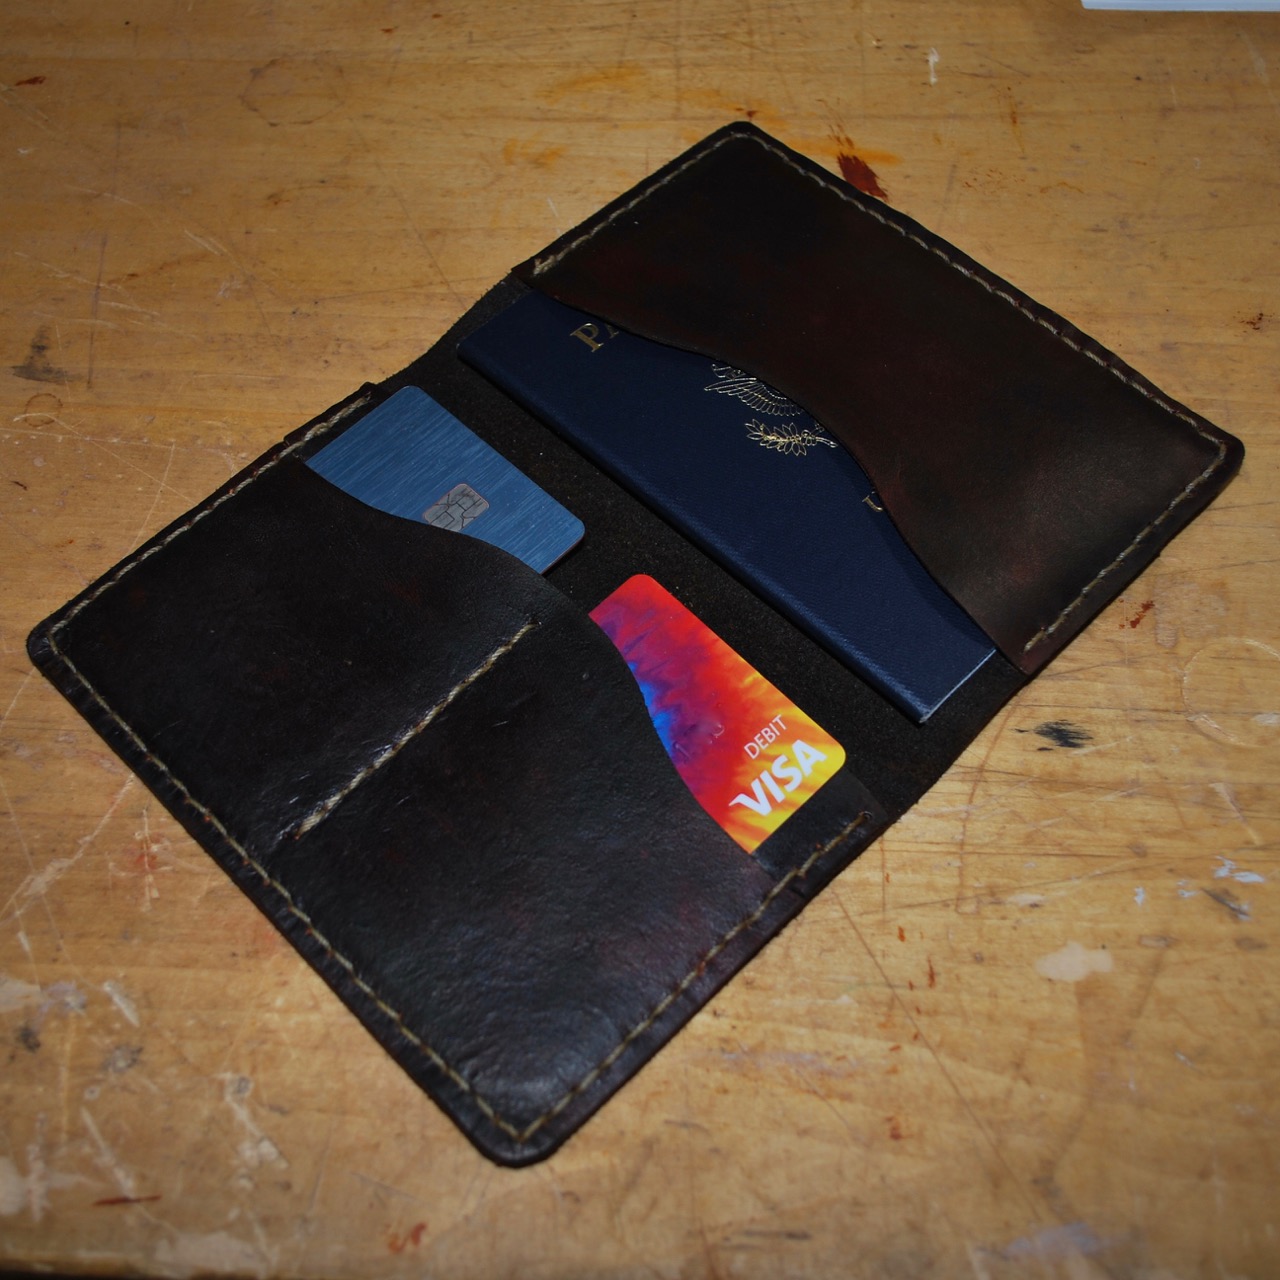
Maybe this is a little mundane but I’ve been using the cold and snowy weather as an excuse to do some cutting and sewing of leather. I completed a passport wallet and finished up another minimalist wallet design. I got the pattern for the larger travel wallet from Tony, the owner/designer at DieselpunkRo. He sells finished goods, patterns, and gives a lot of good advice for makers working from his patterns on his Facebook group page.
My three newest creations.
If you follow his Facebook group, he will occasionally share free, downloadable patterns. I have two patterns from him so far and they are both great.
The large wallet is a handy, four pocket affair that snugly holds a standard passport, cards, and cash.
This is another good starter project that easily yields a great product.
We were acting like shut-ins today because of a surprise snow storm so I’ve been able to jump to another leather-related project. I’ll share some photos soon.
I try to live by the creed of learning and making something good every day.
The Minimalist Wallet
As we have been pondering the holiday season it seemed a good time to get a jump on some leatherworking projects I’ve had in mind the past few months. This morning, before getting to work on other chores, I decided to take a little time and work out a slightly modified Minimalist Wallet. If you have followed this blog for long, you may have seen a couple earlier wallet projects we shared HERE and HERE. This isn’t a complicated project and might be a good one to start with if you trying your hand at leatherworking for the first time.
The All-Encompassing Symbol of the Age
Making the Pattern –
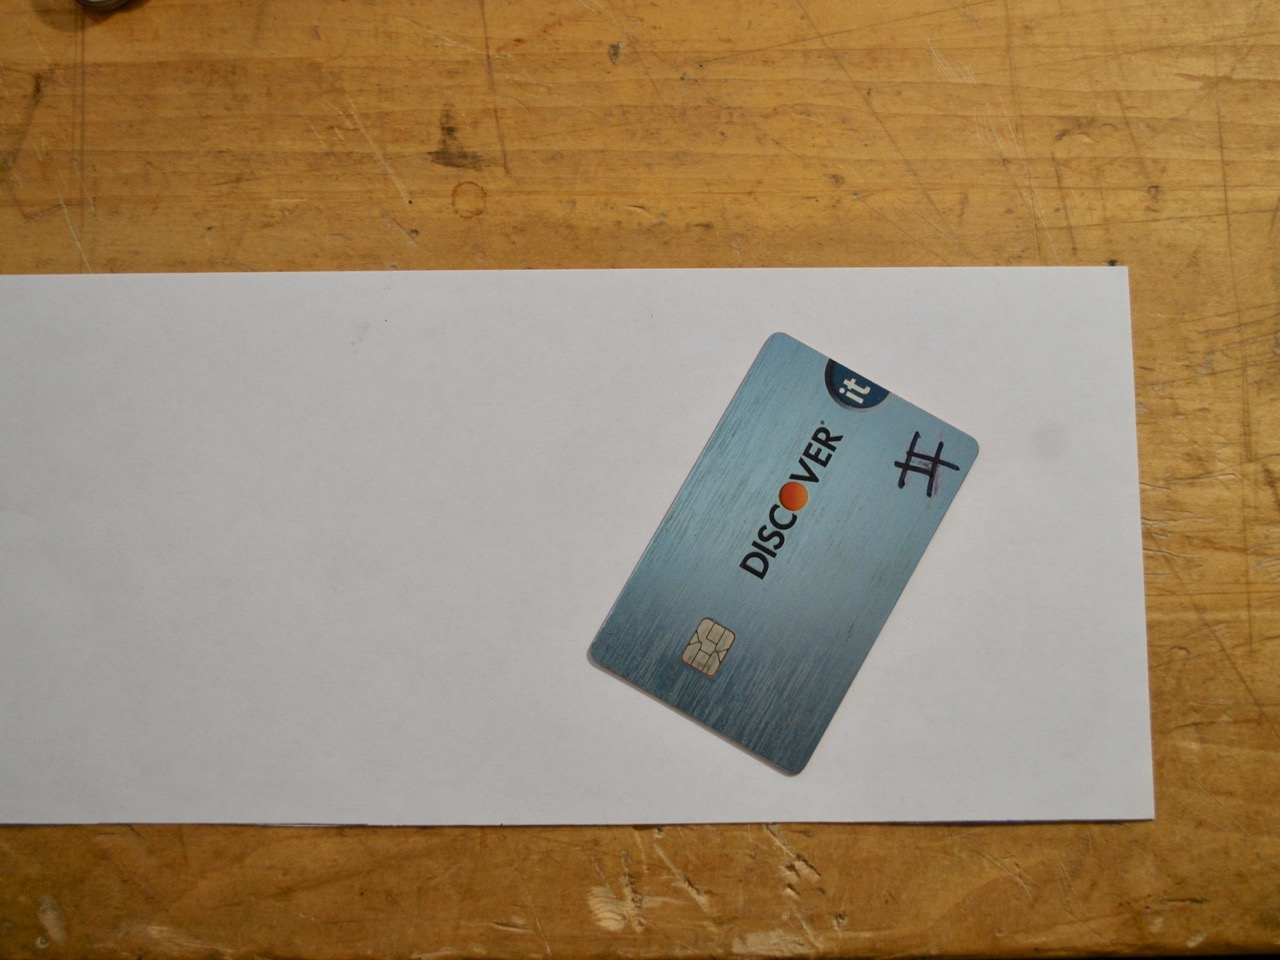
It would be pretty optimistic to just dive in and start cutting out a wallet without knowing what needs to fit. I used a debit card for scale as there will inevitably be a couple of these in just about any modern traveler’s pocket. I didn’t put a lot of time into the pattern as I have made a similar style before and knew the basics of what I wanted; essentially two pockets and very little sewing.
A Bit of Sloppy Origami to Test the Dimensions
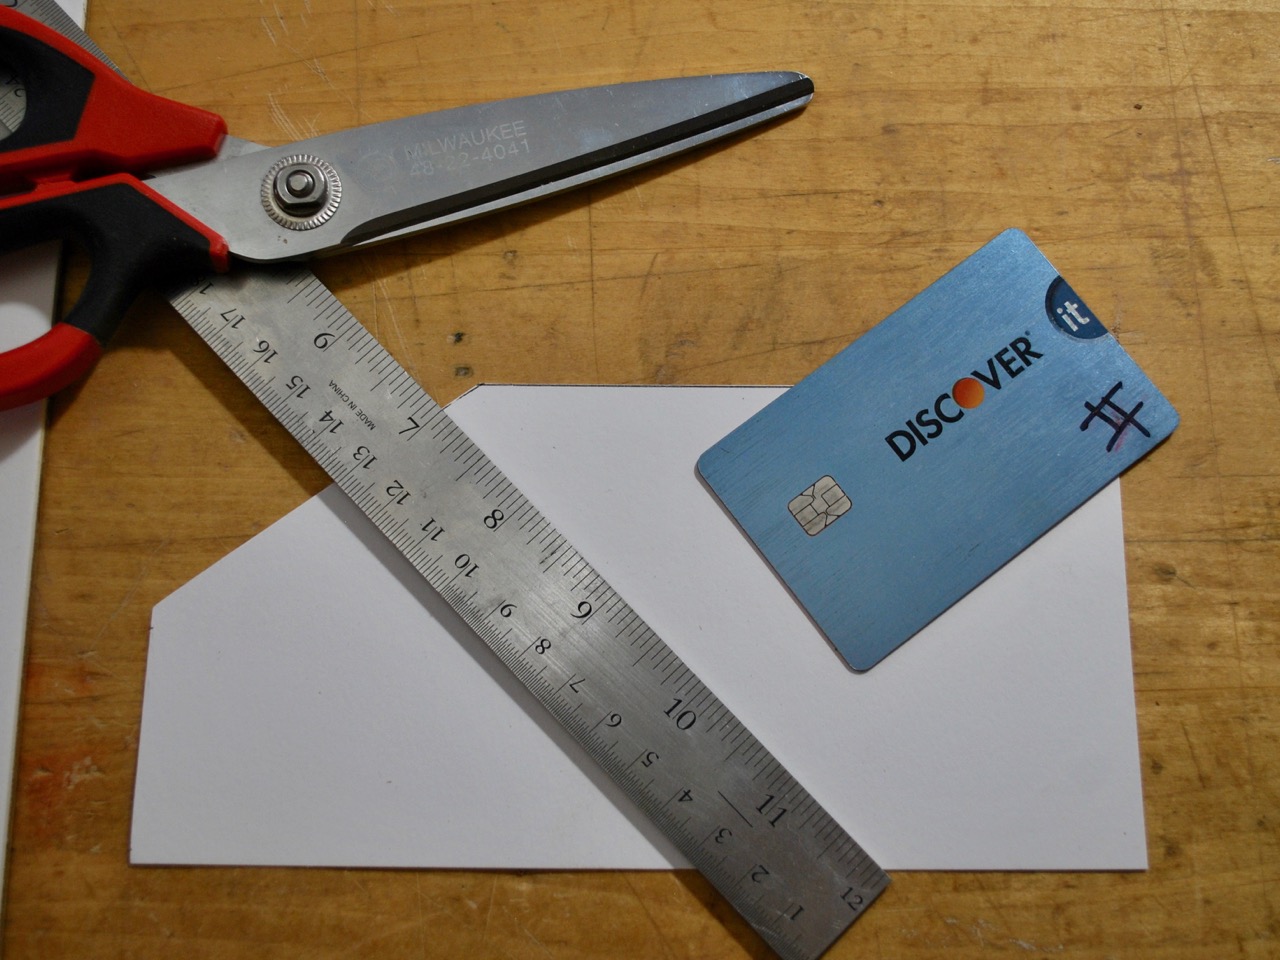
To create two pockets, there needs to be three layers; two on the outside and one to divide. To make the cards more accessible, the outer pocket will be a “reveal” and I chose to do this the simplest way possible, by a diagonal straight line.
Test Fitting and Trimming the Draft Pattern
I ended up tightening the width and lengthening the entirety just a bit from my original estimates for a better fit. The difficult part is over.
The Draft is Transferred to Stiff Bristol Board for Multiple Uses
After the pattern is transferred to the card stock, it can be used many times without fuss. It is a good idea to label your patterns before storage as they begin to look alike when you amass a large folder of them (was this a pocket, part of a shoe, some sort of handle cover?).
Getting Down to Business –
The next step is to cut out the pattern on appropriate leather. I’m using Hermann Oak 1.5 mm tooling side that was leftover from an earlier project. Neatness in cutting is very important as it will affect the look of the entire piece if the cuts are even a millimeter or two off or wavering in any way. Since most people seem to prefer dark leathers for this sort of thing I chose to dye it Medium Brown with Fiebings Leather Dye.
Wet with Dye
After the dye sets you’re free to move on. I started by marking and awling the stitching holes at about a 5 mm increment. I will admit, this was not my straightest set of stitching lines ever.
Punching the Holes
I almost always use a double needle saddle stitch when sewing leather as it is the best and strongest choice in most cases. I chose a contrasting thread to give it a fine finished look.
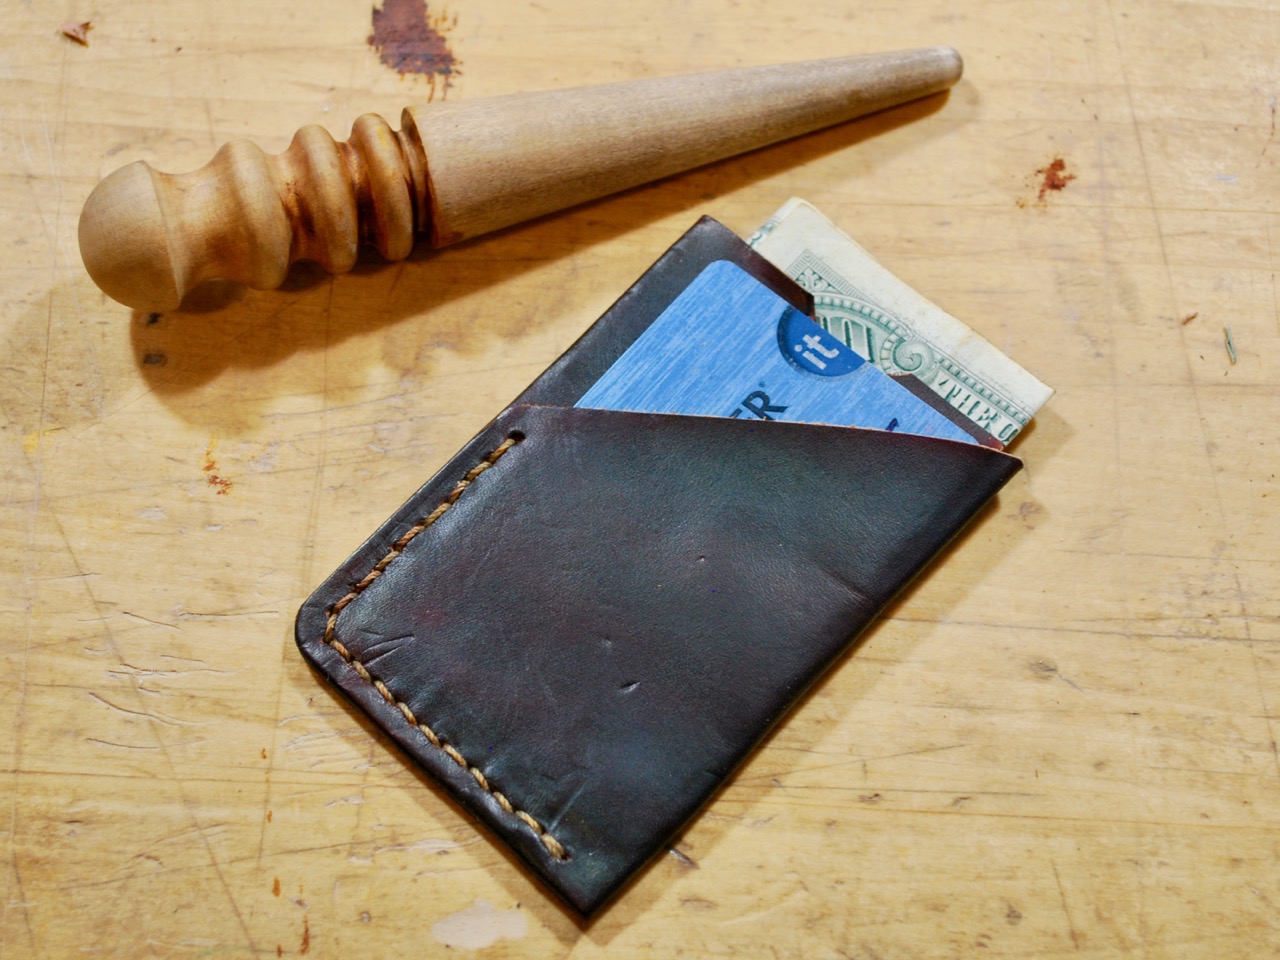
Finishing Up
And finally, the edges were dyed again and burnished to create a smooth, finished look. Overall, I’m quite satisfied with the outcome. This one will be the prototype to work from and I’ll be able to take a little more care now that I have learned from this one. If I ever get around to making enough to sell, I’ll put them on my Etsy Store.
To view this project on Instructables, click the link here: Minimalist Wallet
I have a slightly more complex project laid out for later. If I take the time to document it, I’ll post it up here.
 If you need a bicycle wagon and can get a lightweight frame built, this seems to be a great, eye-catching option. I suggest watching the short videos on their site as well. I find their site somewhat difficult to navigate, but who am I to talk with all the clutter around here?
 I think I would really love to have something like this.