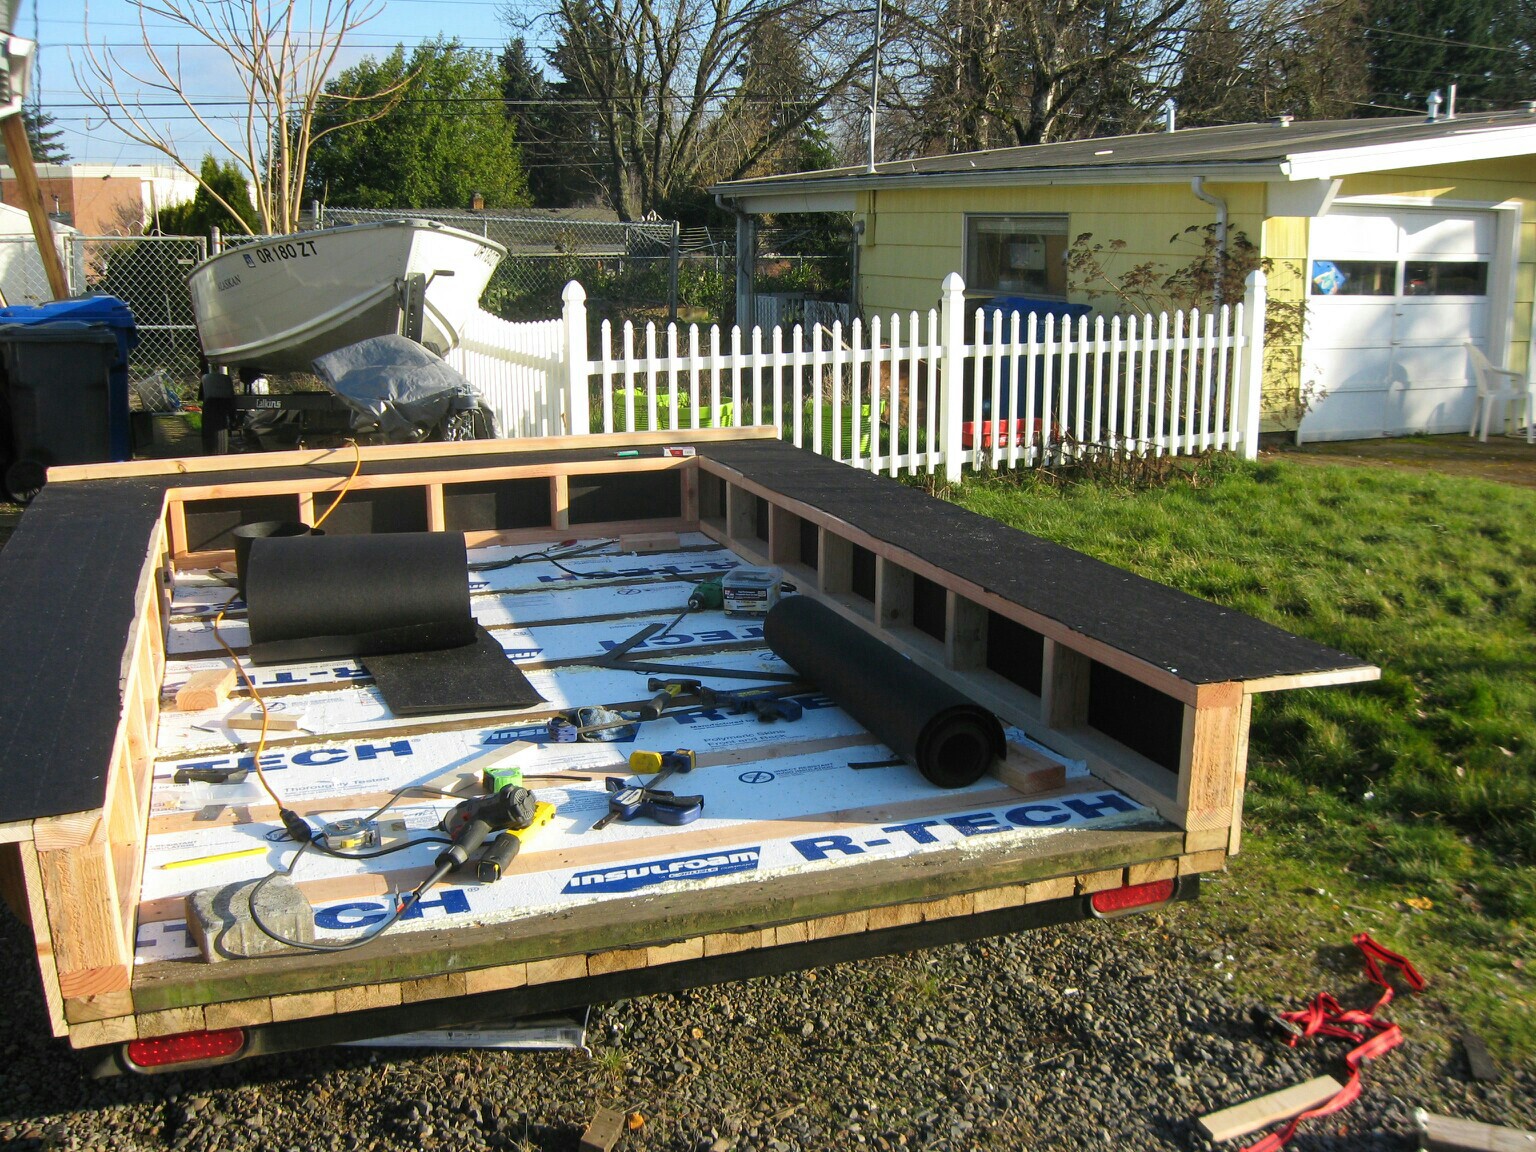
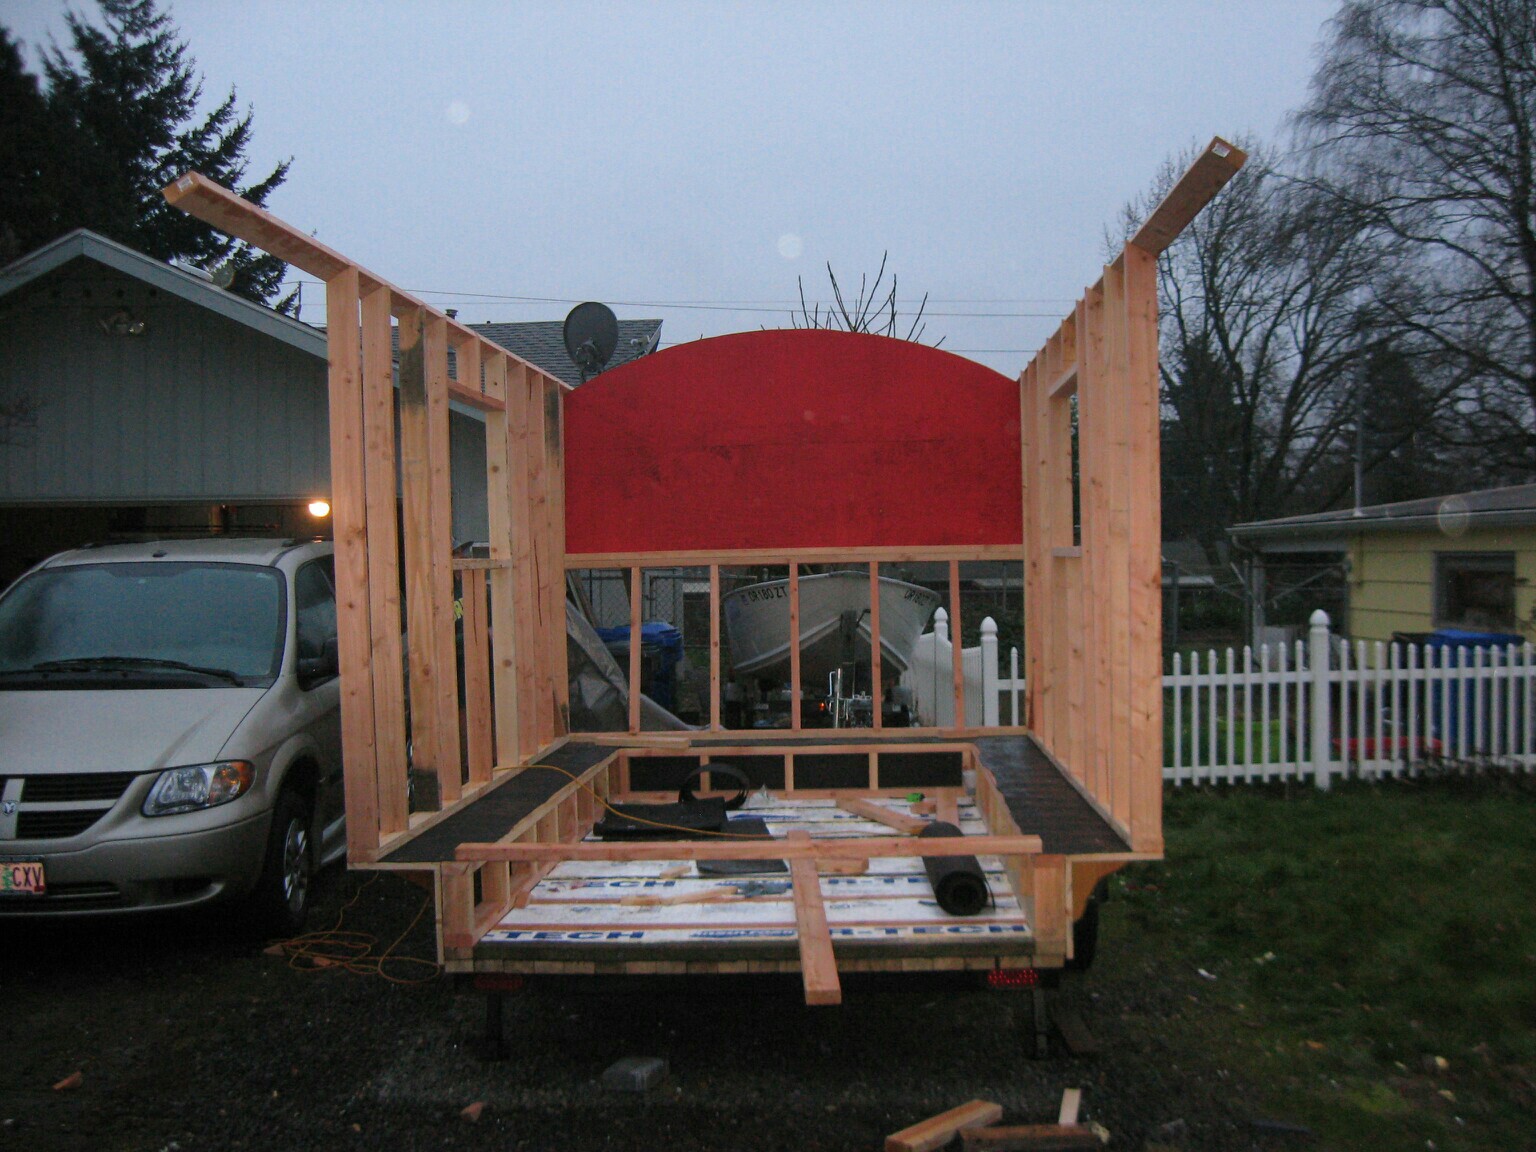
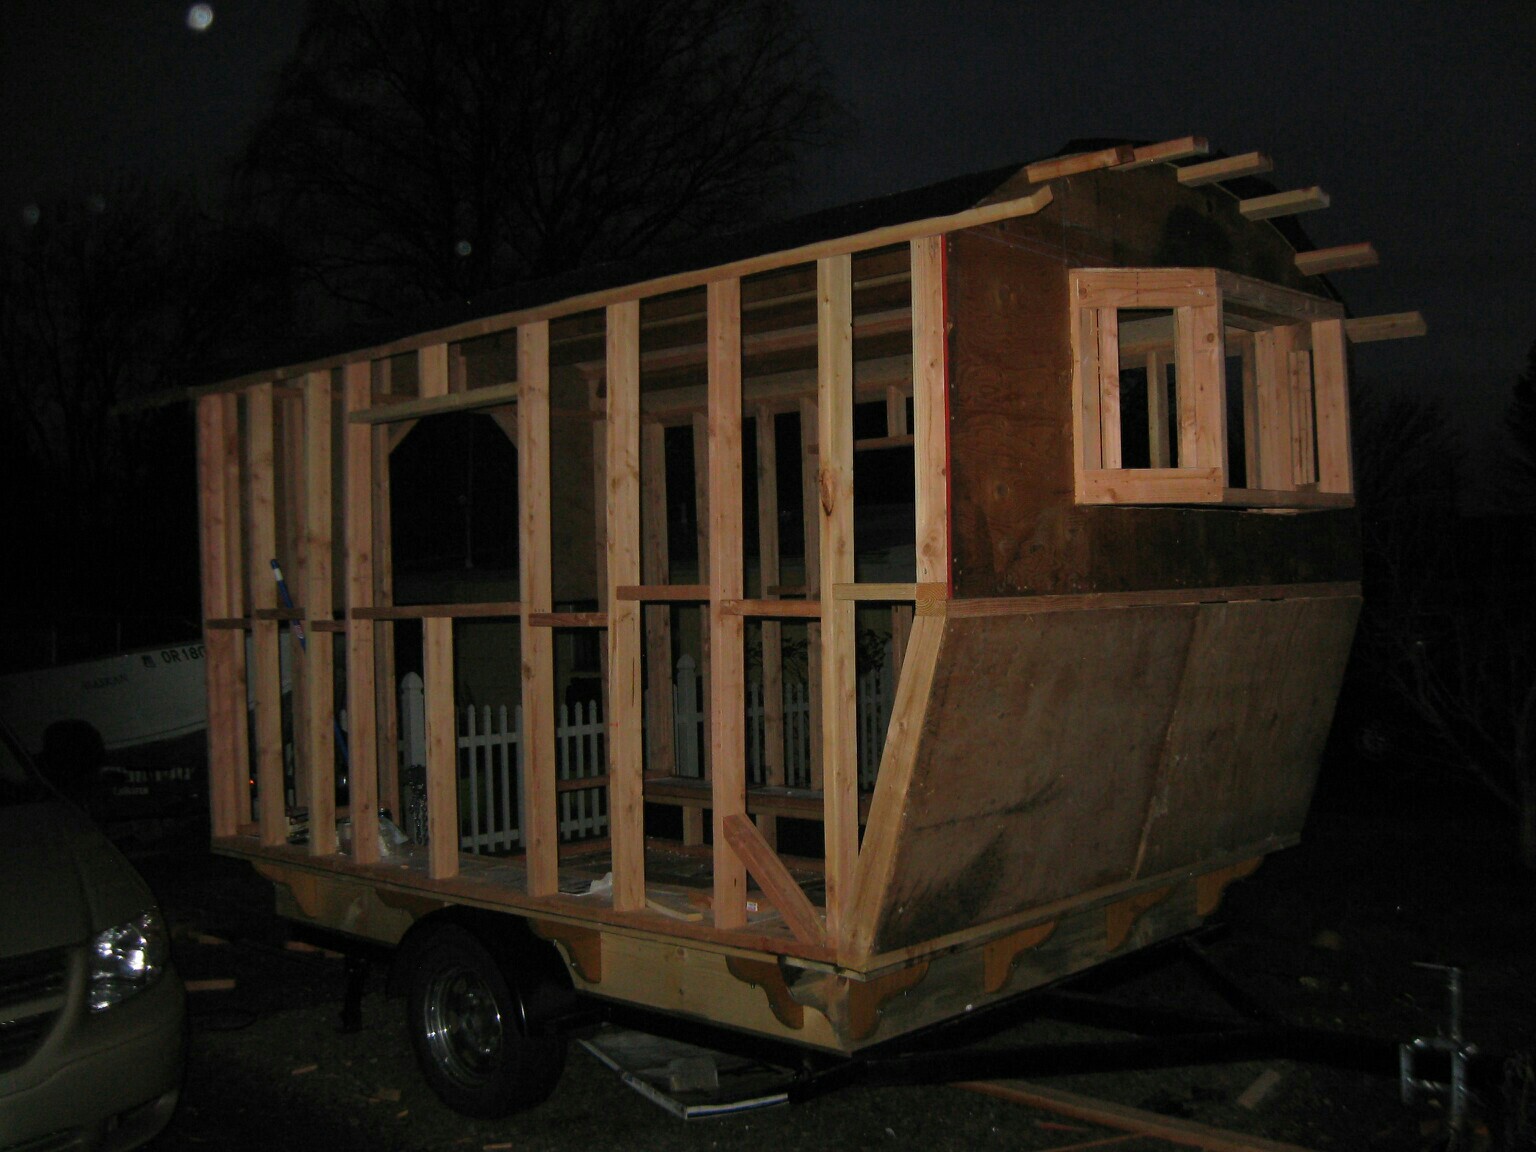
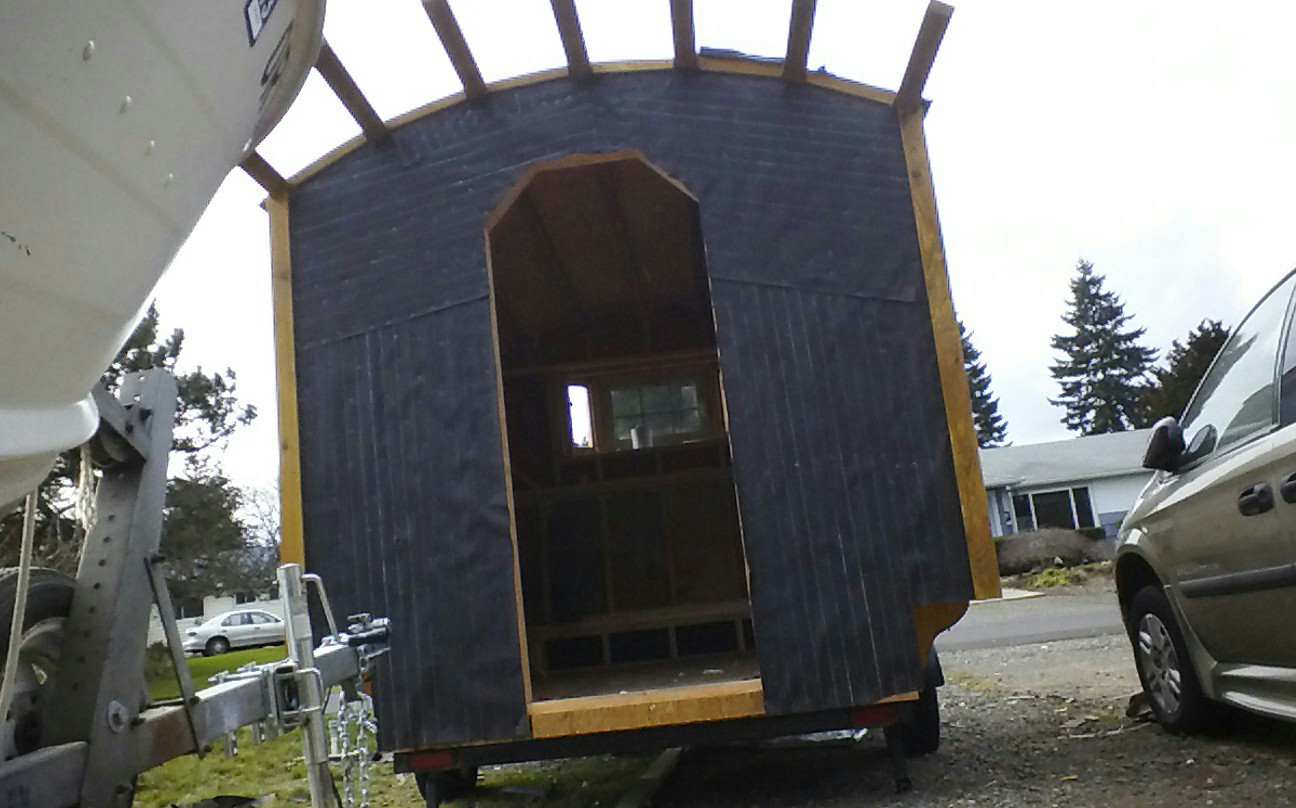
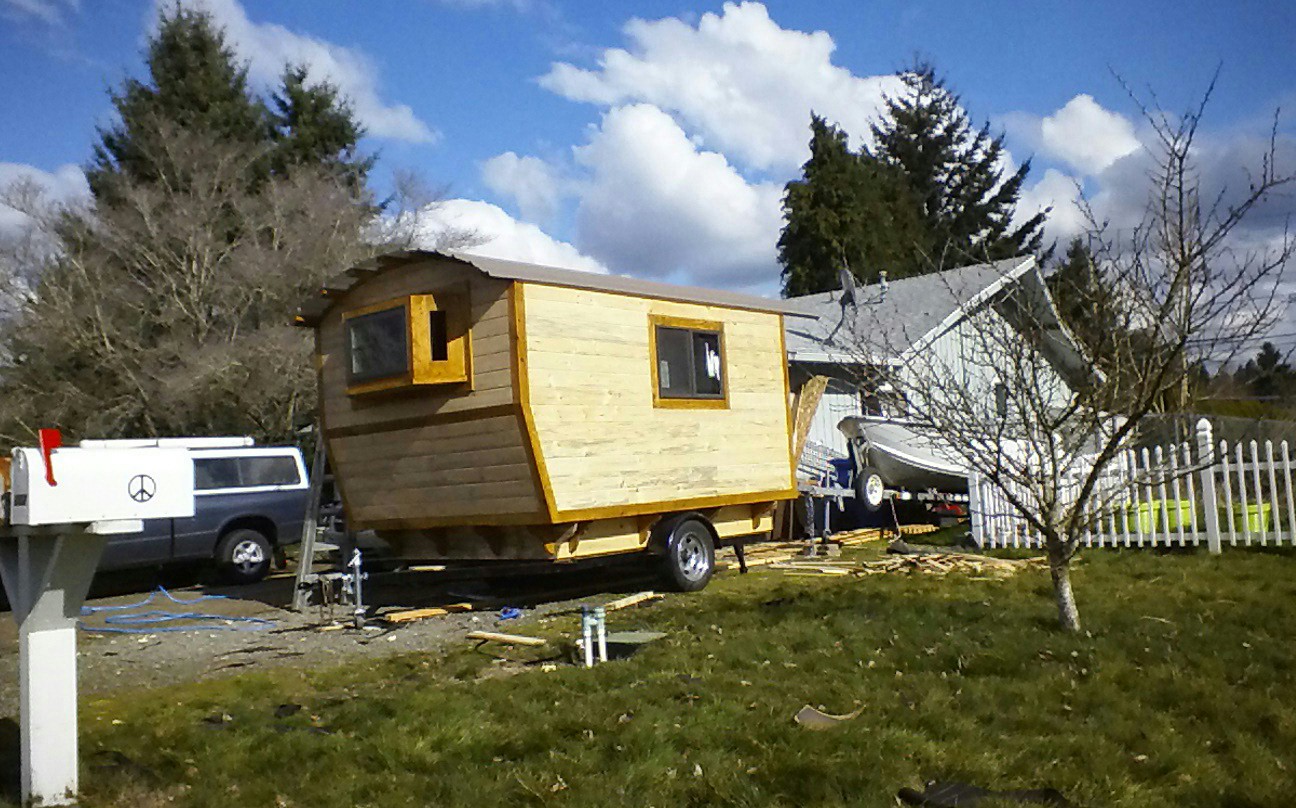
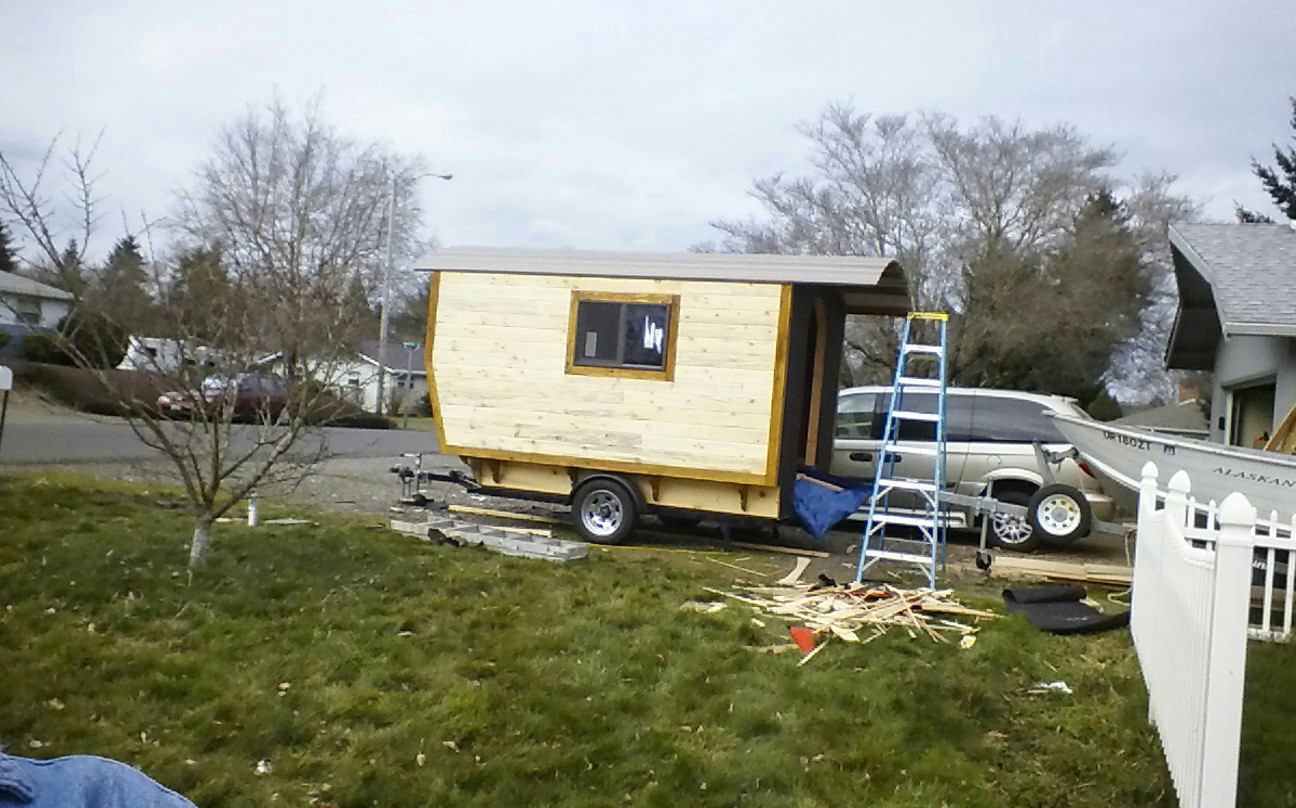
Hal in Oregon sent me some photos of his stick-built vardo. It is sheathed in house wrap and wood-sided with a metal roof. Sturdy looking simple design. So far, he’s spent about two weeks on it and the shell appears to be nearly complete. This is a link to the album with more photos but I’m not sure it’s public yet. Please let me know through the comments if this link does NOT work for you. In the meantime, here are some photos posted by his sister Jodie:
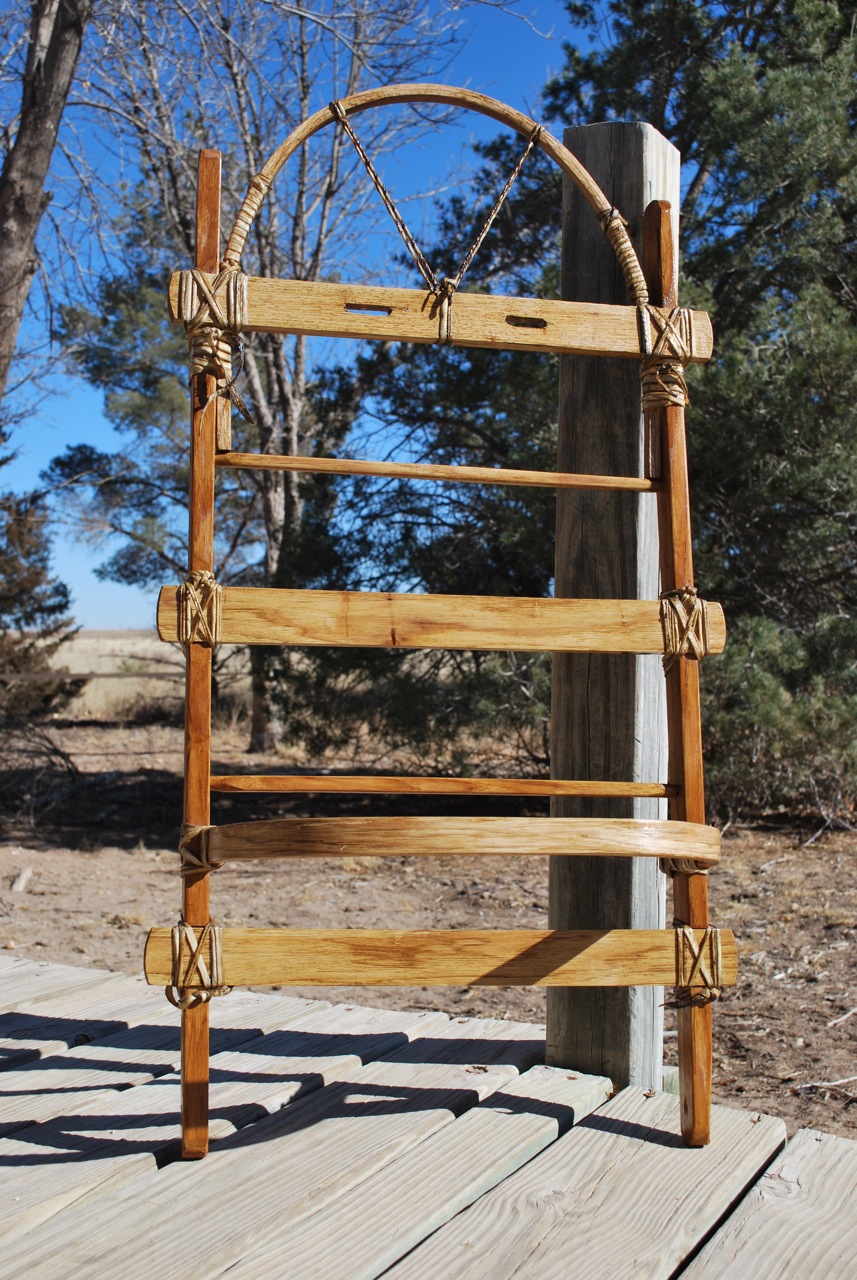
Here’s a detailed photo of the naked frame with an initial coat of oil & pine-tar coating. This will weatherproof the whole thing and make the rawhide less appealing to critters (I caught my dog licking one of the lashings this morning). This mixture is about 60% boiled linseed oil and 40% Stockholm pine-tar, an ancient coating used on just about everything in pre-industrial northern Europe. It should dry in a day or two and be ready for a second thin coat later in the week.
As a craftsman of sorts, I understand that making a “one-off” of something does not imply expertise and replication builds a real understanding of the object being produced. However, this is certainly not my first leather working or shoemaking project but a major improvement on a theme. The lasts I purchased earlier in the year on Ebay have finally been used to actually make a shoe so I documented the process as it came along last week; mistakes and changes included in the process. While searching for huarache construction, I have only been able to find the simplest tire sandal designs and many links to “barefoot” running sandals. I recently found the Huarache Blog and scoured it for inspiration and design secrets from real huaracheros in old Mexico.
Sole cut out, punched for strapping and nailed to the last.
The lasts shown here seem to fit me well but are an Oxford dress shoe style, I think, meaning they run a little long in the toe. New lasts are pricey (ca. 50 euros/70 US), but I think it will pay in the long run to invest in a better design for myself and those people I might make shoes for.
Wetting out the first strap.
I didn’t show the strap cutting process as there is little to be learned about that. My fancy new Osbourne strap cutter can be seen in the upper right of this photo
Since this project was experimental, I used scrap leather, meaning I could only get about three foot (one meter) straps. In future, I’ll probably use 6 foot or longer pieces (2+ meters).
Nailing the strap to the last.
Pre-punched holes in the mid-sole and away we go. A little tallow on the straps helps cut the friction of the leather but ended up being not worth the trouble.
Placing the twining thong.
This is a signature of the style I chose. The vamp or tongue-like piece was later removed as I didn’t like the way it looked. I’ll experiment more with that later.
Lacing and twining.
Unlike normal, I completely finished the first shoe and removed it from the last to check size and shape to determine any major changes that would need to be made.
Heel added and lacing up the back. I think this step shows the evolution of the strap sandal to the modern huarache.
The straps running under the mid-sole look like a problem here but are ultimately skived down, wetted, and hammered flat.
Straps ends as added in. Longer straps would lessen the ends here.
I used simple wire nails to attach the soles but sewing would work too.
Ends to be trimmed and skived, and a finished sole.
Pulled from the last, they actually matched. I don’t know why I was surprised but that made me happy.
Preparing to nail the sole.
This method is fast and efficient, and I suspect rather tough. The nails are pressed through the leather and rubber into a thick leather scrap below. Otherwise, you would need to pry it up from the work board.
Nailing the sole.Bending the nails in preparation for clinching.
The nails are bent over (inward) to prepare to “clinch” them. There are no photos of this part of the process but this was done by setting the shoe back upright on a small anvil and hammering the nails down tight with a punch. The pre-bending causes the nail to curl inward and back up into the sole. Voila! The Huaraches below have about five miles of hiking on them now and they’re beginning to have some character.
Huaraches you say? Do tough guys wear such things? In an era of cheap, slave-made garments, its easy to forget how self-reliant our ancestors were for such things as raiment. I include this excellent photo of Capitan Alcantar I found on the Huarache Blog as a great historical image of a man of action wearing his huaraches and ready for war.
Click the image for more historic photos like this.
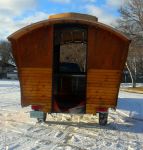
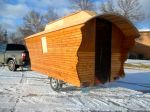
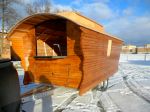
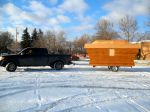
Mike is finishing up his remarkable vardo in the great white north. He included a mollycroft in the roof which not only looks cool but should add a lot of light and headroom. The front storage is accessible from the outside like a sheepherder and it will have an enormous bay window in the front. As it comes along I hope he’ll write up more about the design and construction of the wagon. With this wagon and Jack’s build last year, I think I’ll add a page to the header bar for “other vardos” so that they are easy to find on the blog.
I’m a big fan of Retro-Futuristic design. Maybe that’s why some of the better Steam Punk designs appeal to me. I don’t mean the stuff that’s just hot-gluing old watch gears onto some leather or carrying a toy ray-gun around in an old-western holster. I want art that can actually be part of our daily lives. To paraphrase a better writer than I, Life Should Be Art. However, it shouldn’t just look cool or pretty, our tools, houses, and transportation can be practical, well-engineered, and well-made. Things that are crafted by hand from good materials tend to be better thought out, have individual character, and have the quality of an heirloom.
Some mass-produced things are still pretty cool and it’s not always practical or affordable for us, in the modern rat-race, to make or have made, everything in our lives. In this direction, I have noticed quite a few Makers repurposing or redesigning their possessions. In other words, “hacking” the designs of others.
While looking for images of old scooters last night, I came across these amazing guys in Japan who took a pretty average-looking Honda scooter that looked like this:
and tore it down to the essentials before rebuilding it into this classy ride:
It is such a cool, yet realistic design, my first impression was that this was a 1930s or 40s scooter rebuilt.
Here’s another shot:
And it’s final color!
Click on the image above to have a look at their tear-down and build. There’s a lot of pages but it’s a well-documented process.
BC and I made a couple wallets for ourselves as hers looked like something from the Derelicte collection and mine was ridiculously worn out. Taking some very thin Hermann Oak vegetable tanned leather we created the following. We put up an Instructable HERE if you want to steal the design and have a tutorial on making the wallet.
My new walking shoes. Simple stitch-down design weighing in at about 14 oz (0.4 kg) each. The leather is Hermann Oak 2/3 oz for the uppers and 12 oz (I think) for the mid-sole and out-sole. There is also a double layer stacked heel that has a thin rubber layer on the bottom.
They have about 6 trail miles on them in this photo. They are dyed “light tan” and coated in home-made dubbin.*
The goal was to create an extremely lightweight shoe that will protect from the gawd-aweful sand burrs, cacti, and other sharpies that get into the sandals. They are loosely based on “desert boots” but provide a bit more protection. They are re-soleable, environmentally friendly, and made without sweatshop labor. Since I have little fashion sense, they can be worn with anything and in public. My only change in design will be to make the toe portion of the upper in slightly heavier leather as they will hold their shape better.
*A waterproofing concoction, in this case made from beeswax, olive oil, and walnut oil.
A few more images:
The shoes are unlined. Constructed with a double needle saddle-stitch. I wasn’t even concerned with stitching on this pair so they aren’t perfectly straight or small. The tongue is lined with brain-tanned deer hide and there is a band of brain-tan around the top edge for comfort. The laces are also brain-tan deer from a heavier hide.
The out-sole stitch is trenched in about 1/8″ to protect the thread.
They may not be fashionable but I think they have style.