Weekend Sawbench

A Saw horse or a full-size workbench, for Hobbits?

Baumeister_-_Holzschnitt_von_Jost_Amman_-_1536.svgLiving where I do, without a proper workshop, I have moved to a more portable setup.  Along with this, I have pared down by letting go a number of cumbersome tools.  However, a flat, solid surface is sorely missed.

shaving-horse
A less messy version of my current shop.

I find myself working on the seat of the shave-horse or on top of saw horses quite a bit with my small table-saw serving as a layout table (when the project is small enough).  And yes, I do miss the full-size table saw for ripping long boards.

75-Amb-2-317-21-r.tif
Here’s a recent photo of me in my make-shift workshop.

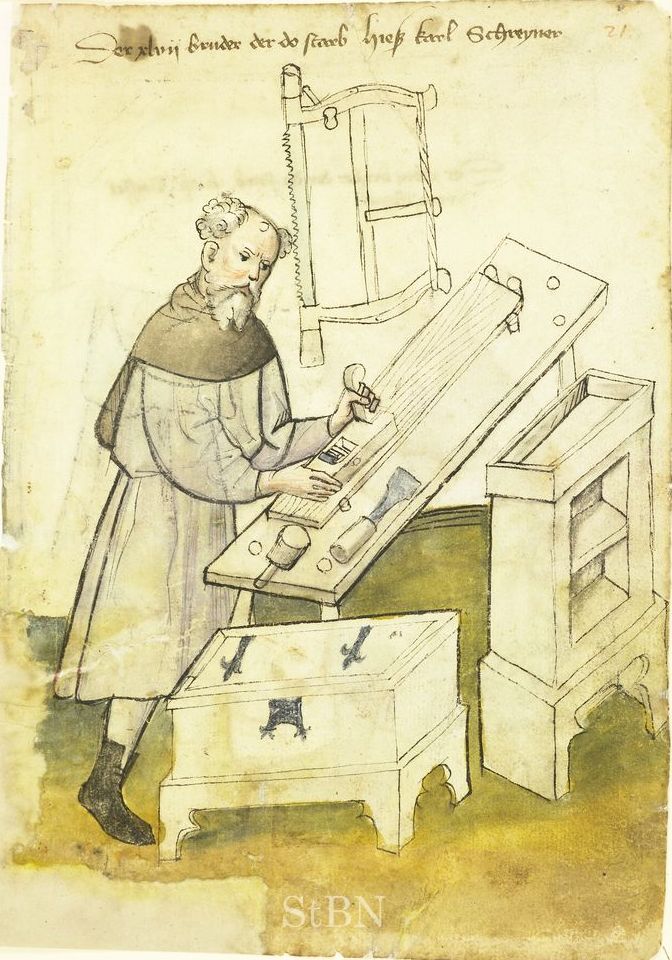
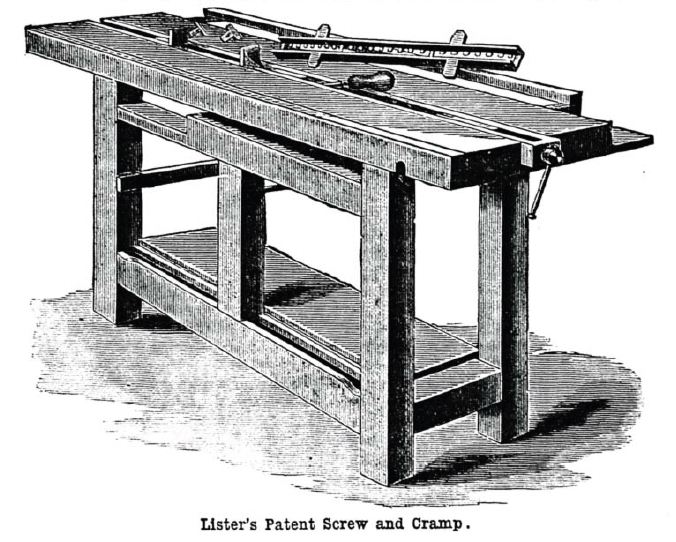
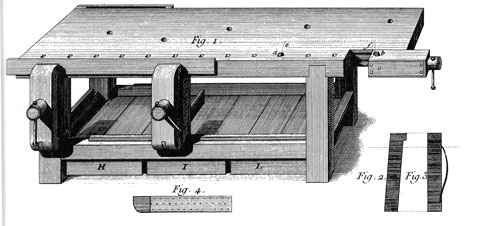
A little over a year ago I began scheming for a small, pre-industrial-style setup.  Something an itinerant carpenter or bodger would be likely to use.  It needed to be easy to move and store but provide a solid clamping and layout surface.  I wanted it at the same height as my shave-horse so that they will work in concert for large projects.  So, when my friend Mick gave me a thick, rough-sawn maple board last summer, I decided it was to become the top of a new saw bench.

First, before the mail comes flooding in;

there is no perfect formula for a saw bench!  For thoughts about height, look here: “A Proper Saw Horse.”

There are some wrong and right things to do, but all in all, there are as many combinations as there are woodworkers.  Much depends on what you make and how you work.  I am 6’1″ and after much changing and experimentation, I use 22″ tall benches for hand work.

“Off-side” of the saw bench under construction.


For what it’s worth, here is the bench I came up with last weekend.  It maybe grew a little too much, trying to more than a saw horse, but still not a Roubo.

roubogermanbench
Roubo’s bench.

Materials: All of the materials for this project, other than lag bolts and a few stainless steel screws, came from the scrap pile; all recycled lumber except the top which came from Mick.  Legs and bracing are constructed from oak while the till bottom is dimensional pine from an old shelf.  The legs are splayed at 12 degrees in both dimensions.  Dog holes for stops and holdfasts will be added soon.  The little vise was a last minute addition as it’s never a bad thing to have too many ways to hold things.  This increased the project price to just over $20 US.

DSC_0001
A work in progress, but coming together.

Had I considered the vise sooner I probably would have positioned the legs to place it closer to the left end but this will due.  The little hardware till on the top will hold those wily drill bits and pesky chisels looking for an escape as well as corralling screws, pencils, and marking knife.  More work will be done, and I’m considering a second till near the bottom of the legs to store the shooting board and bench hook as well as a safe place to set a saw while working outdoors.

Comments and criticisms are certainly welcome and more information about this project will be forthcoming in the near future.

One Manifesto

Why we MAKE things. In a world where consumer goods have become cheap (in every sense) why bother creating something you could just go out and buy? I don’t know for sure, but it fills some need within myself to know that much of what I own or use was made by me or an actual craftsperson.

“But my own reasons for woodworking don’t have to do with the chance to work with quality tools, or even to produce quality work. I think what captures me is the opportunity to do something with my own hands.
When I see all the top of the line machines being put to use on some woodworking shows, I imagine that process taking me further away from feeling the wood being worked.”

Have a look at Wesley’s post and follow it over to Paul Sellers’ . They are both worth reading.

From Sellers’ blog:

“The quest for success was no longer how much I made but how I made and what I made and with what I made. Here I found peace as I sliced my handsaw down a long board and made rails for a clock. Here I found peace as I sharpened my chisels and carved wood until a tenon quietly emerged from chips on my benchtop. I understood the harmony of marriage when the tenon slid inside its mortise and the dovetails interlocked to marry for life.  I began to understand what dedication meant. “

A very small and random selection of the simple little things I’ve made from the past decade.  Nothing like Paul’s work but they are intimate to my soul as I know I made them.

Wesley Beal's avatarwesleyworkswithwood

If you don’t already follow Peter Sellers blog, I invite you to go read his most recent post, Lifting Your Spirits – Working With Your Own Hands!.

ManifestoI don’t know if he’d call it a manifesto, but that’s what I interpret it as.

I don’t consider this view to be my manifesto, either. What struck me while reading it was that all of us can choose to do woodworking for our own reasons. For me, the invasion of plastics doesn’t trouble me. The cheapness and inferiority of tools and things made with tools is what I don’t like.

My Veritas Carcass saws, with their “molded spine that incorporates stainless-steel powder for weight, glass fiber for stiffness, and an advanced polymer binder” backs, are great tools, in my opinion.

But my own reasons for woodworking don’t have to do with the chance to work with quality…

View original post 201 more words

Restoring a Disston D8 Thumb Hole Rip Saw

This is an excellent documentation for restoring an old saw. So many are out there just waiting for a bit of new life.

MVFlaim Furnituremaker's avatarMVFlaim Furnituremaker

While scouring antique malls looking for tools, I ran across this nice rip saw stuck in the back corner of a booth. It’s a Disston D8 Thumb Hole saw and considering it’s age, it was in very nice condition. Even though it had some rust on the blade, I knew it would clean up just fine.

 photo blog 020.jpg

The first thing I did was take the saw apart and dip the blade in a bath of water with food grade citric acid. I let it sit overnight allowing the acid to eat all the rust off the blade.

 photo blog 023.jpg

While the blade cooked, I focused my attention on the handle. Using Soy-Gel paint stripper, I cleaned all the gook and grime off the apple wood handle using a steel wool pad.

 photo blog 024.jpg

Here’s the handle wiped off after just a few minutes of paint stripper on it.

 photo blog 025.jpg

In the morning, I took the blade…

View original post 332 more words

Medieval Caliper

I believe this is my new favorite blog.  A remarkable archaeological illustrator with some very interesting artifacts.  I never even considered the antiquity of sliding calipers.  I hope she puts more illustrations up sometime!

helenamichel's avatararchaeological illustrations

Late medieval wooden artefact: caliper, found in latrine in Gdansk, Poland. Hand drawing by Helena Michel, pencil on paper technique.

Ilustracja archeologiczna późnośredniowiecznej drewnianej suwmiarki, znalezionej w latrynie podczas wykopalisk na terenie Centrum Dominikańskiego w Gdańsku. Rysunek odręczy na papierze, autor: Helena Michel

archeological illustration

archeological illustration by Helena Michel

archaeological medieval artefact

View original post

Sharpening

“It’s often said that skill fixes everything … in woodworking, sharp fixes a heck of a lot.”  This says a lot.

Wesley Beal's avatarwesleyworkswithwood

Time to get some sharpening done.

My geek side gets interested in sharpening, and I want to experiment with different methods. Currently I’m using a sheet abrasive system. The abrasive sheets I purchased from Tools for Working Wood here.

I purchased the glass locally, and glued them to ¾” MDF. Left to right, the abrasives are .3 micron, 5 micron, and 15 micron. It does make my blades VERY sharp.

Sharpening

It’s often said that skill fixes everything. Well in woodworking, sharp fixes a heck of a lot.

If you’re curious about the Shaker Step Stool project, I’m still getting my boards set to final dimensions. I’ve got one more rip cut to make, and then I’ll prep all the surfaces for finishing now, before I actually cut any dovetails. This way all my 1st class saw cuts will be made on the final dimensions of the pieces (look for…

View original post 68 more words

A Master at Work

It is awe-inspiring to see a master of anything at work, making their creation seem almost effortless.  Many thousands of hours, or even thousands of days, really show at a high level of work.  This isn’t to say that repetitive tasks are always fulfilling or require lot’s of mental exercise but that is often the route to real craftsmanship.  This short film is a great thing to watch.

Butcher block counter top.

Wise and thoughtful words for Makers.  It’s the thoughtfulness that a hand-craftsman puts into his project, not the speed or even cost that makes something worth making in the first place.

woodworkernetwork's avatarWoodworker Network

“If you remain insensitive to the individual characteristics of the material you are working with and cut regardless to a predetermined, exact measurement, then the finished piece will lack a certain wholeness and be little better than something you could have bought from a factory.” – Graham Blackburn

1508176_10205386881171912_423654881548567290_n

View original post

An Engineering Marvel; Tiny House Truck

That transforms into a modernist castle.

As usual, Lloyd Kahn always finds the good stuff to post when it comes to unique Shelter.  The Tiny House Truck is built on an old flatbed and is a true marvel of engineering as it “pops” out into a faux castle.  An appropriate home I suppose for these traveling performers.  Some of the luxuries include a separated toilet, separated shower, full kitchen, and a bath tub (with hot water) on the roof patio.  There are some extremely modern amenities and ingenious storage solutions here.  It is worth the twelve minutes to watch the video and see this remarkable home as still photos do not do it justice.

The original story is on the Living Big in a Tiny House blog HERE.

LIVINGBIG-LOGO
Click to go to the Living Big website.