
A great looking house truck from Australia posted on Lloyd Kahn’s blog. Always something interesting there so check it out.
Adventures of an Imperfect Man In Search of a Handmade Life

A great looking house truck from Australia posted on Lloyd Kahn’s blog. Always something interesting there so check it out.
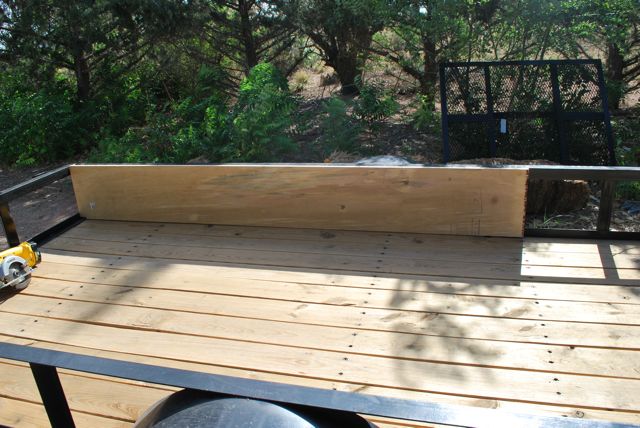
This was a quick and dirty build we were talked into a couple of weeks ago. I don’t like to rush these things but the builder’s time constraints meant this was the only week to get this done before the winter. It does show that the basic build can be completed in a very short time. The basic dimensions are 5′ x 10′ at the floor and just over 7′ wide at the ledges.
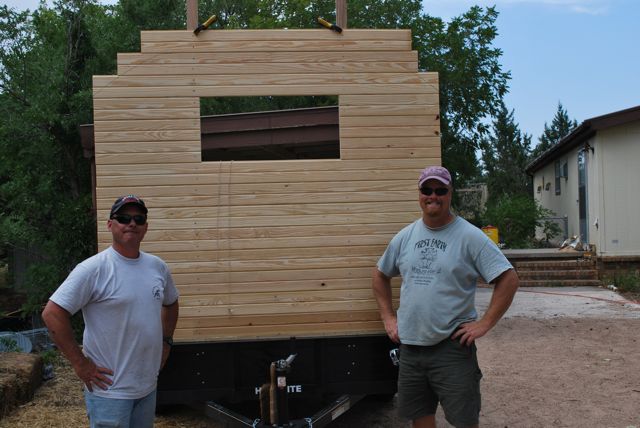
 I think it came out alright in the end.
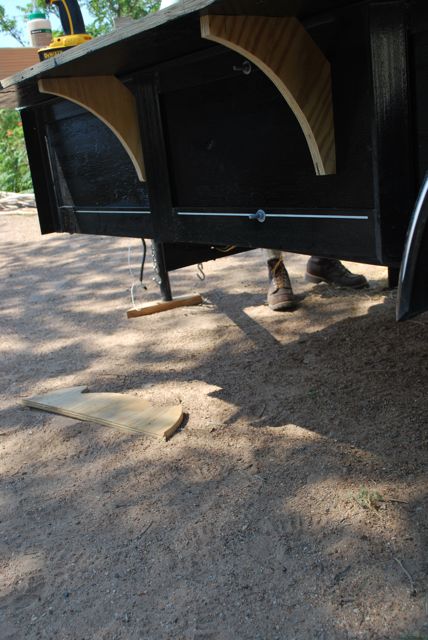
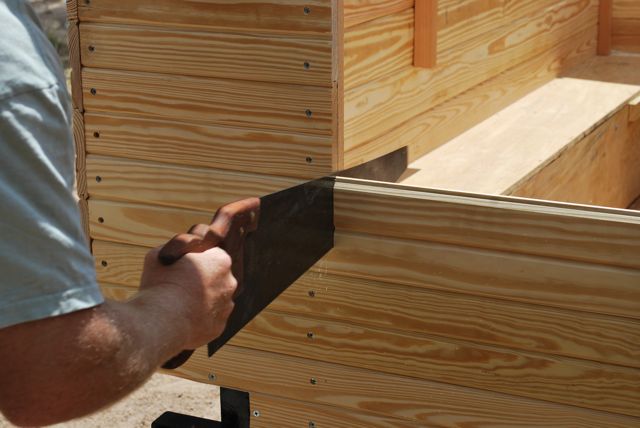
Here is a small gallery of images showing the build. My daughter and I will try to put up an Instructable in the near future describing the process such as it is. Enjoy the photos.


I recently added two new exterior storage boxes, a solar ventilator, painted most of the exterior, and added several new and handy things to the interior of the wagon in preparation for the next voyage. Although I don’t feel like the Snail has really traveled much yet, my recent tally of the trips over the past 17 months totaled 7776 miles. This is an under-estimate as it was calculated using Yahoo maps and doesn’t include any side trips or time lost looking for restaurants, campgrounds, and the like. Photos and descriptions of the changes are on the way.

This photo set documents the construction process very well. Have a look if you want to see something that is very light weight and built well. Click the photo or copy the link below for more.
http://www.flickr.com/photos/tuacatum/sets/72157626603954269/
Finally getting back to the wagon with longer days and less going on. Over the weekend I started the new window for the wagon door. The old one was a place-holder to get it out on the road (as are the other windows). Now I want to rebuild the whole door.
 The frame being built. It is clamped to the work table to keep it rigid and prevent it from racking out of square.

Detail of how the frames cross and interlock. I have never made a window like this so this is what I came up with.
 Holding the frames fast while the glue dries.
 Flipped over and given a final sanding.
 Getting a few coats of Cabot’s Spar Varnish for good measure.
 Fitted with three types of glass; wavy clear, hammered clear, and red with a lot of break-up. The widow will be fitted into a frame (pre-hung) so that it can be removed entirely for repair or replacement of the door. More to come soon.
The rest of the Vardo build can still be found here (https://paleotool.wordpress.com/plans-projects-and-patterns/the-vardo/).
A new design for the vardo world with the folding bow-top. It has a great design as it will be light-weight yet roomy.

Excellent details so far. I can’t wait to see it in person when we can “circle the wagons”. Click the photo or the link below to see more.
A photo of the new “porch”. I didn’t really need more sticking out in the back but it will serve as a bumper and handy surface I’m sure.

And a drying rack over the stove area. The hooks will be useful for lanterns, tools, cookware, and wet socks.
 With such limited space (about 50 sq. ft.) pegs, hooks, and little storage bins tucked away in all the furniture make all the difference. Click either photo to get to the rest of the vardo photos.
H.A. sent me a couple of photos from his vardo build. These were taken back in August. It looks to be a beast of a wagon and is being towed by a unimog camper.
 Check out this and other photos on his friend’s flickr page.
http://www.flickr.com/photos/11894392@N04/4921649118/in/set-72157624668253269/
I finally found the shaving mirror that was perfect for the wagon. I have seen them in photos of other western wagons. Local hardware and bath stores only had very cheesy, lightweight mirrors on folding arms. After some internet searching, I found this one that had good reviews on Amazon. It is sturdy and appears to be well-built.


Below is the coffee grinder that was the fist housewarming gift for the wagon. Thanks Mick. It works well.

Finally, the step porch I have been debating over for a long time. We’ll see if it works out.

After long thought and lots of head-scratching I think I figured out a decent way to hold a lantern on a shelf in the wagon. 
I found some old steel brackets and installed the shelf over the stove. This fits the newer “Blizzard” lanterns with the large tanks so I think all of my lanterns will fit.
 I put a brass insert in the shelf and carved a small knob to fit. Please excuse the messy workbench. Of course, the rest of the vardo build is here: Vardo Page.
