

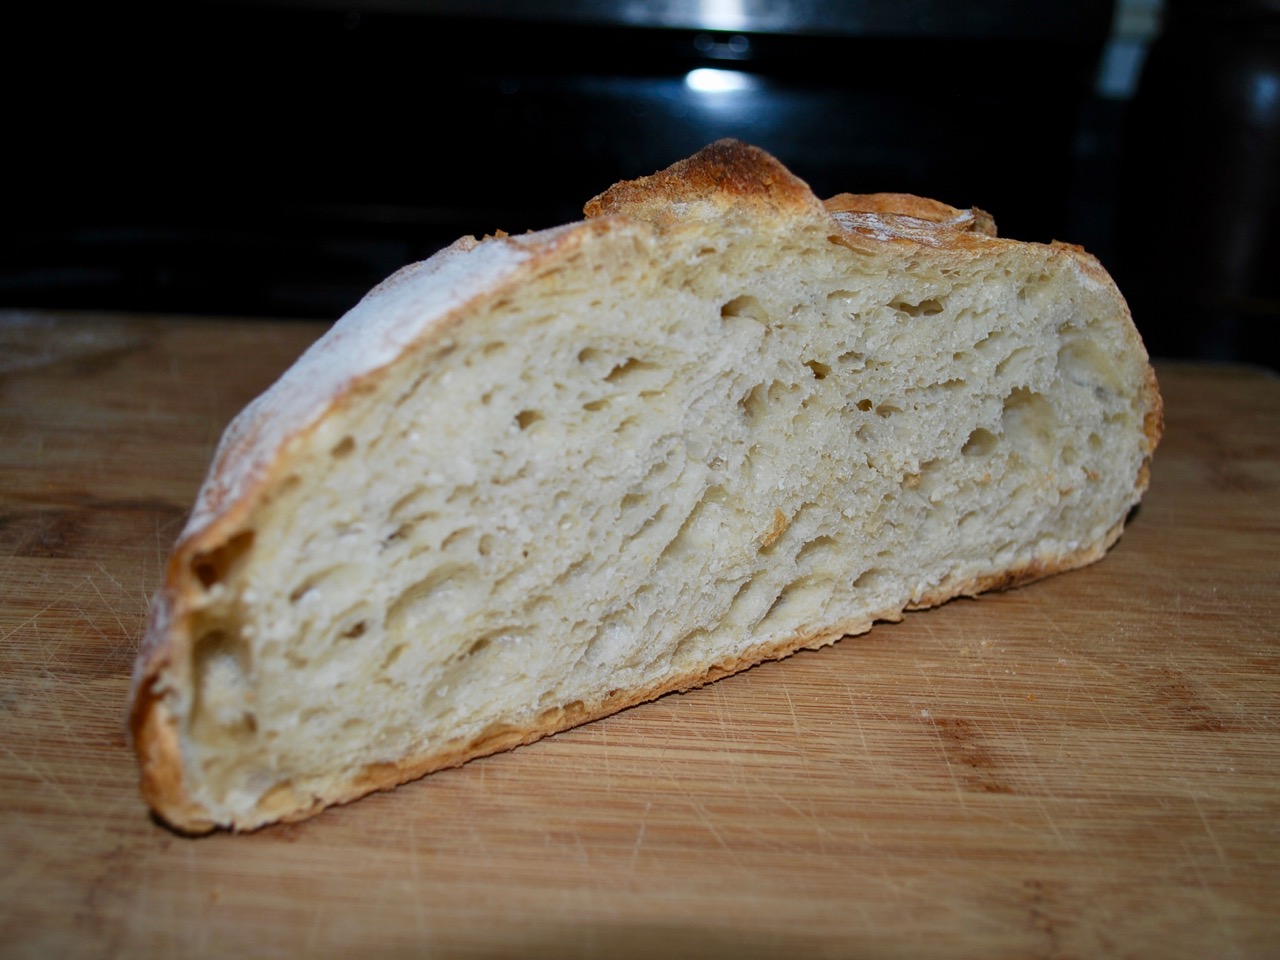
Someone asked for the recipe I used to make the artisan-style Dutch oven bread I posted a few days ago. This loaf is a crusty, chewy, large air-hole artisan-style bread that is great with soups or for hearty sandwiches.
 There are many recipes out there and I’m not sure I’m the qualified baker to speak with any authority. However, ask and you shall receive as someone once said so here it is:
- 3 cups flour (I use about 3/4 c. whole wheat and 2 1/4 bread or all-purpose flour)
- 1/4 tsp active dry yeast
- 1 1/2 tsp salt
- 1 1/2 cups lukewarm water
- In a large non-reactive bowl mix the dry ingredients thoroughly and add the water. Mix by hand until just combined. The dough should be a little on the wet and sticky side, so add a few drops extra water as needed. Cover and let stand about 18 hours (a little less is okay).
- Turn out the dough onto a clean, tightly woven cotton towel that has been dusted with flour or cornmeal and form into a rough, wide, circular shape. Pull the right side across to the left then the left to the right; turn 90 degrees and do this again as if you were wrapping the dough up on itself.
- Dust the top of the loaf with flour or cornmeal and flip over so the seam side is down and pull the towel over the loaf. Let stand 15 minutes to one half hour.
- Preheat the oven to 500 F (260 C) with the Dutch oven inside (I put the lid on the top shelf to let air circulate inside while preheating). Let the oven heat a little beyond when it claims to be hot enough to insure the cast iron is ready.
- Place the dough seam side up in the center of the Dutch oven, cover, and close the oven door. The seam allows the loaf to expand and serves in much the same way a slit on top of the bread would in a traditional loaf.
- Cook for 30 minutes then uncover. If the loaf is not a rich golden brown, continue to cook with the lid off for 5 -10 minutes (ovens vary).
- Turn out the loaf onto a rack or a bread board (if you don’t use a rack let it cool upside down for the first 15 minutes or more). Cool thoroughly then eat.
 This recipe has worked well for me in many variations over the years and can be modified in many ways. I have a multi-grain seed bread I make more often than this that is a bit more complicated and maybe I’ll share it when I get time.
I found this video which may help visualize the process. It’s nearly the same as I relayed above with a slightly different size loaf.

Thank you for posting this! I meant to request your recipe as well… A mouthwatering temptation for sure as we head to the colder days of soup, cold and wet.
And that video was wonderful as well. Very inspiring!
Thanks Blair. It’s a surprisingly easy and very tasty recipe. It works well with any wheat flour, even 100% whole wheat (it’s just a little heavier). I remembered seeing that video a while back and it didn’t take too long to find it again so I was happy to post it. It makes the process so clear and simple.
Have you ever tried this on a bed of coals or similar circumstance? LIke a more primitive open fire setting with a Dutch Oven? (as in open campfire biscuits) If so, how did it go or how did you, or do you suggest altering things???
Yes, but not in quite sometime. I have had mixed success but have learned that blocking all wind is an absolute necessity as it works to accelerate the burn and overheat the oven. I hope to start making experiments with this in the yard this winter. There are some good guides out there on the internet and if you use a thermometer you can really got it close to perfect. I’m too low tech for that and tend to wing it. Biscuits are easier in the Dutch as they aren’t so sensitive.
Great, classic recipe. Do you really put 1/3 cup of yeast into it?
Good eye Bill. I usually do my best to edit my work but I can get sloppy as well as the next guy. Fixed, thank you.
thank you!
I can smell the bread now! I’m a sucker for a good homemade bread and an easy recipe is even better! Thanks for sharing. 🙂
You just can’t beat homemade bread!!
Absolutely!