

Expanding on Lessons Learned
In 2012 I decided to build a wooden packframe. What started out as a Sunday afternoon project led me down many paths, from Iron-Age Europe to 21st Century military designs and it took about a year of stewing around before I actually got around to building something. It was fortuitous for me that Markus at 74 FOOTWEAR DESIGN CONSULTING wrote and excellent little history of frame packs at almost exactly the same time I began researching them myself. Shortly thereafter, I discovered Steve Watts and Dave Wescott were delving into the same subject (great minds think alike I guess). After collecting many photos and drawings I dove in, and using human measurements as much as possible, I built the frame below.
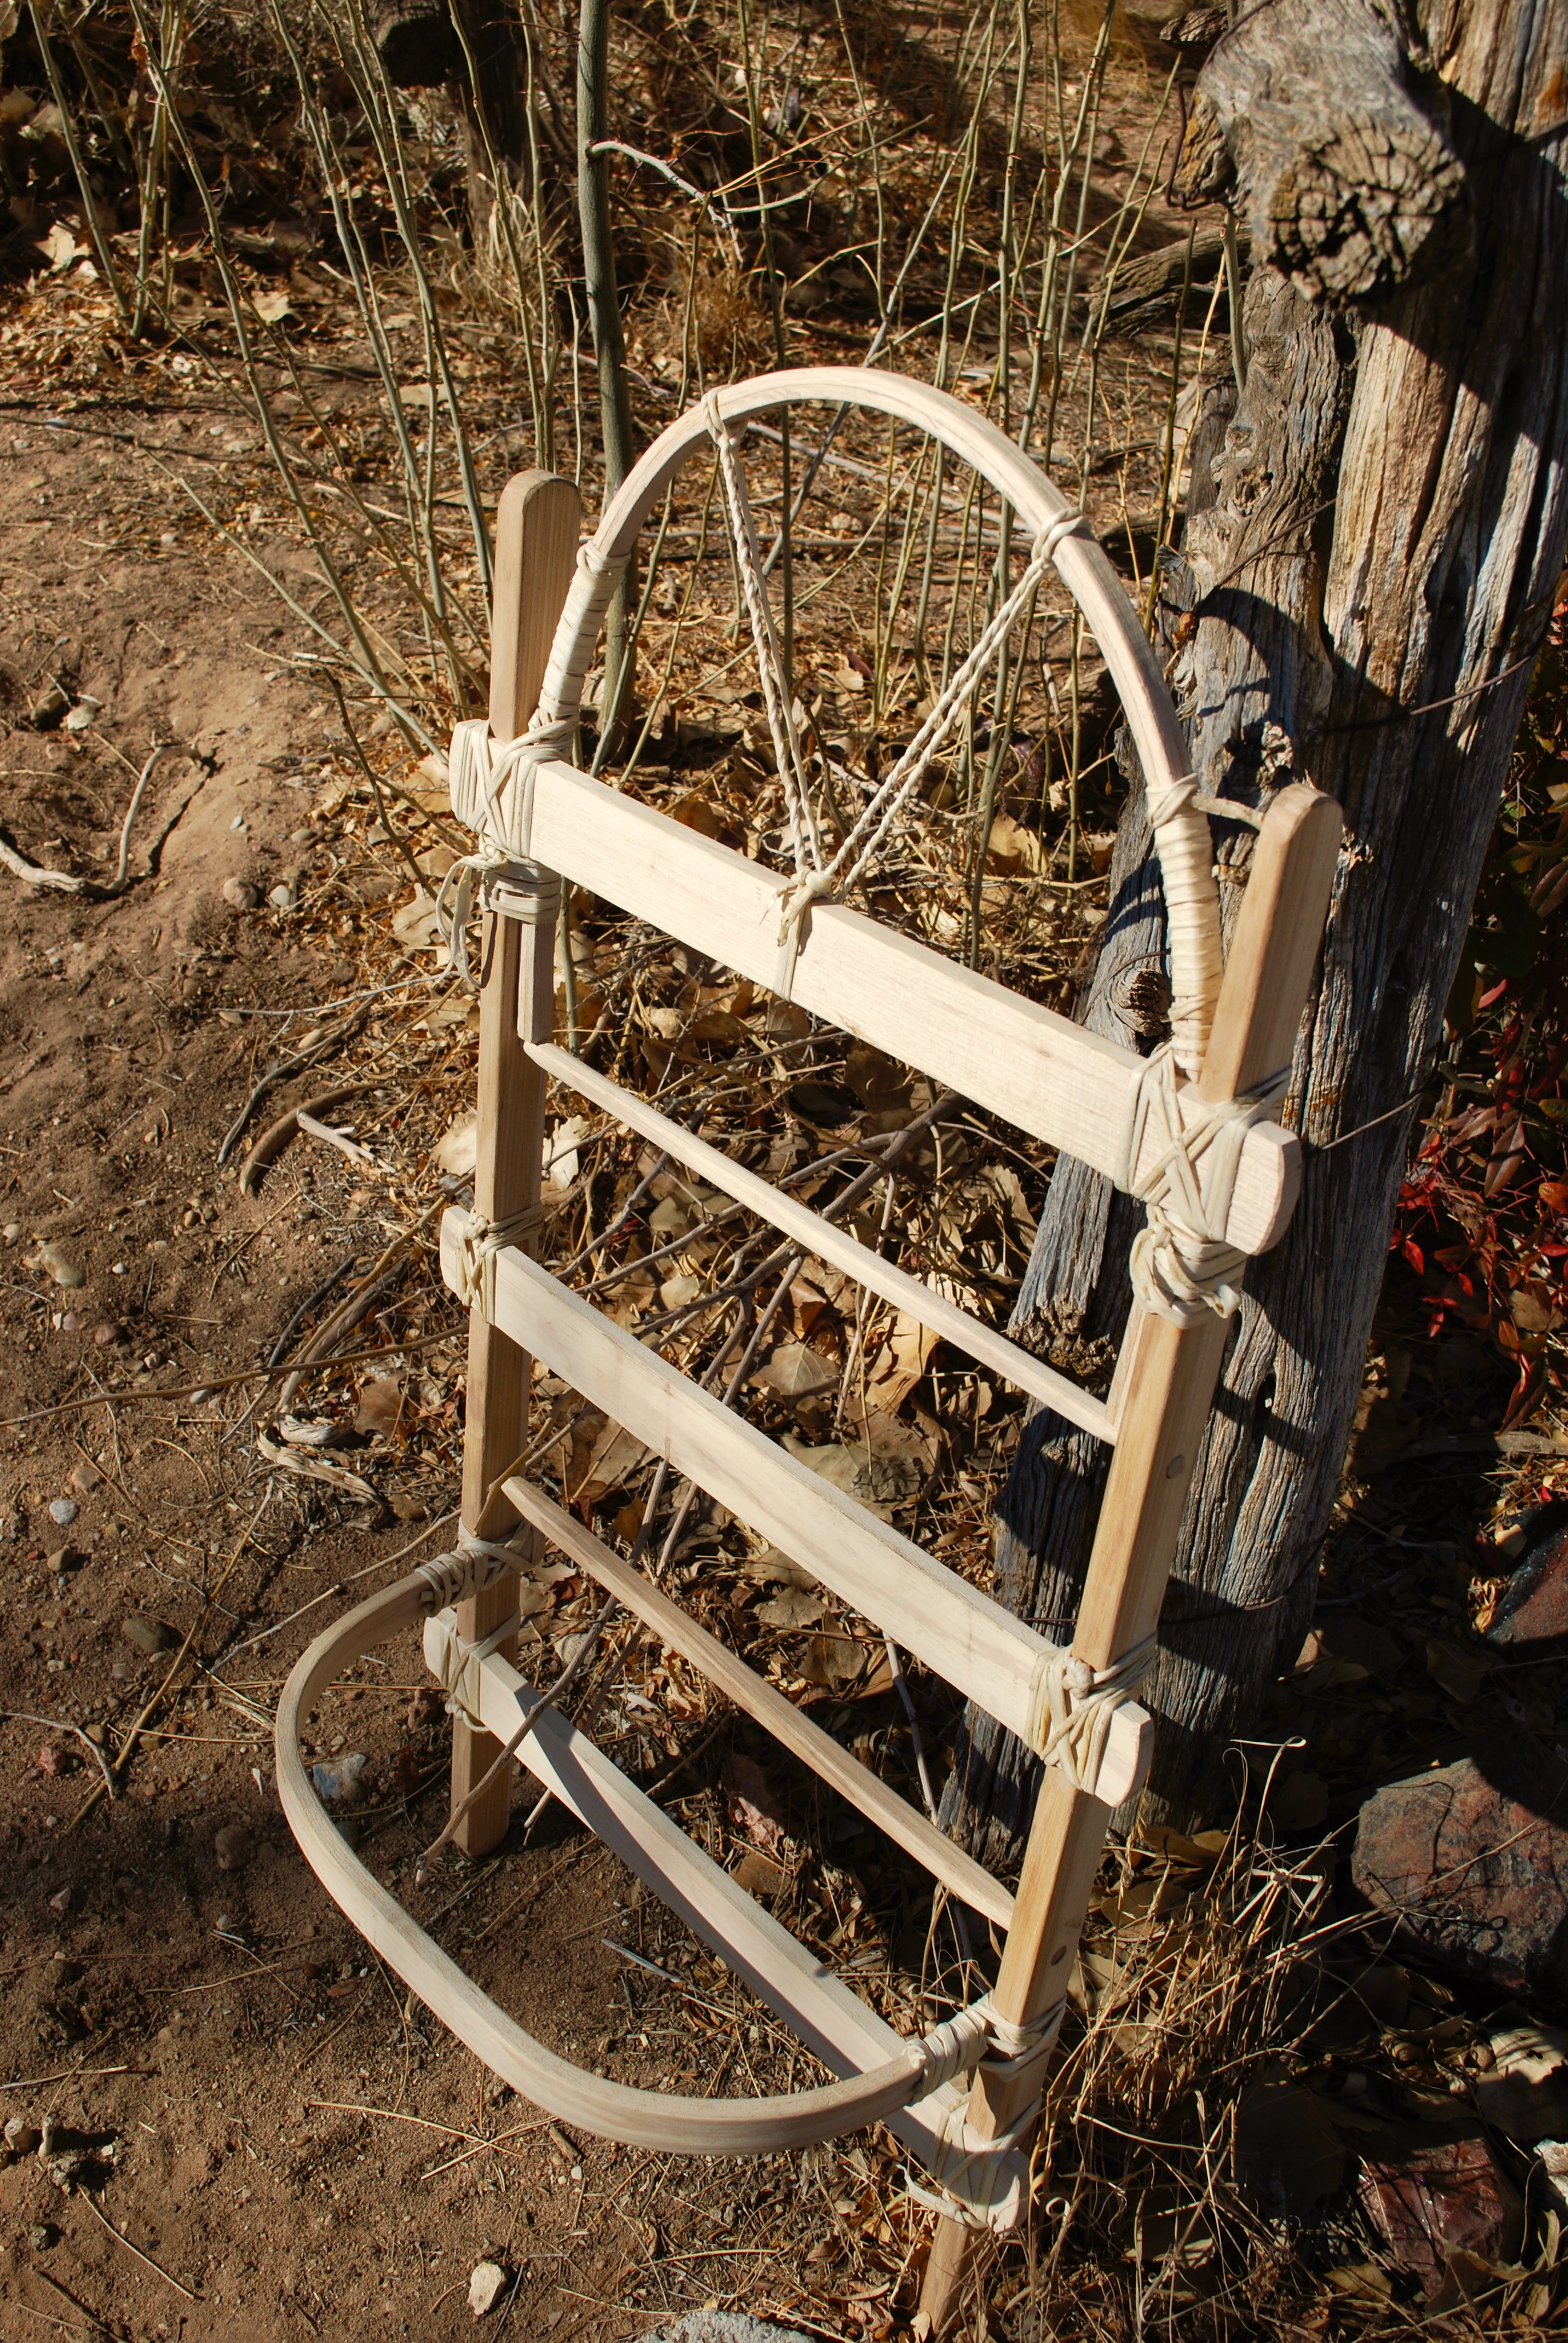
I decided against metal fasteners for the original project so everything was pegged and tied with rawhide.
It didn’t take long to build and tying it all up with rawhide was a simple evening job. The next step was to create some sort of support to keep the frame from my back and attach shoulder straps. This wasn’t as easy as it sounded since comfort and strength had to be combined while keeping possible chafing to an absolute minimum.


Was it good enough?
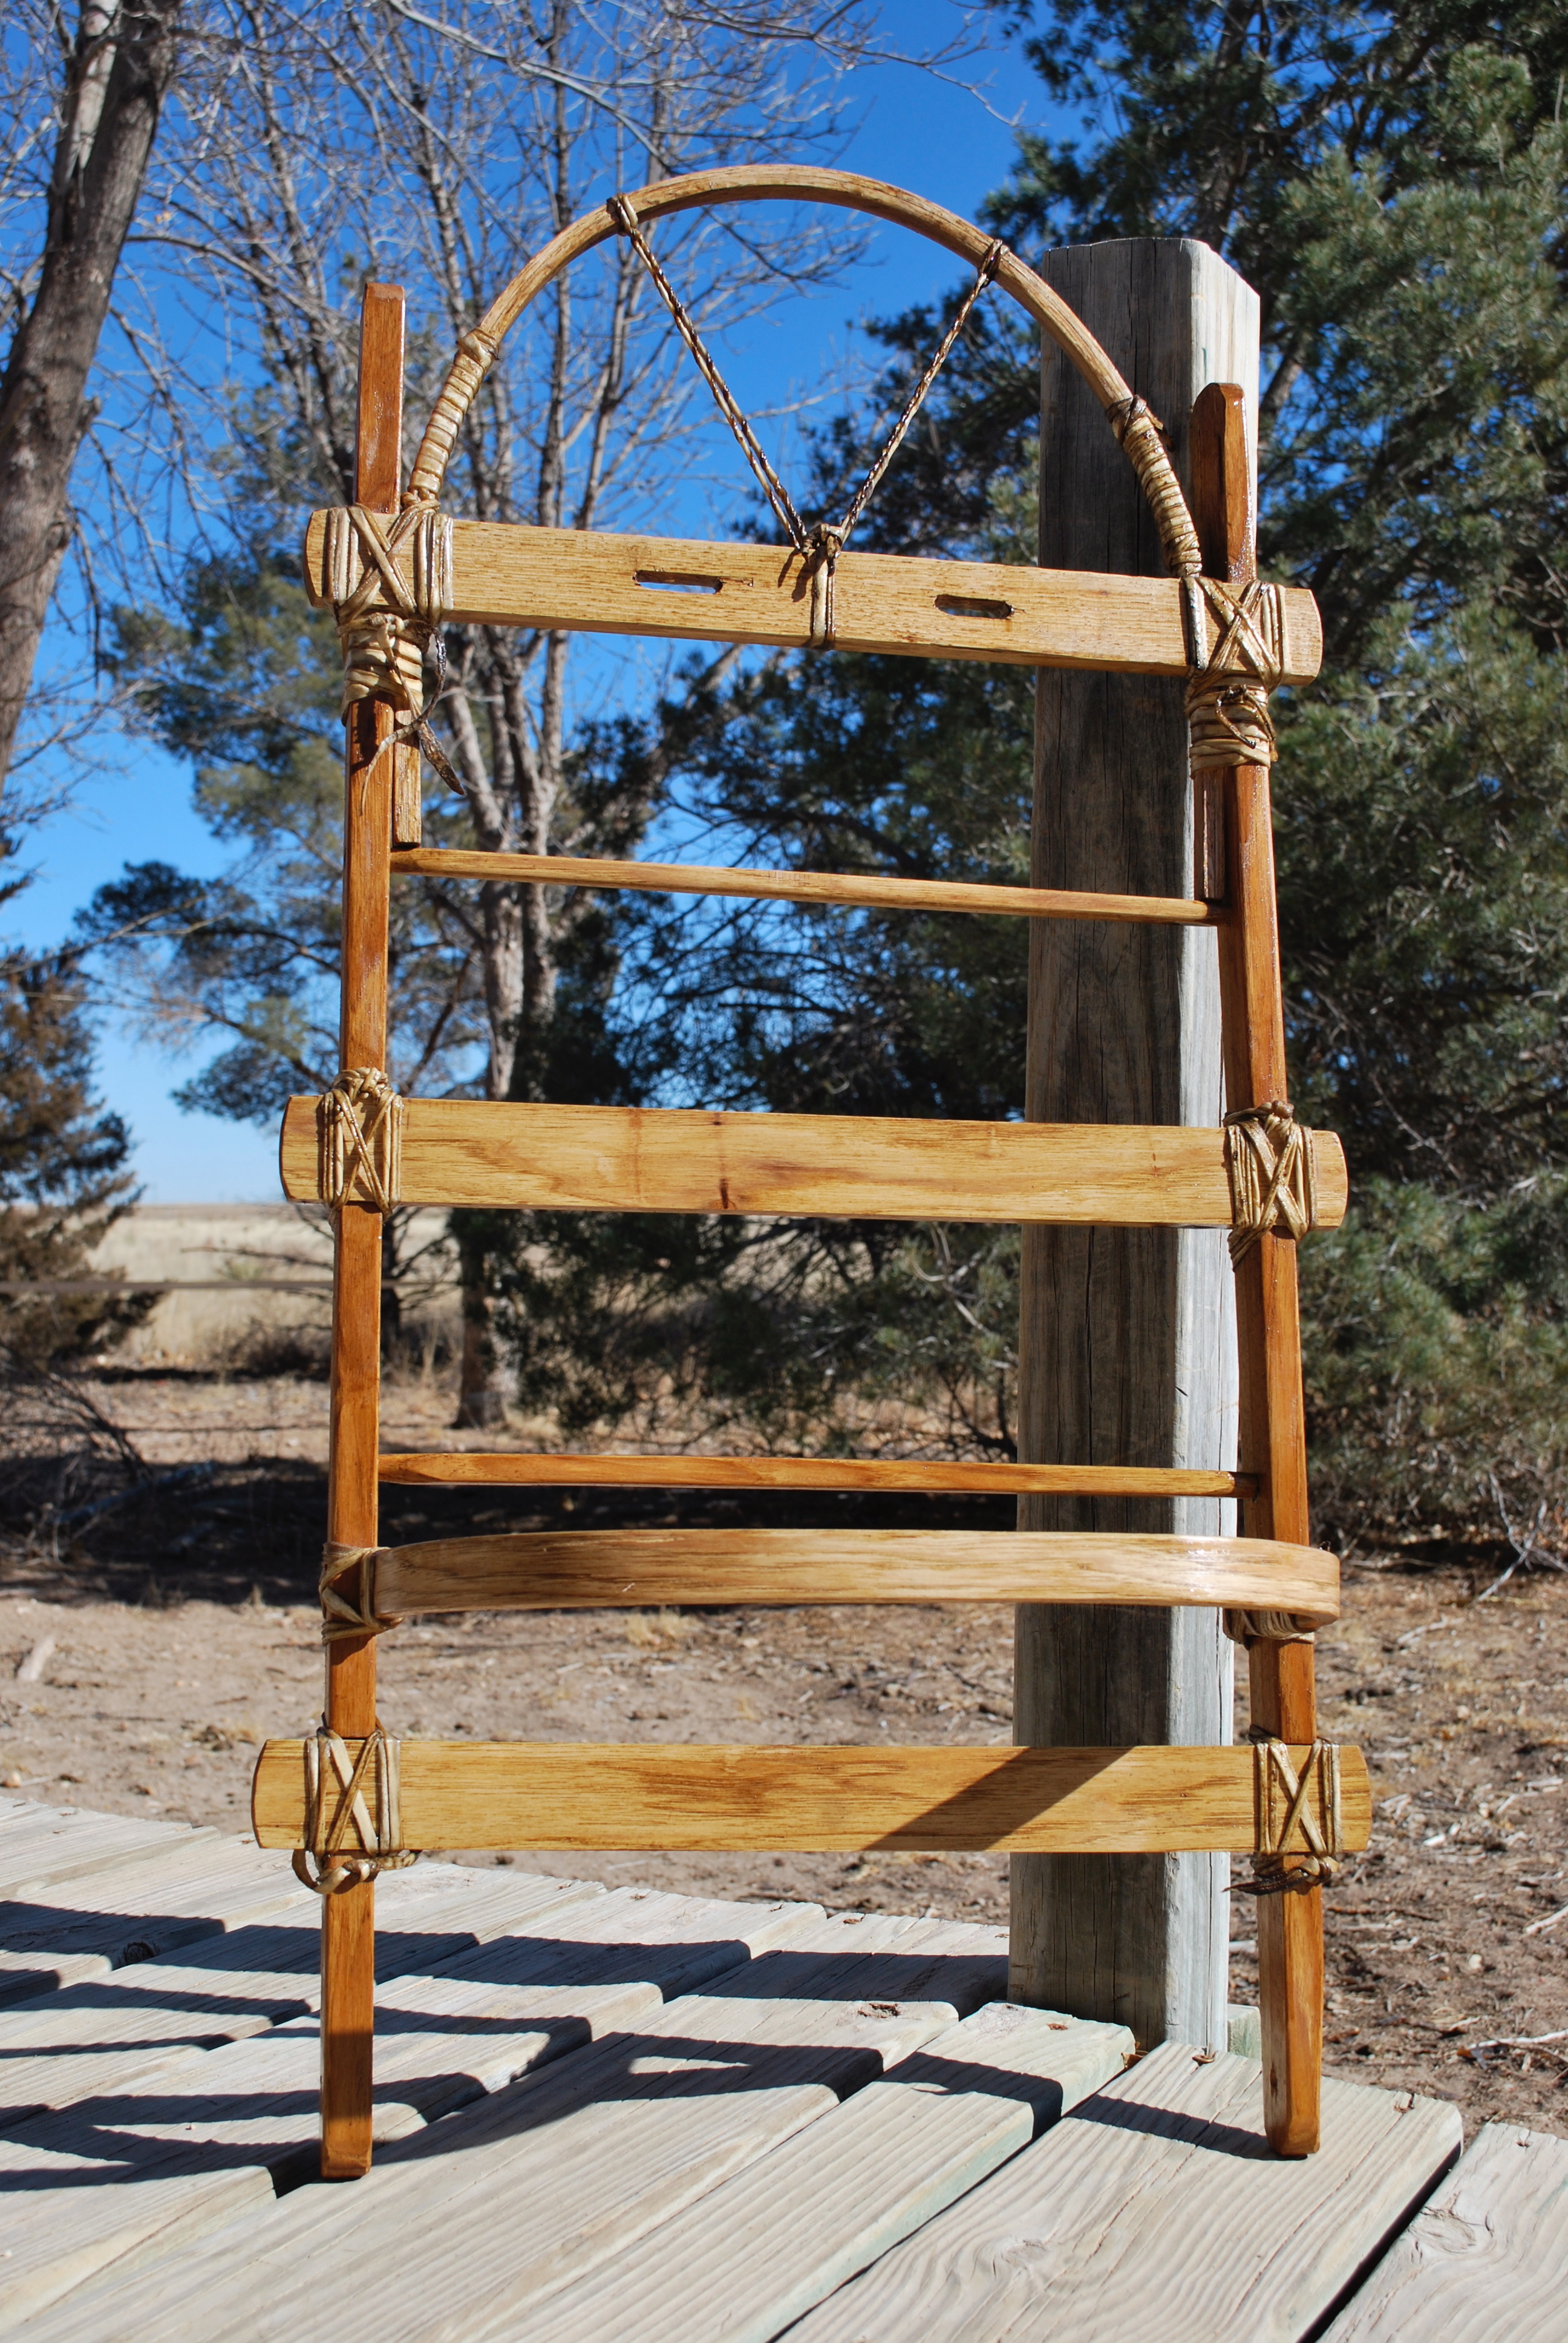
The answer is probably. It was mostly used to pack gear in for demonstrations and spent most of its time as a show-piece. Honestly, over the years I owned it, it only went on one real backpacking trip, and that was even a fairly short one. However, I learned some things along the way. I like the shape, it was fairly comfortable, it was certainly sturdy enough,and it carried a heavy load without much difficulty or discomfort. So the design was more-or-less right for me.
On problem was that I didn’t like the tensioning of the leather back straps as it was difficult to draw them tight enough. That’s how packframe number 2 came to be. I began by deciding to improve the back padding system but with a few other minor changes in mind, this happened.

Parts –
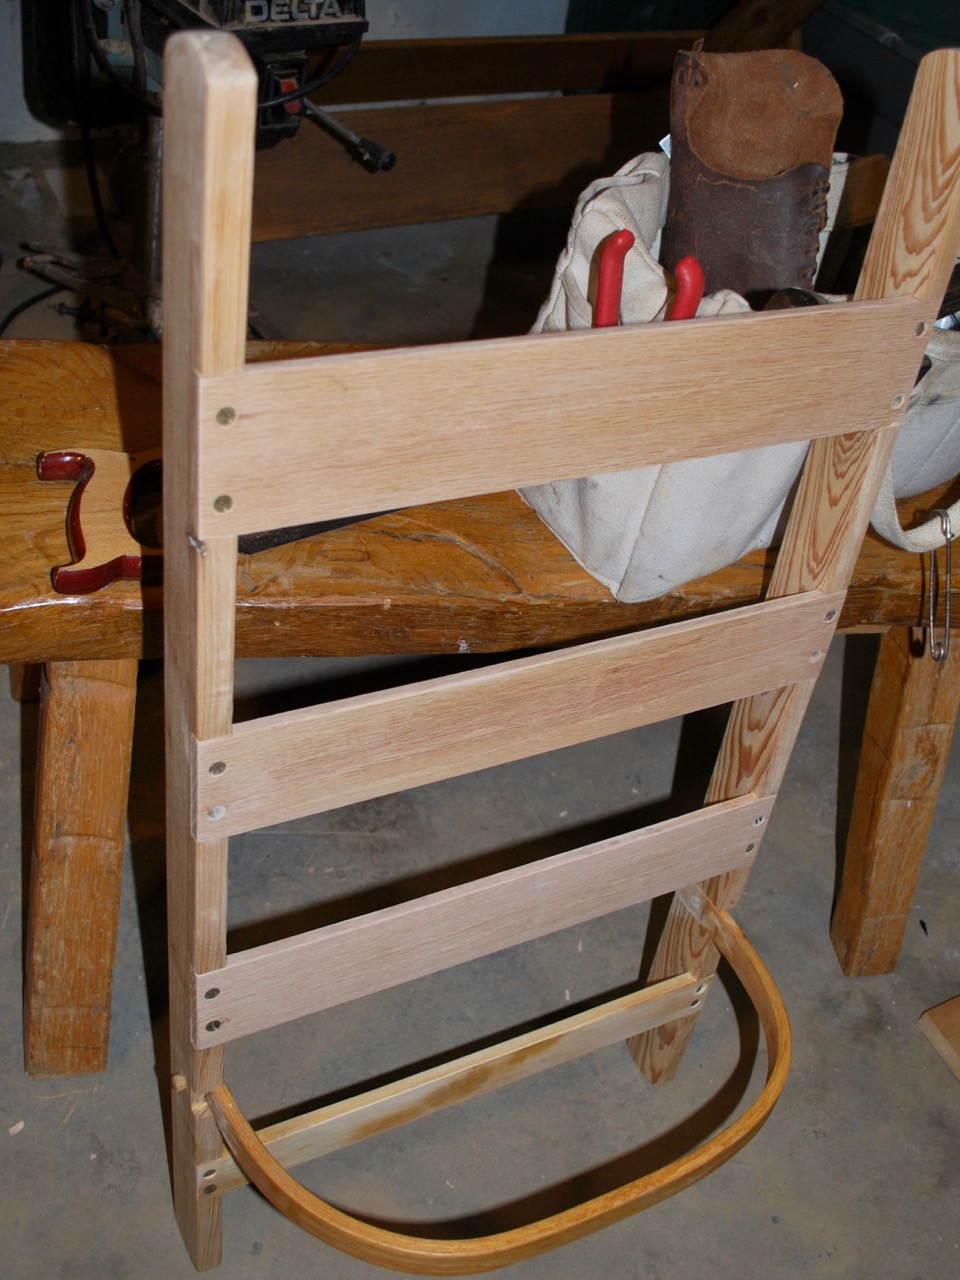
Recycled fir for the uprights came from a 125 year old door frame, some planks for the cross-bars came from the scrap pile, and a couple pieces were pulled from the first packframe. Before I knew it, I was bending a thicker and better arch for the top piece and construction began. Since I wasn’t working from a plan and there is no real standard for this type frame I pondered the whole thing for a couple days to decide how to fasten the parts (pegs, lashings, screws, or glue) and began assembly a few nights later. I have gathered quite a few old screws of various sizes over the last couple years in my housing restoration so I decided to use those for the basic construction.
Construction technique –
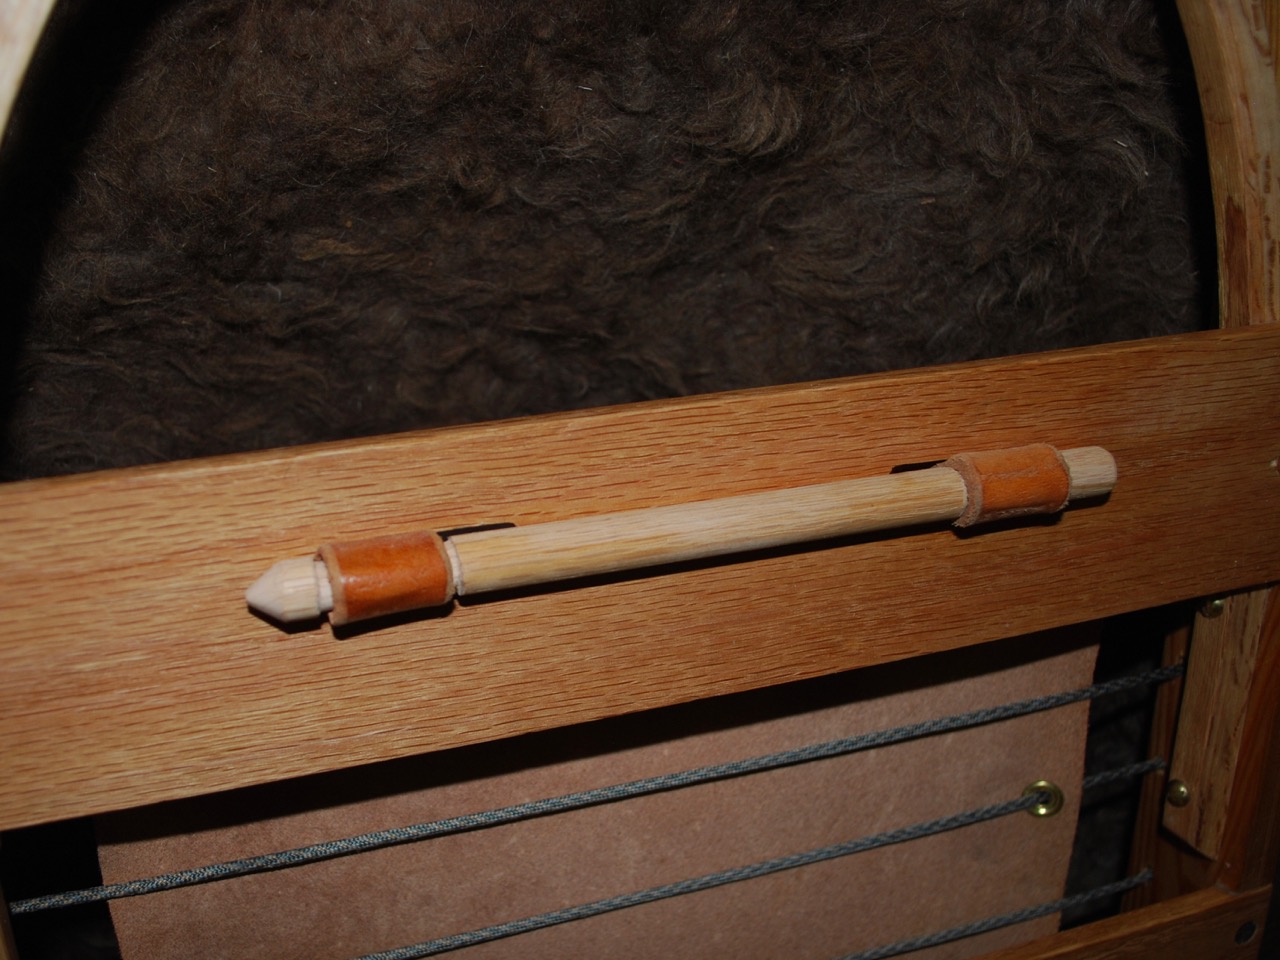
As can be seen in the images, the cross-bars are let into the uprights in a simple lap joint for strength and racking stability and fastened with reclaimed brass screws. The platform support is lapped and pegged with wooden dowels.

I added a small oak angle brace to further support the platform support which is also lapped and pegged. The small missing piece visible here is operator error. When I was cutting the laps I was in such a groove that I cut the low one on the wrong plane. I’ll probably fill the gap with a small wood piece, but for now, I live with the hideous disfigurement. Also visible here are the walnut caps I pegged to the bottom of the uprights. Old Douglas fir is a fine wood but can be very brittle and the end grain would probably not fare very well under hard use on rocky terrain.
Straps and Suspension –
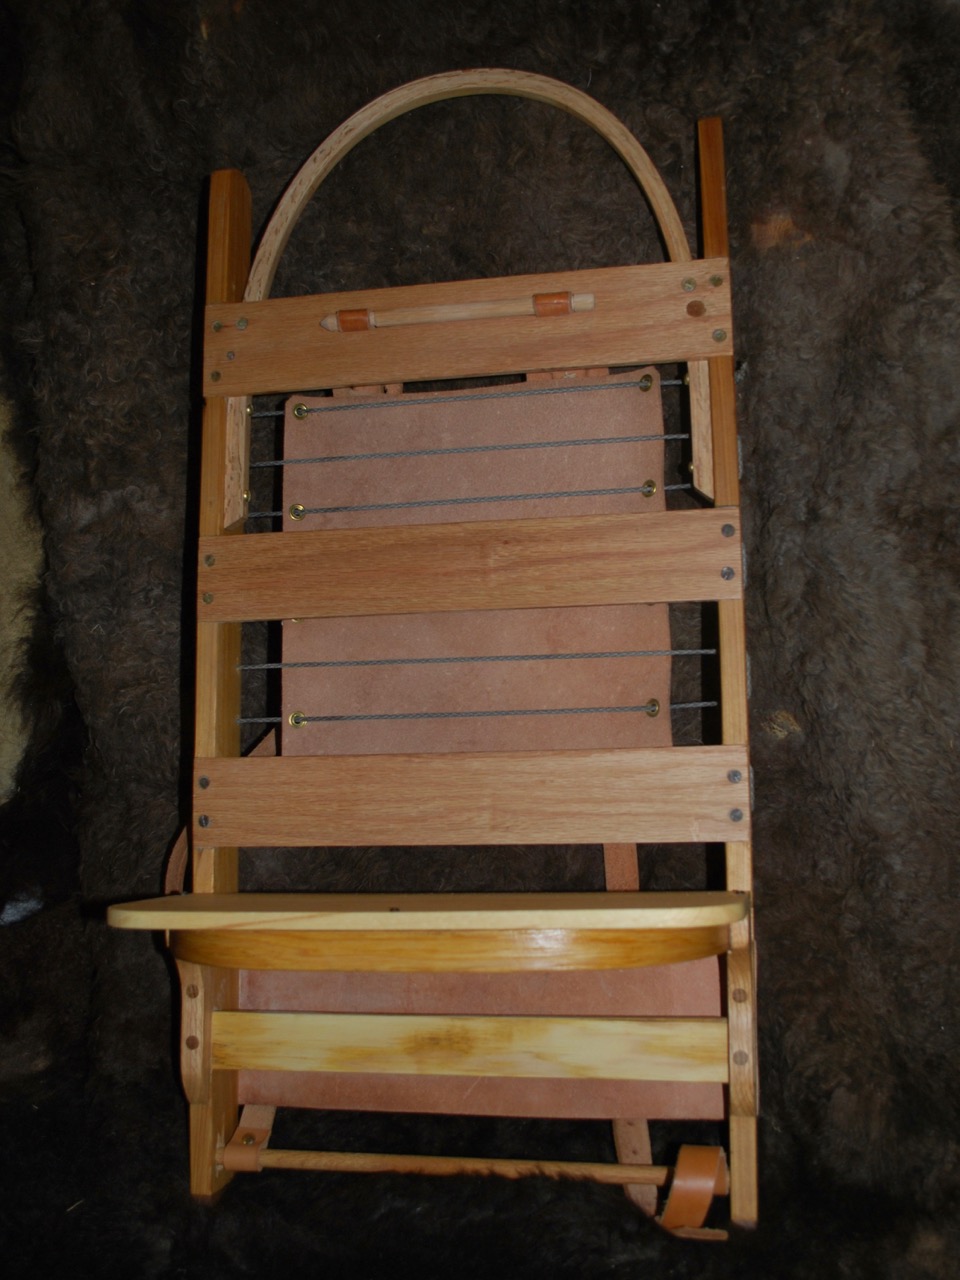
I chose 12 oz Hermann Oak leather for the lower pad stretched tight and permanently fastened to the frame with brass screws and finishing washers. The essential suspension depends solely on the cordage being strung tight while the leather pad distributes to stress across a smooth and wide surface. I think it will be quite comfortable.
I would like to make a removable rucksack for this frame and would like to be able to utilize the straps either so making them easily removable was a must.

As for hip belts; I’m still undecided at this time but I suspect that sometime soon I will be constructing one.

I’ll continue to update the progress here and try to remember to take more photos along the way. It really hinders work to have to think about documenting yourself along the way but I know people appreciate seeing the steps.
Walk in peace…
GTC

Nice article George…thanks for the links too…!!!