
Sometimes you have needs …

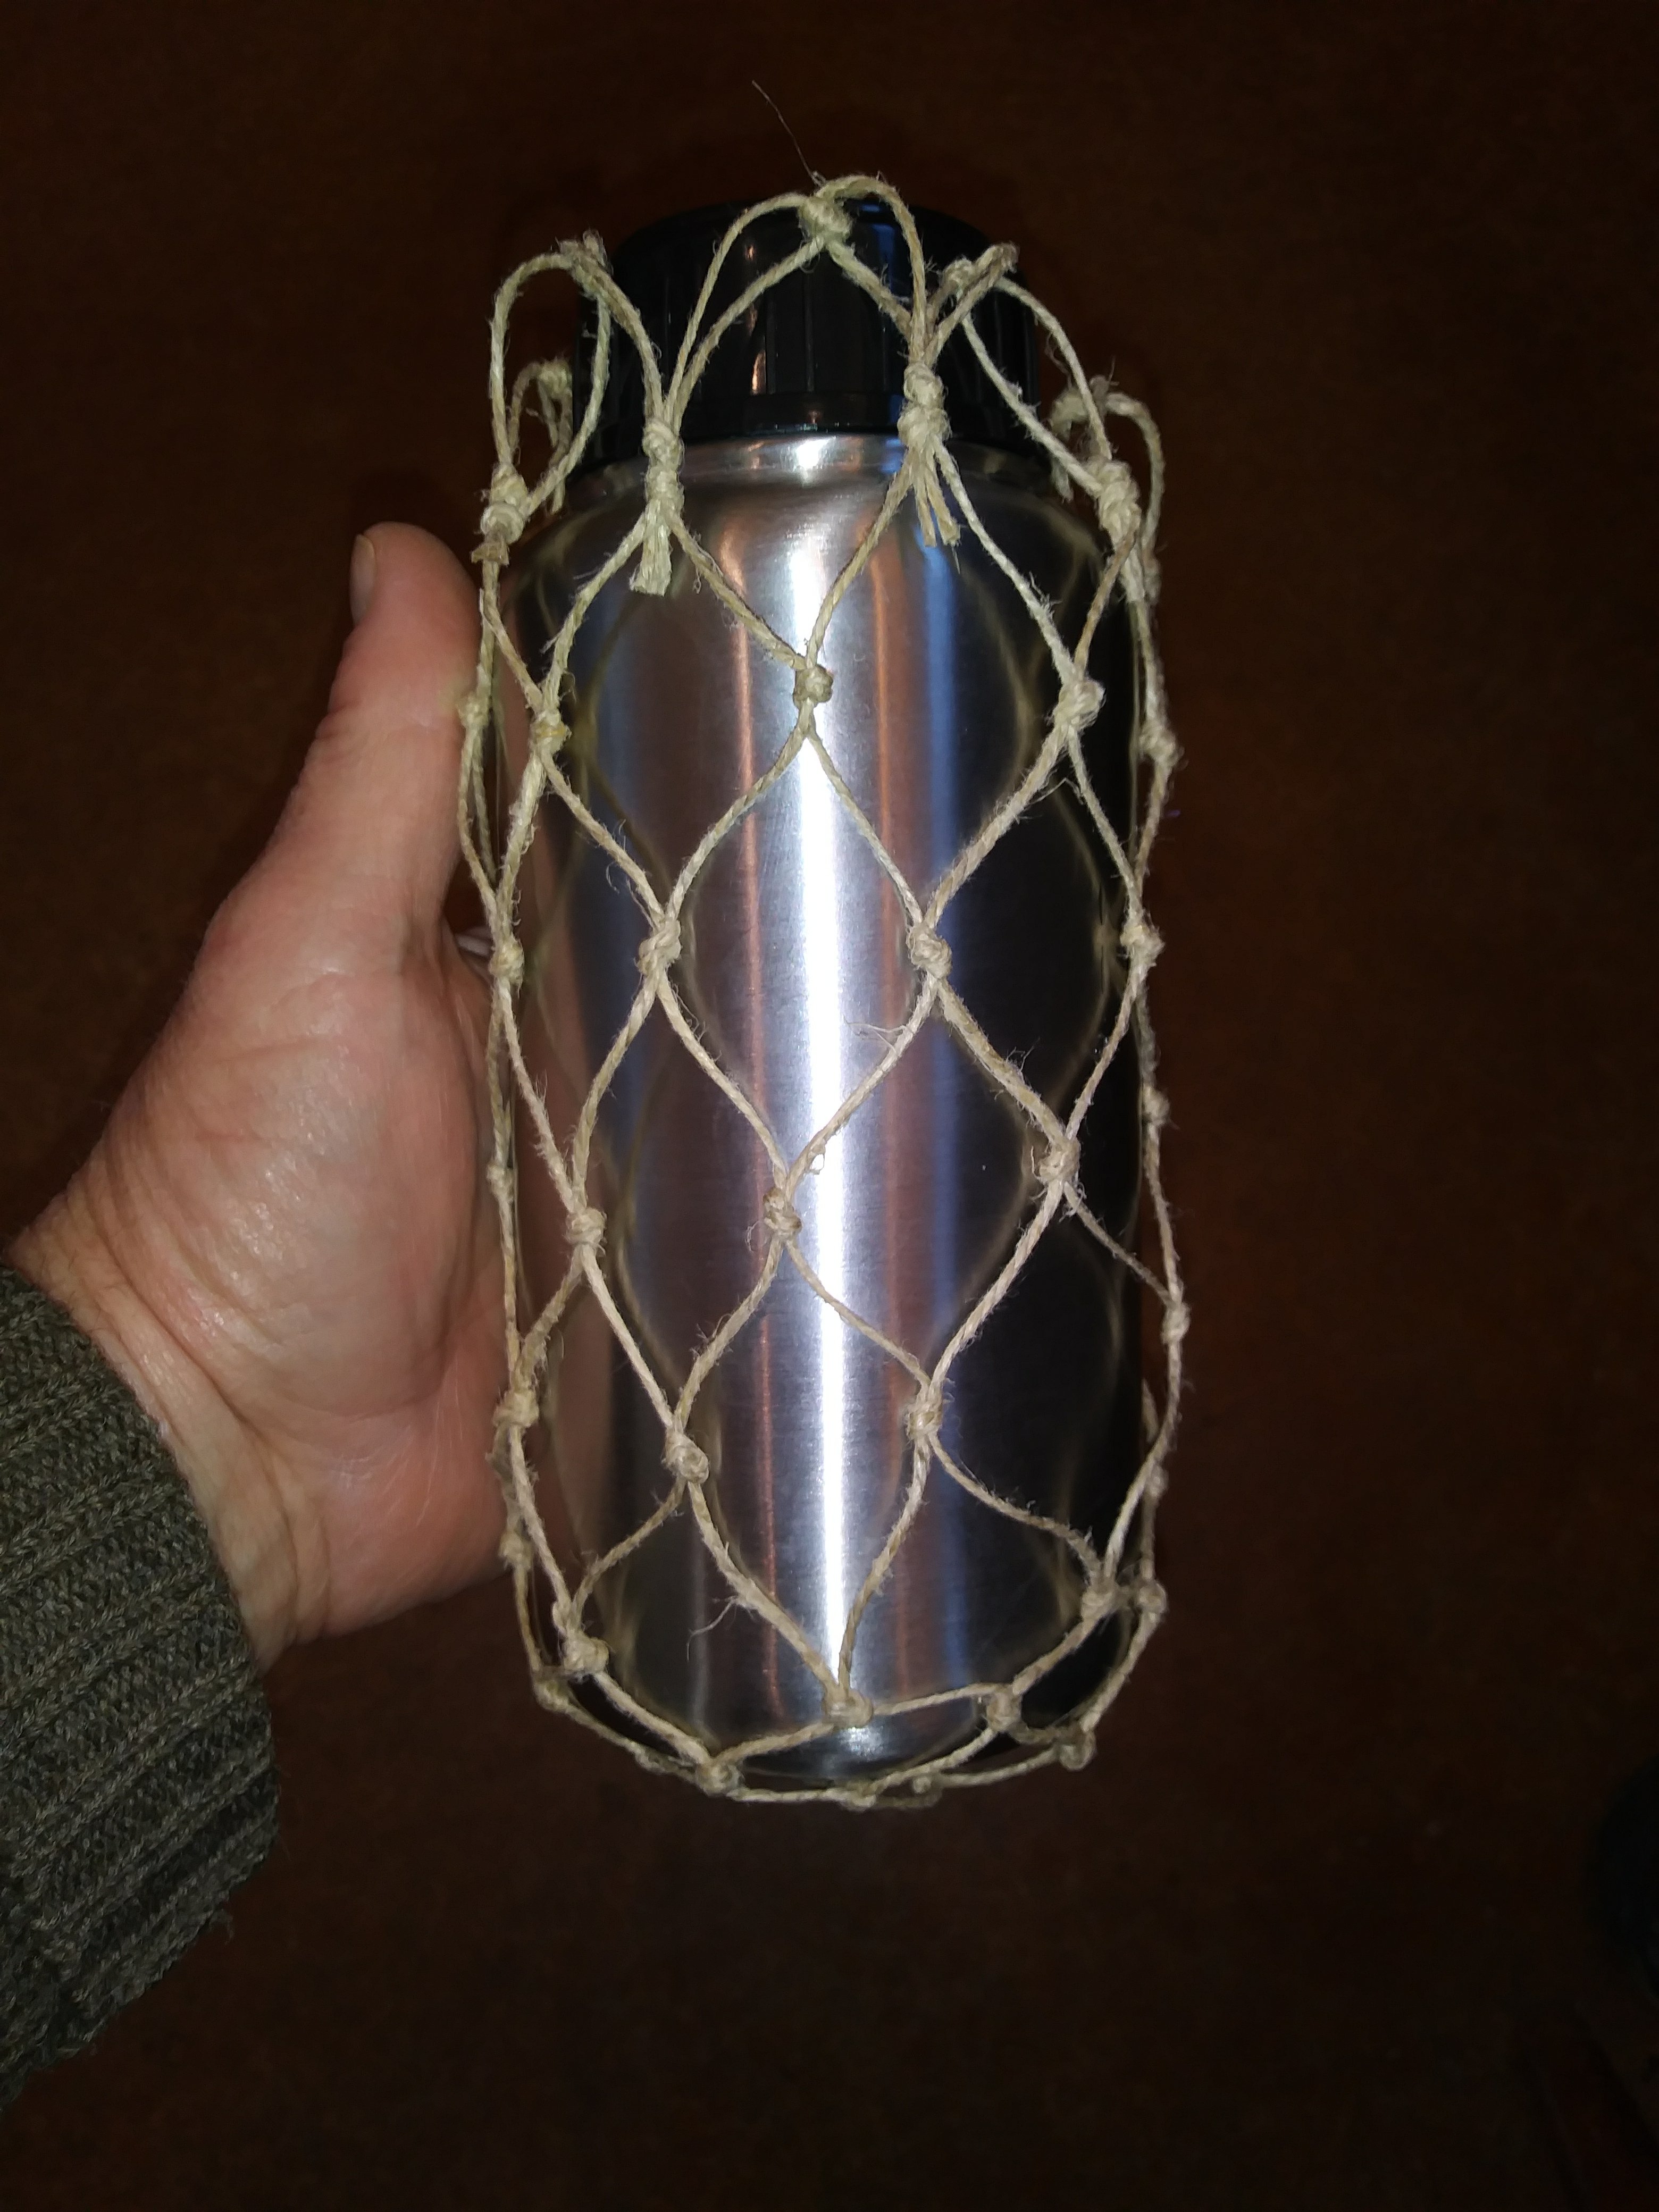
I needed a net bag for my water bottle while I’m on the road. I knew this was going to be a problem when I left home so I threw in a ball of string in case I had some time on my hands. I almost always bring something to keep myself busy. Idle hands are the something’s something, or whatever.

I took a few photos along the way and thought I would make a short tutorial as even simple knot work is often mysterious to the uninitiated. I hope this helps someone. It’s a great introductory project.
INSTRUCTIONS –
This little bag uses a simple overhand knot technique and is probably the simplest mesh you can make. Other than a cutting instrument there really are no required tools for this so gather your string, fetch the object that will be held (in this case a water bottle), grab your knife and we can begin.
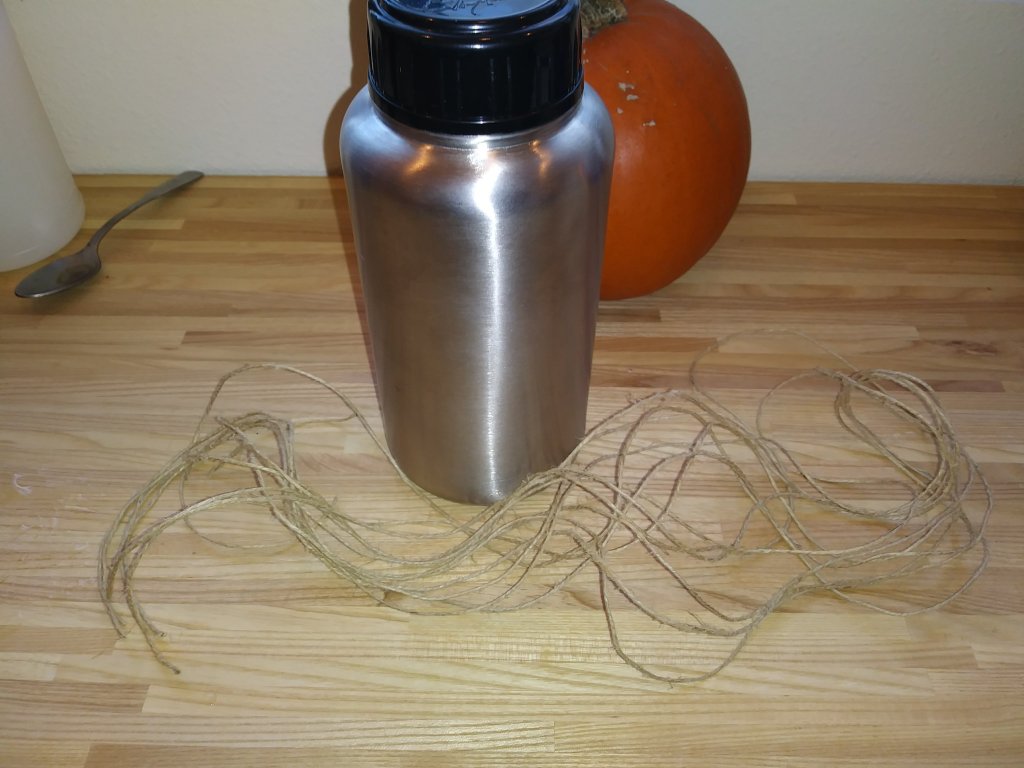

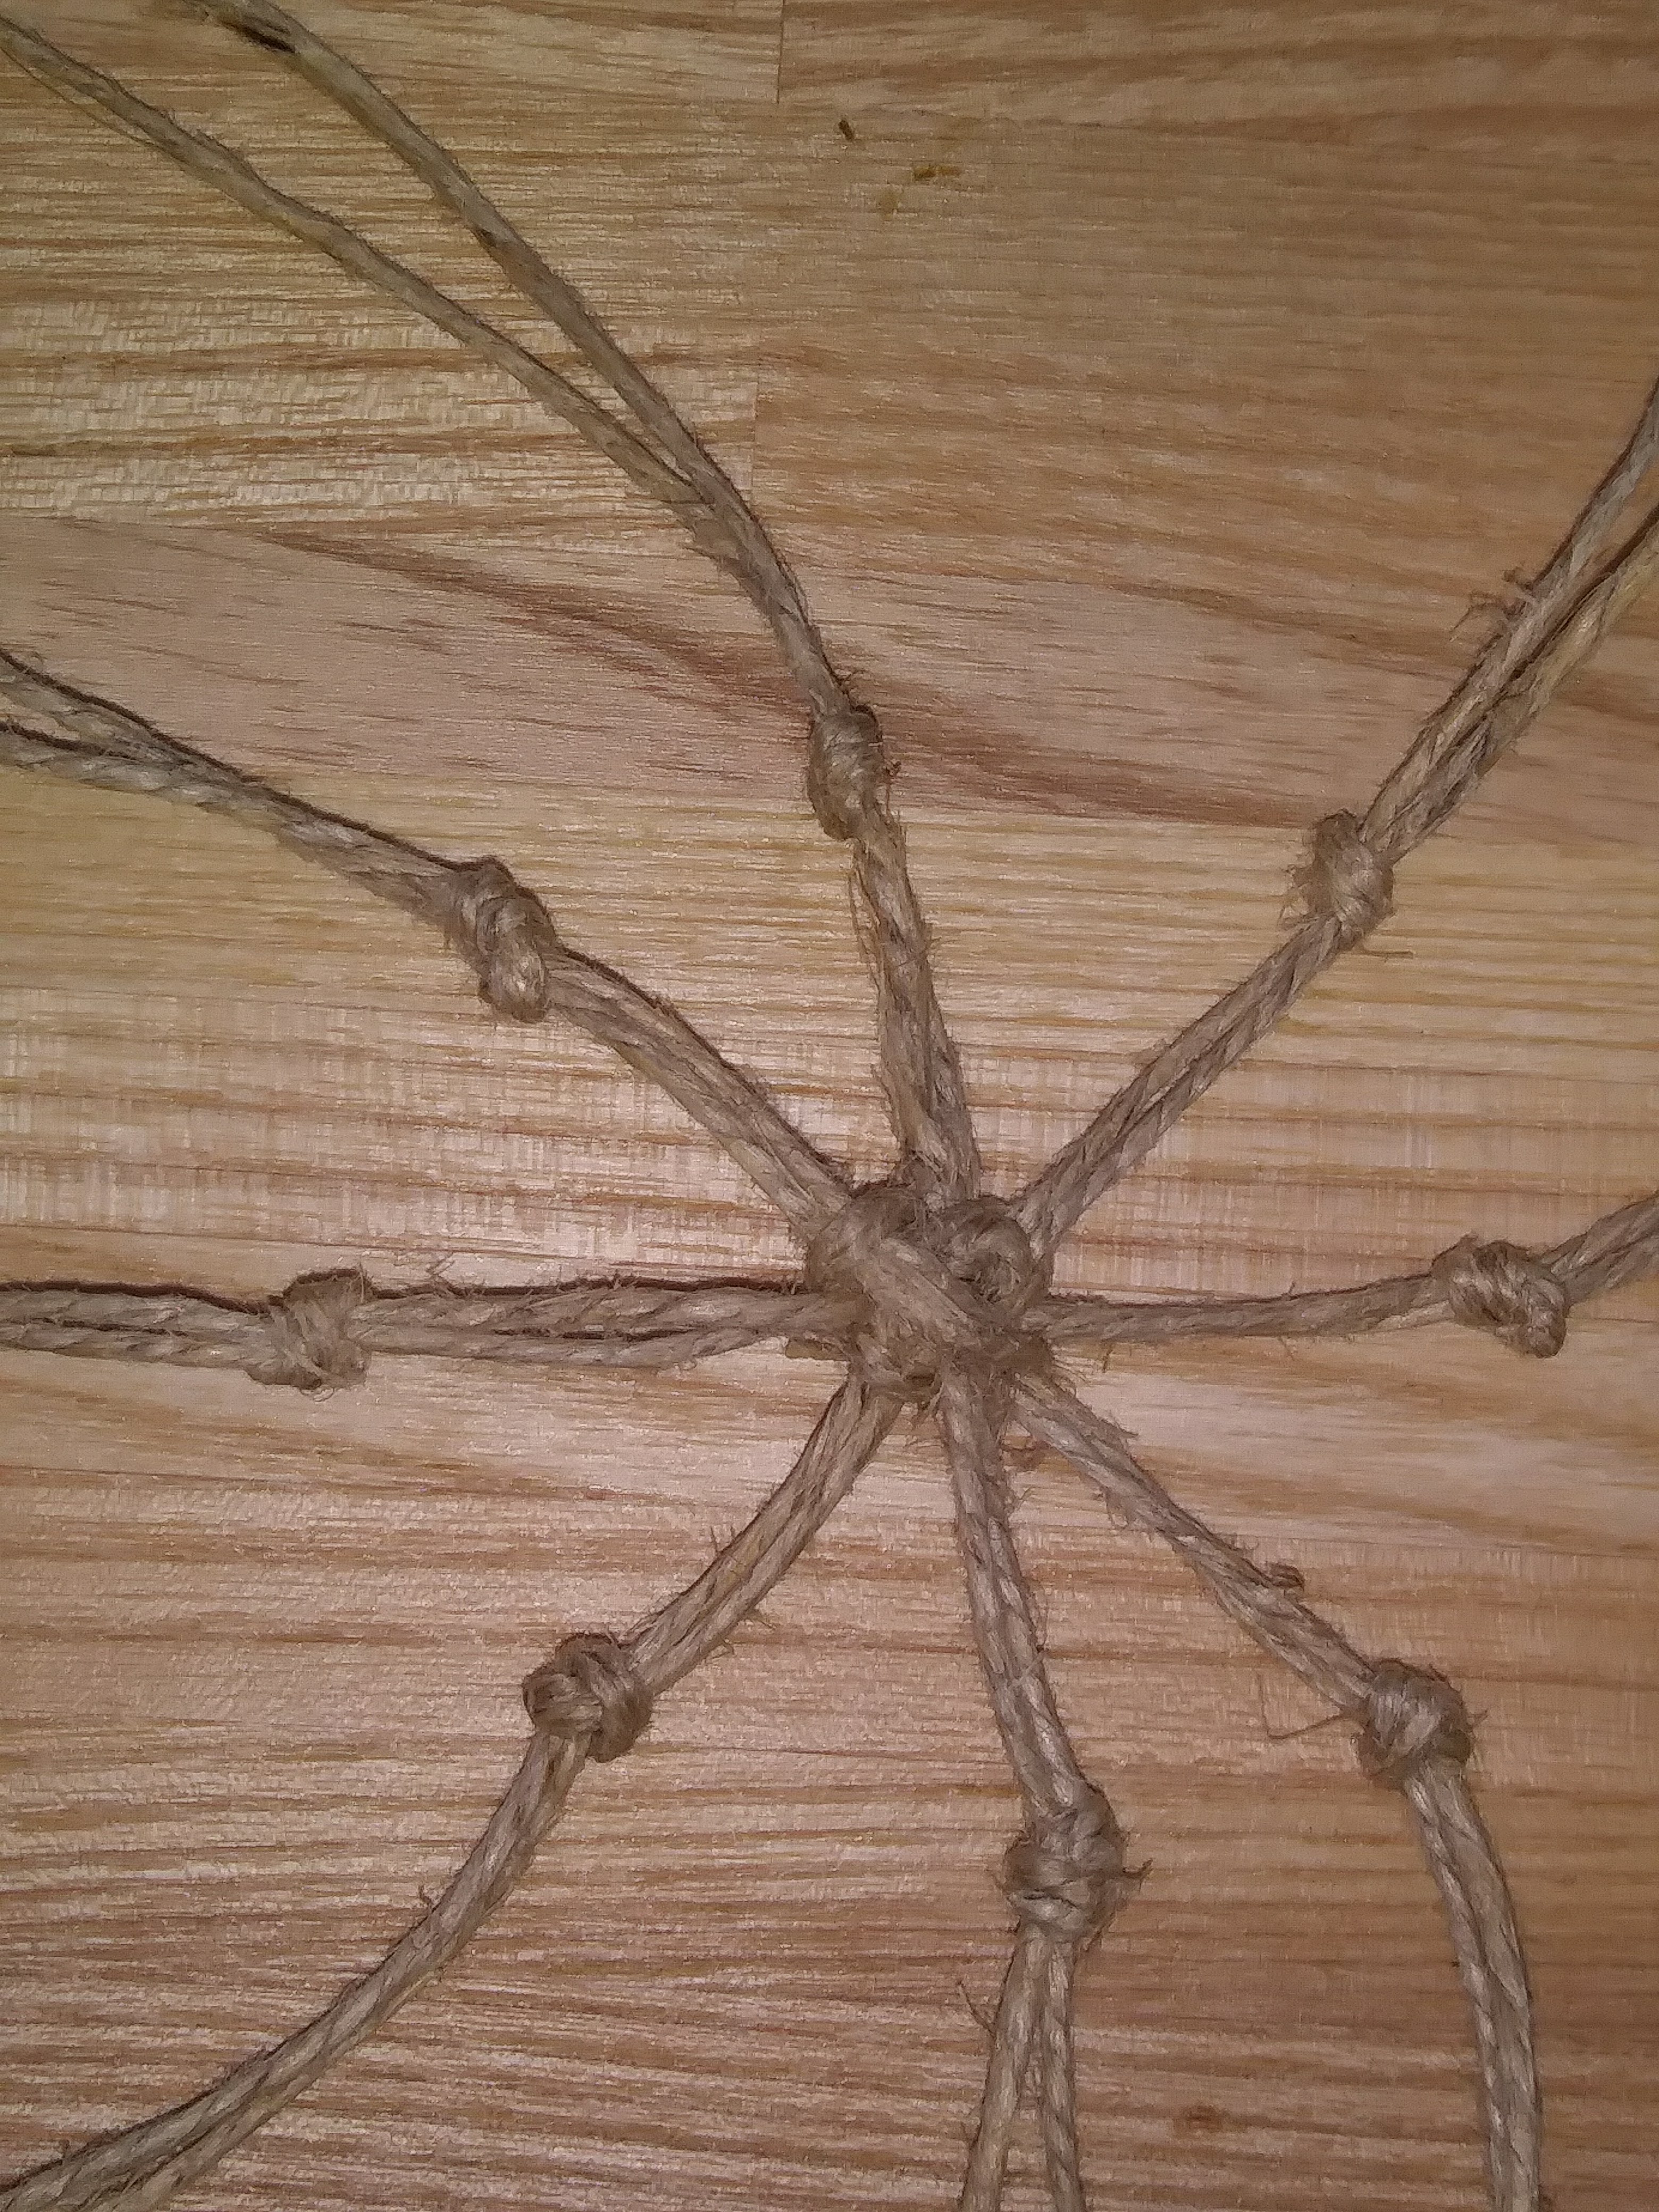
The next thing to figure out is how many strings you will need. Much of this will have to do with how small you want the holes in your net; more holes, more strings. I estimate this bottle is about 12 inches in circumference and I thought the minimum number of strings I could get away with would be about 16. Since they’re doubled in the middle that means there will be 8 strings cut at least four times the length of the bottle.
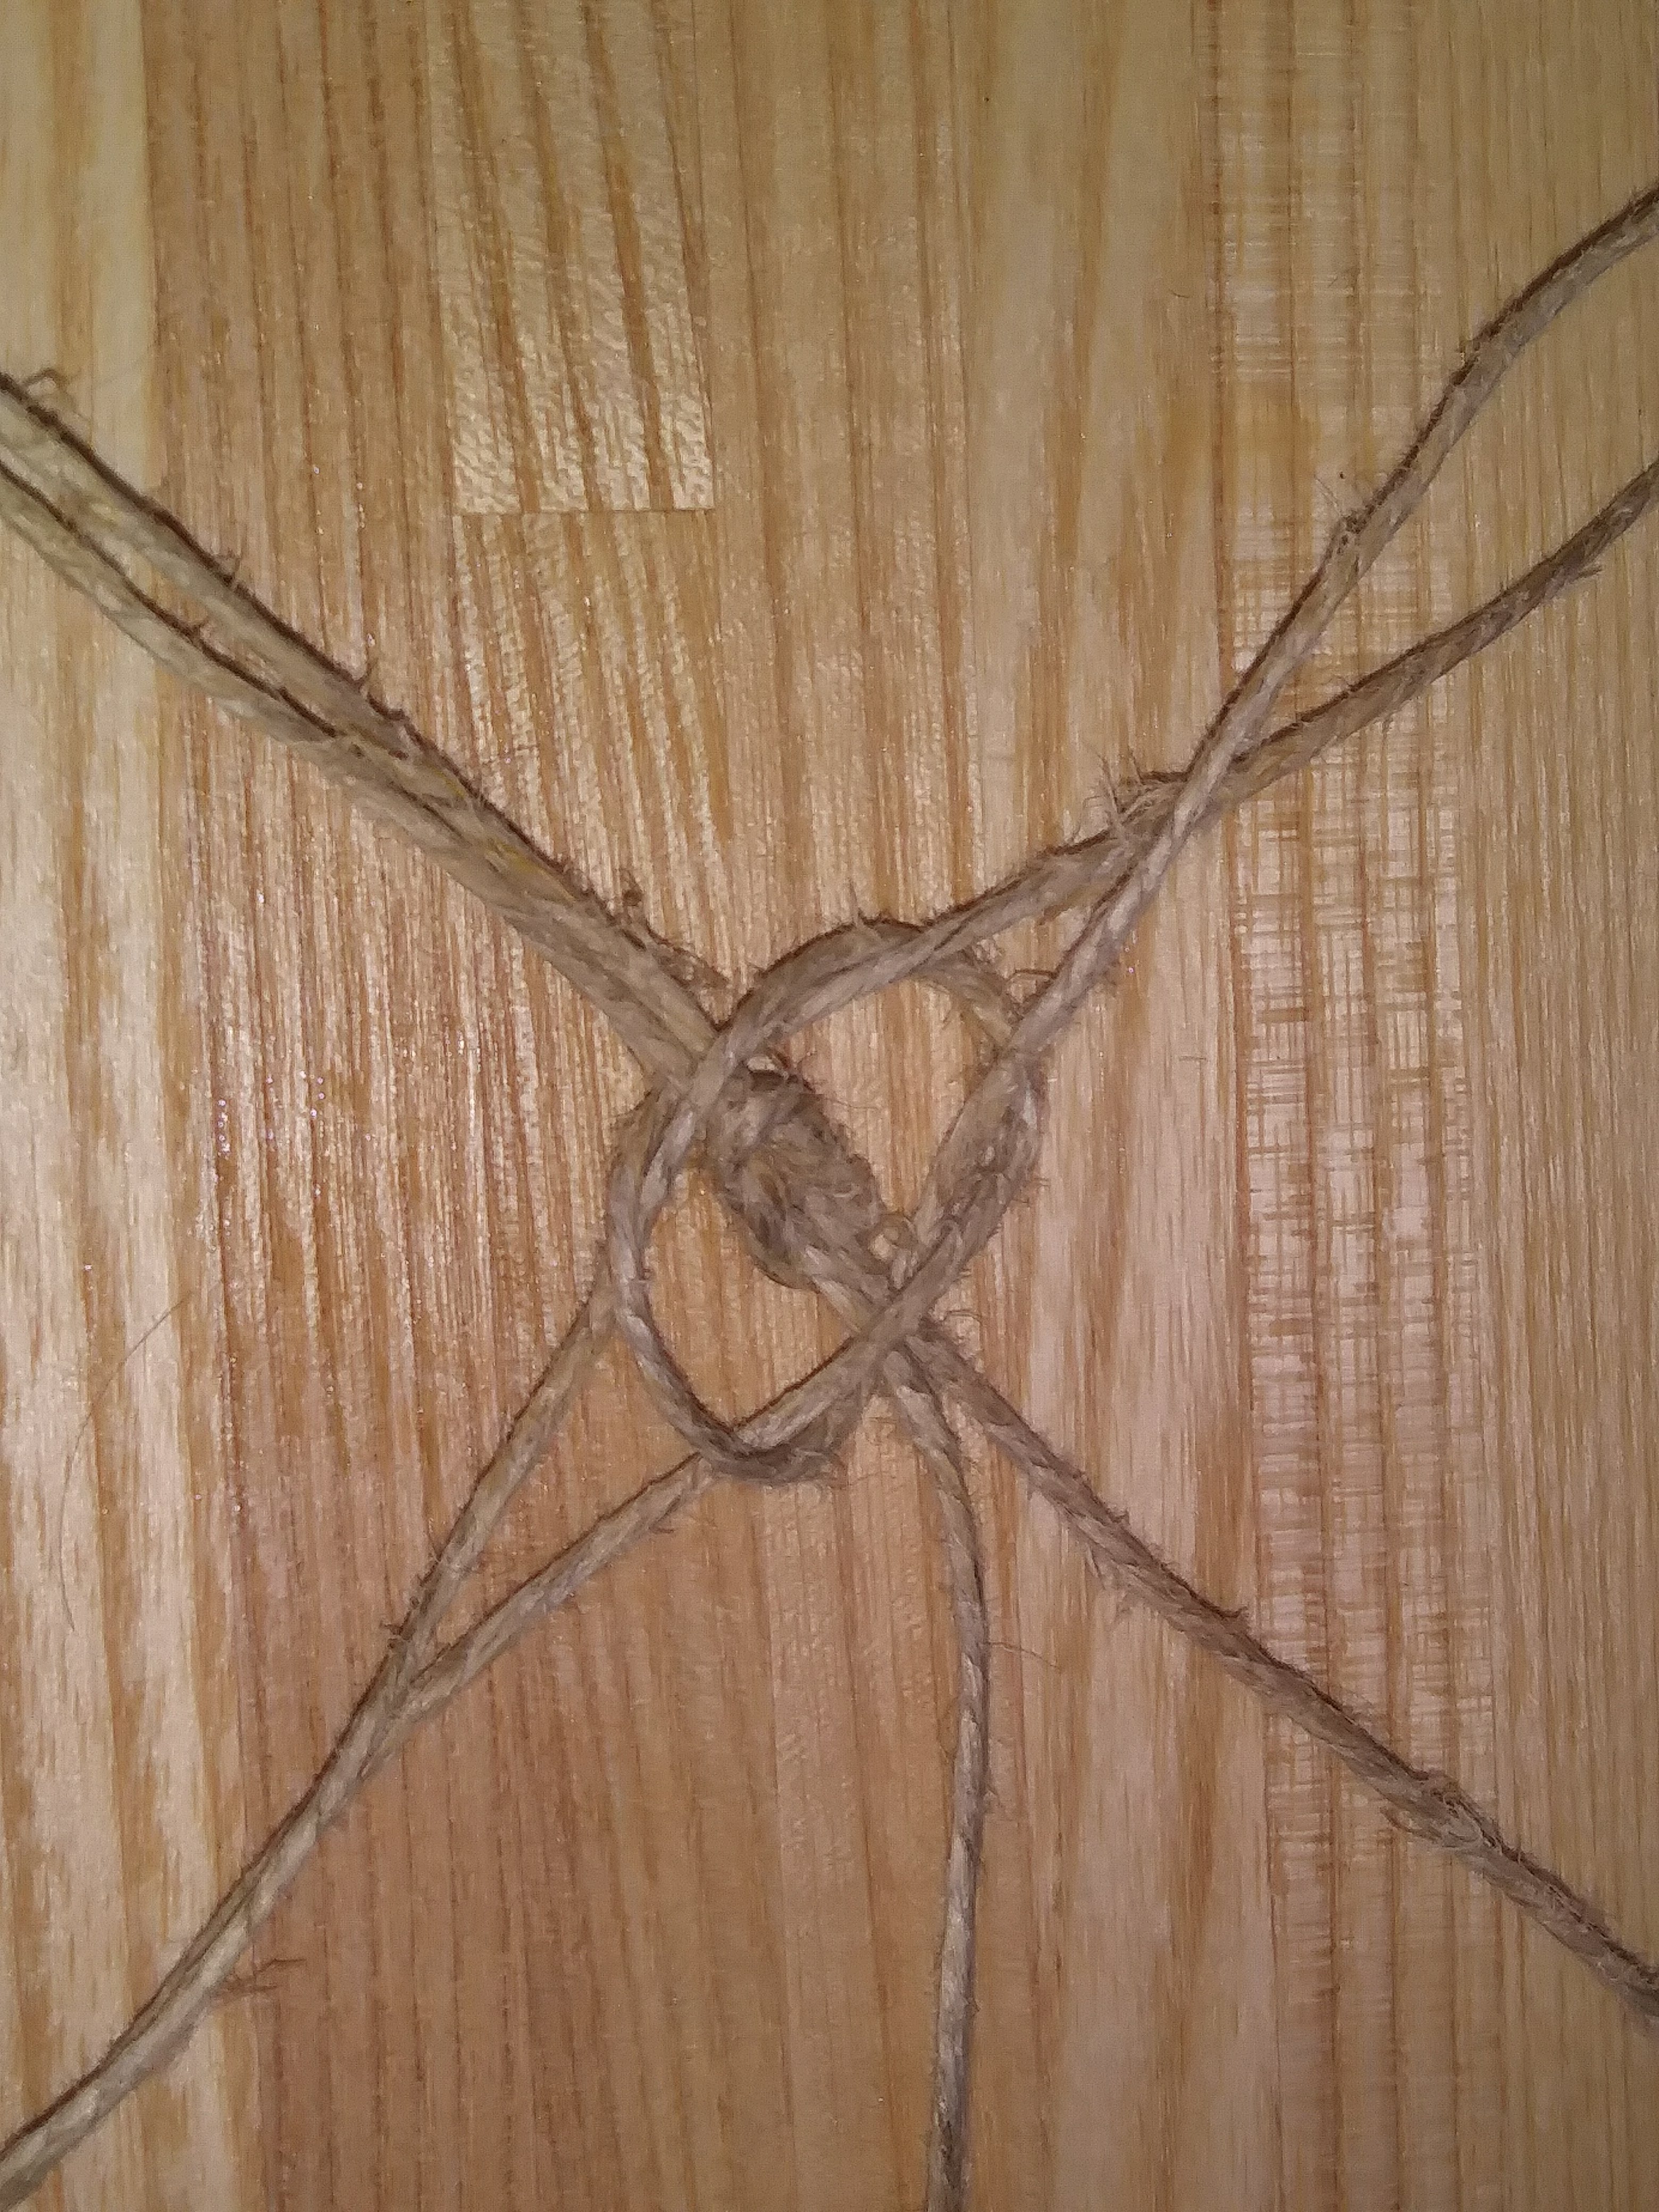
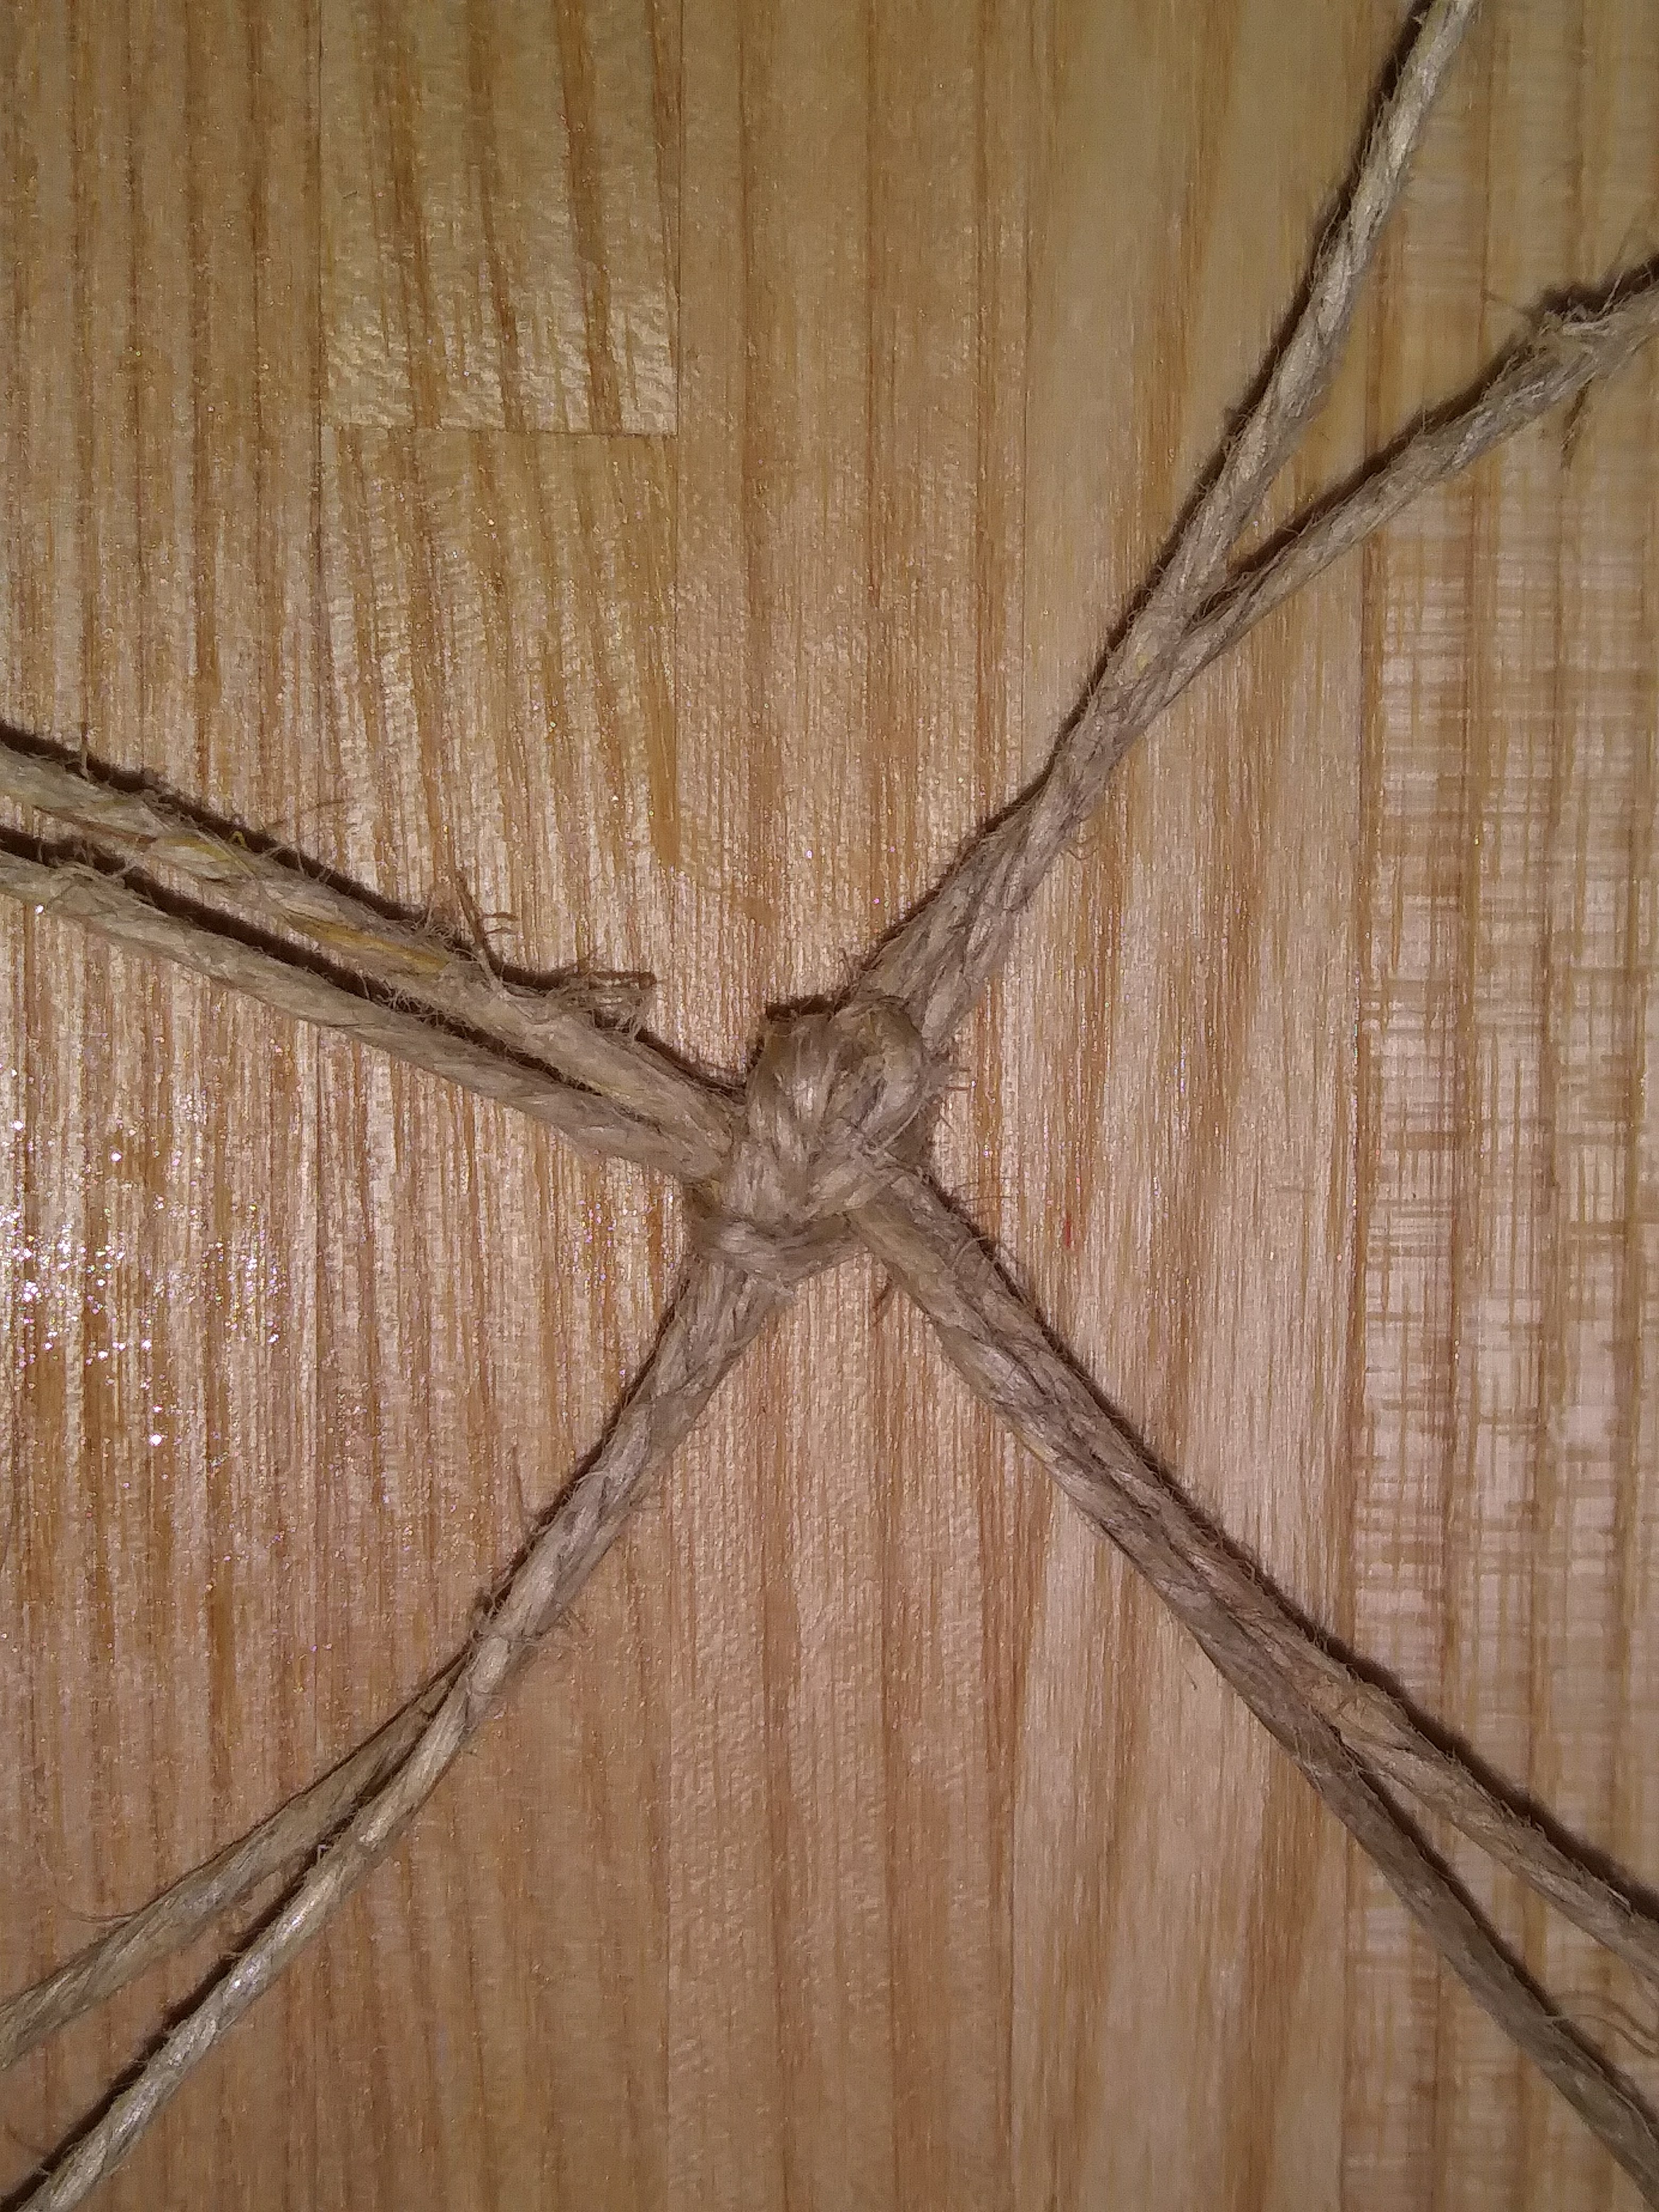
After the first two sets of strings are put together the remainder are added like spokes on a wheel. If you’re going to use a lot of strings, say to make a cast net in this way, you would need to add a ring of cordage as the center to attach all the spokes to. Otherwise, you would end up with a bulky knot in the middle.

After all the spokes are added it becomes a simple project of making overhand knots in pairs.
Here’s where it seems to get tricky for some people. The next step is to connect neighboring strings to create a diamond pattern. That is to say, each half of a knotted pair will join its neighbor.


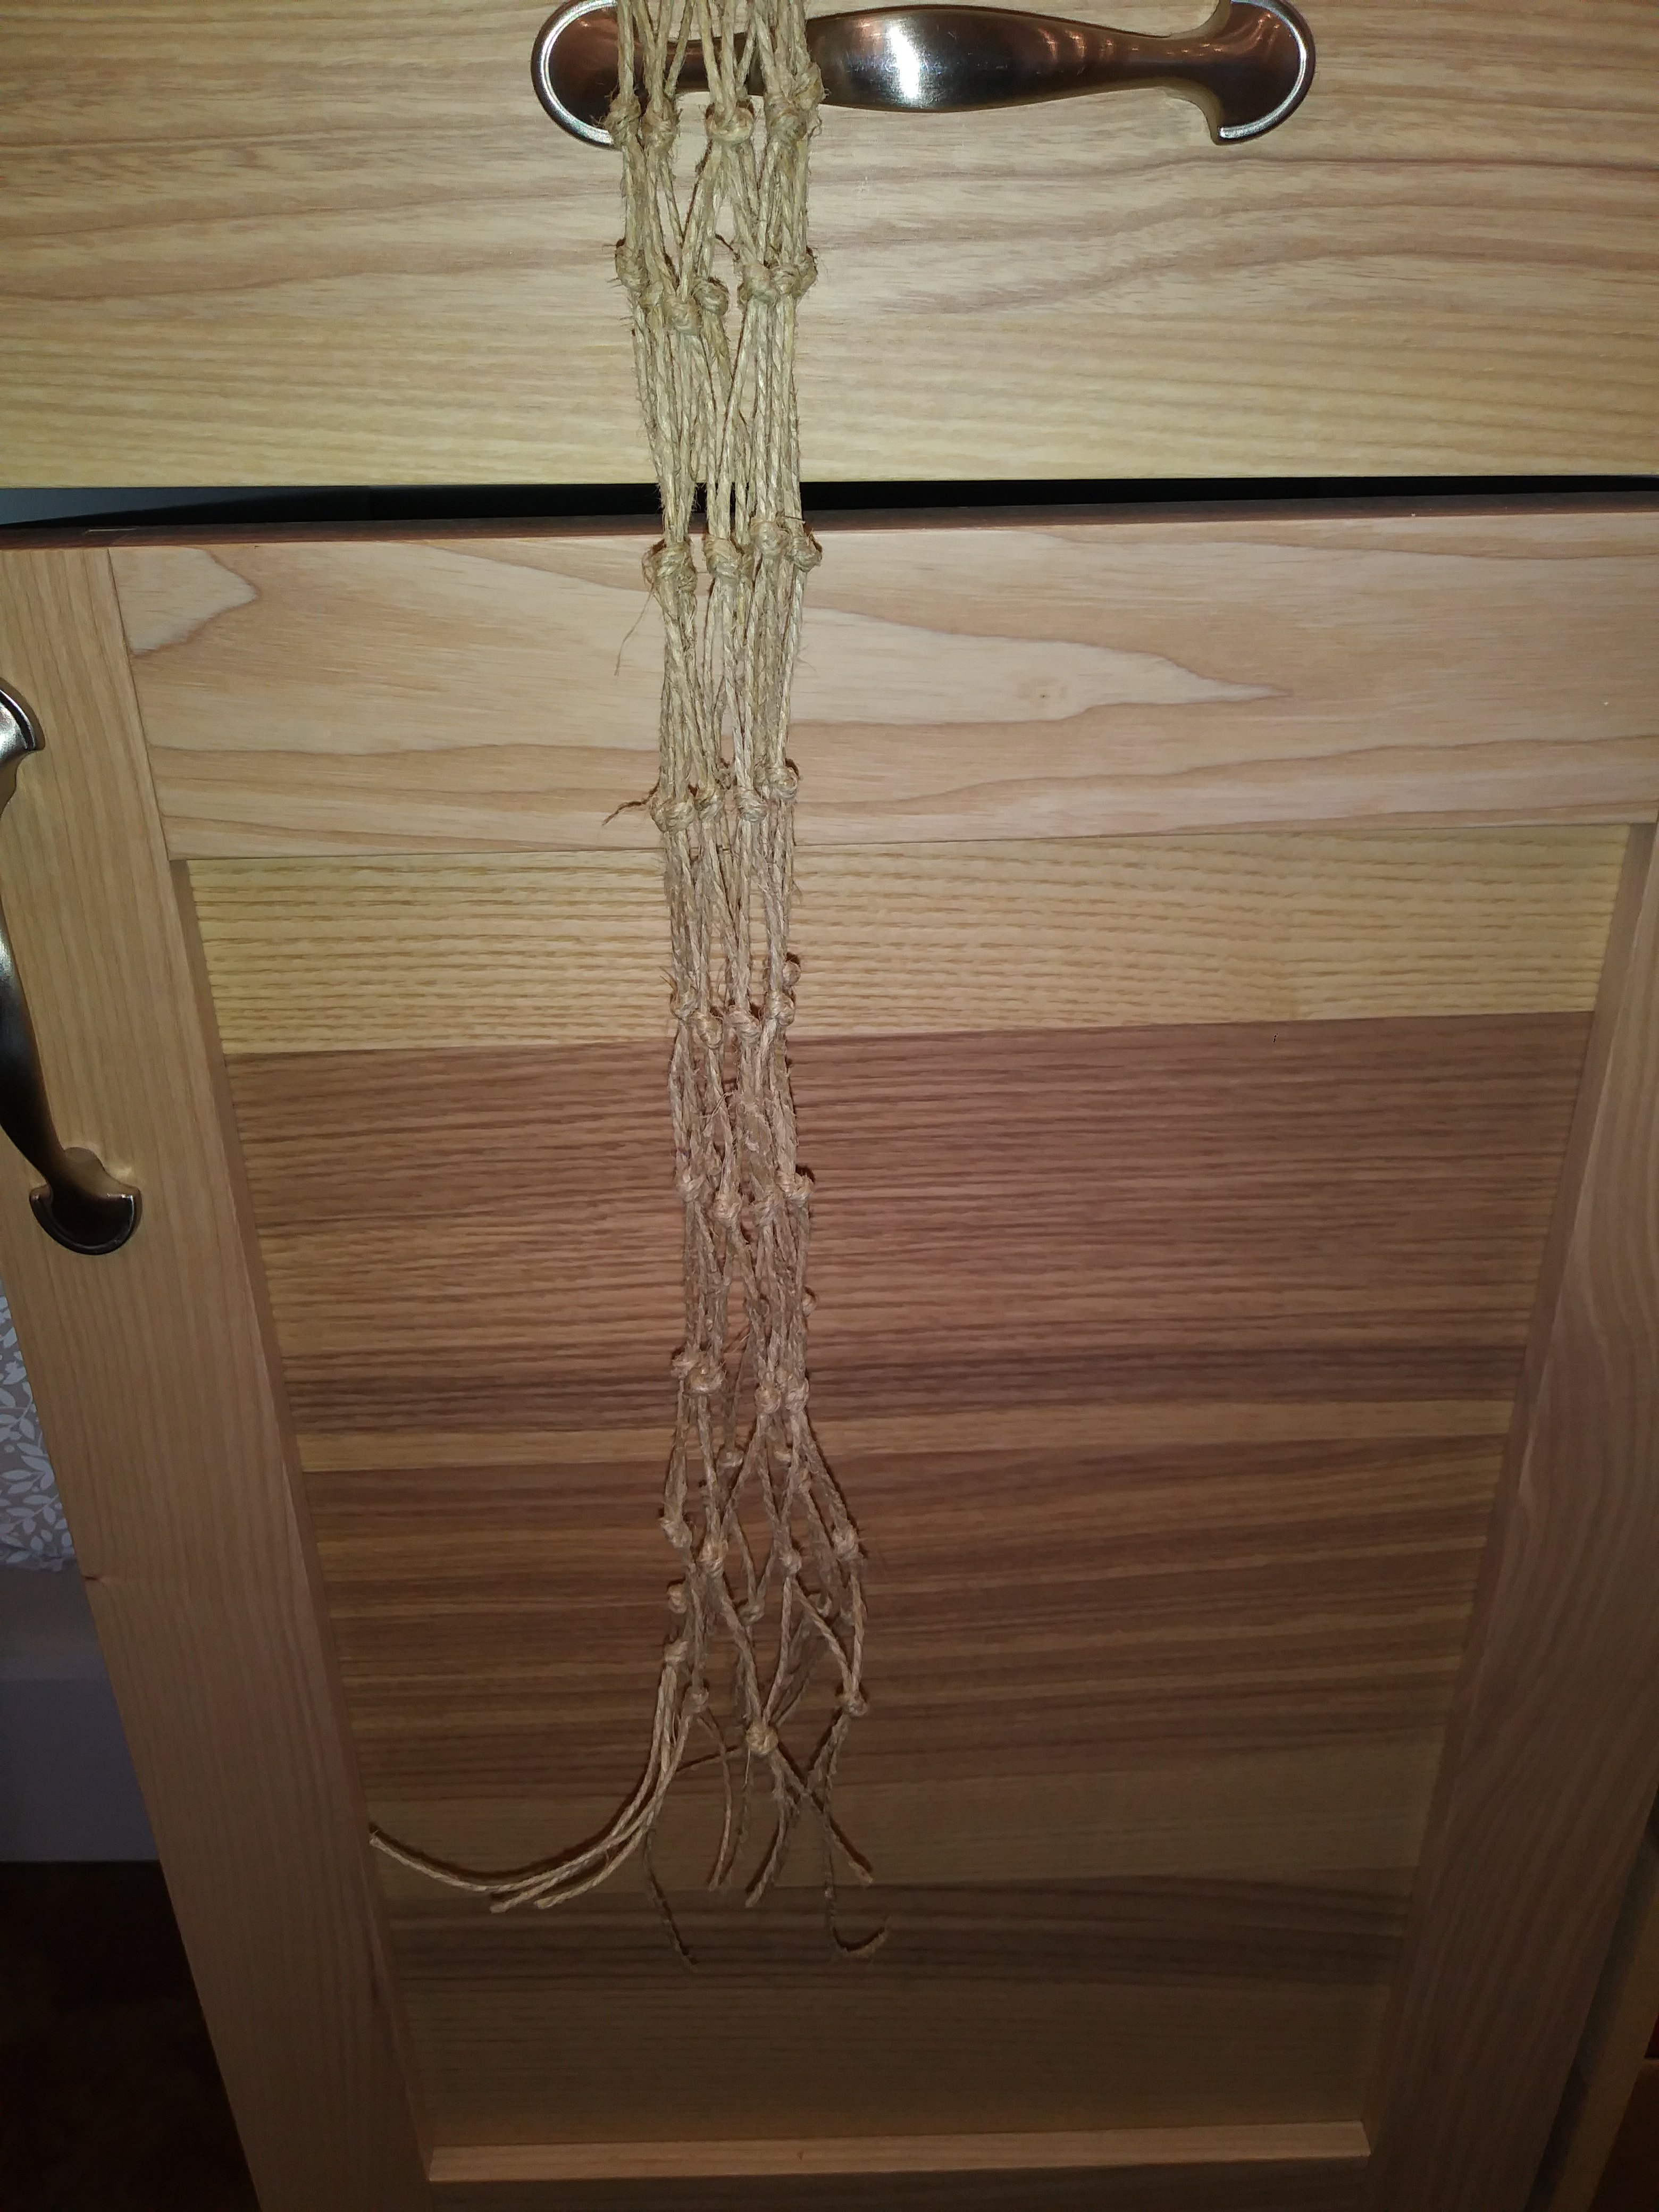
If you notice your bag is coming out too skinny you need to space the knots further apart. If you need to taper it in at the base or the top, make the knots closer together.
Instead of binding the top in any fancy way I simply ended the last round of knots folded back to the previous. See the picture above.

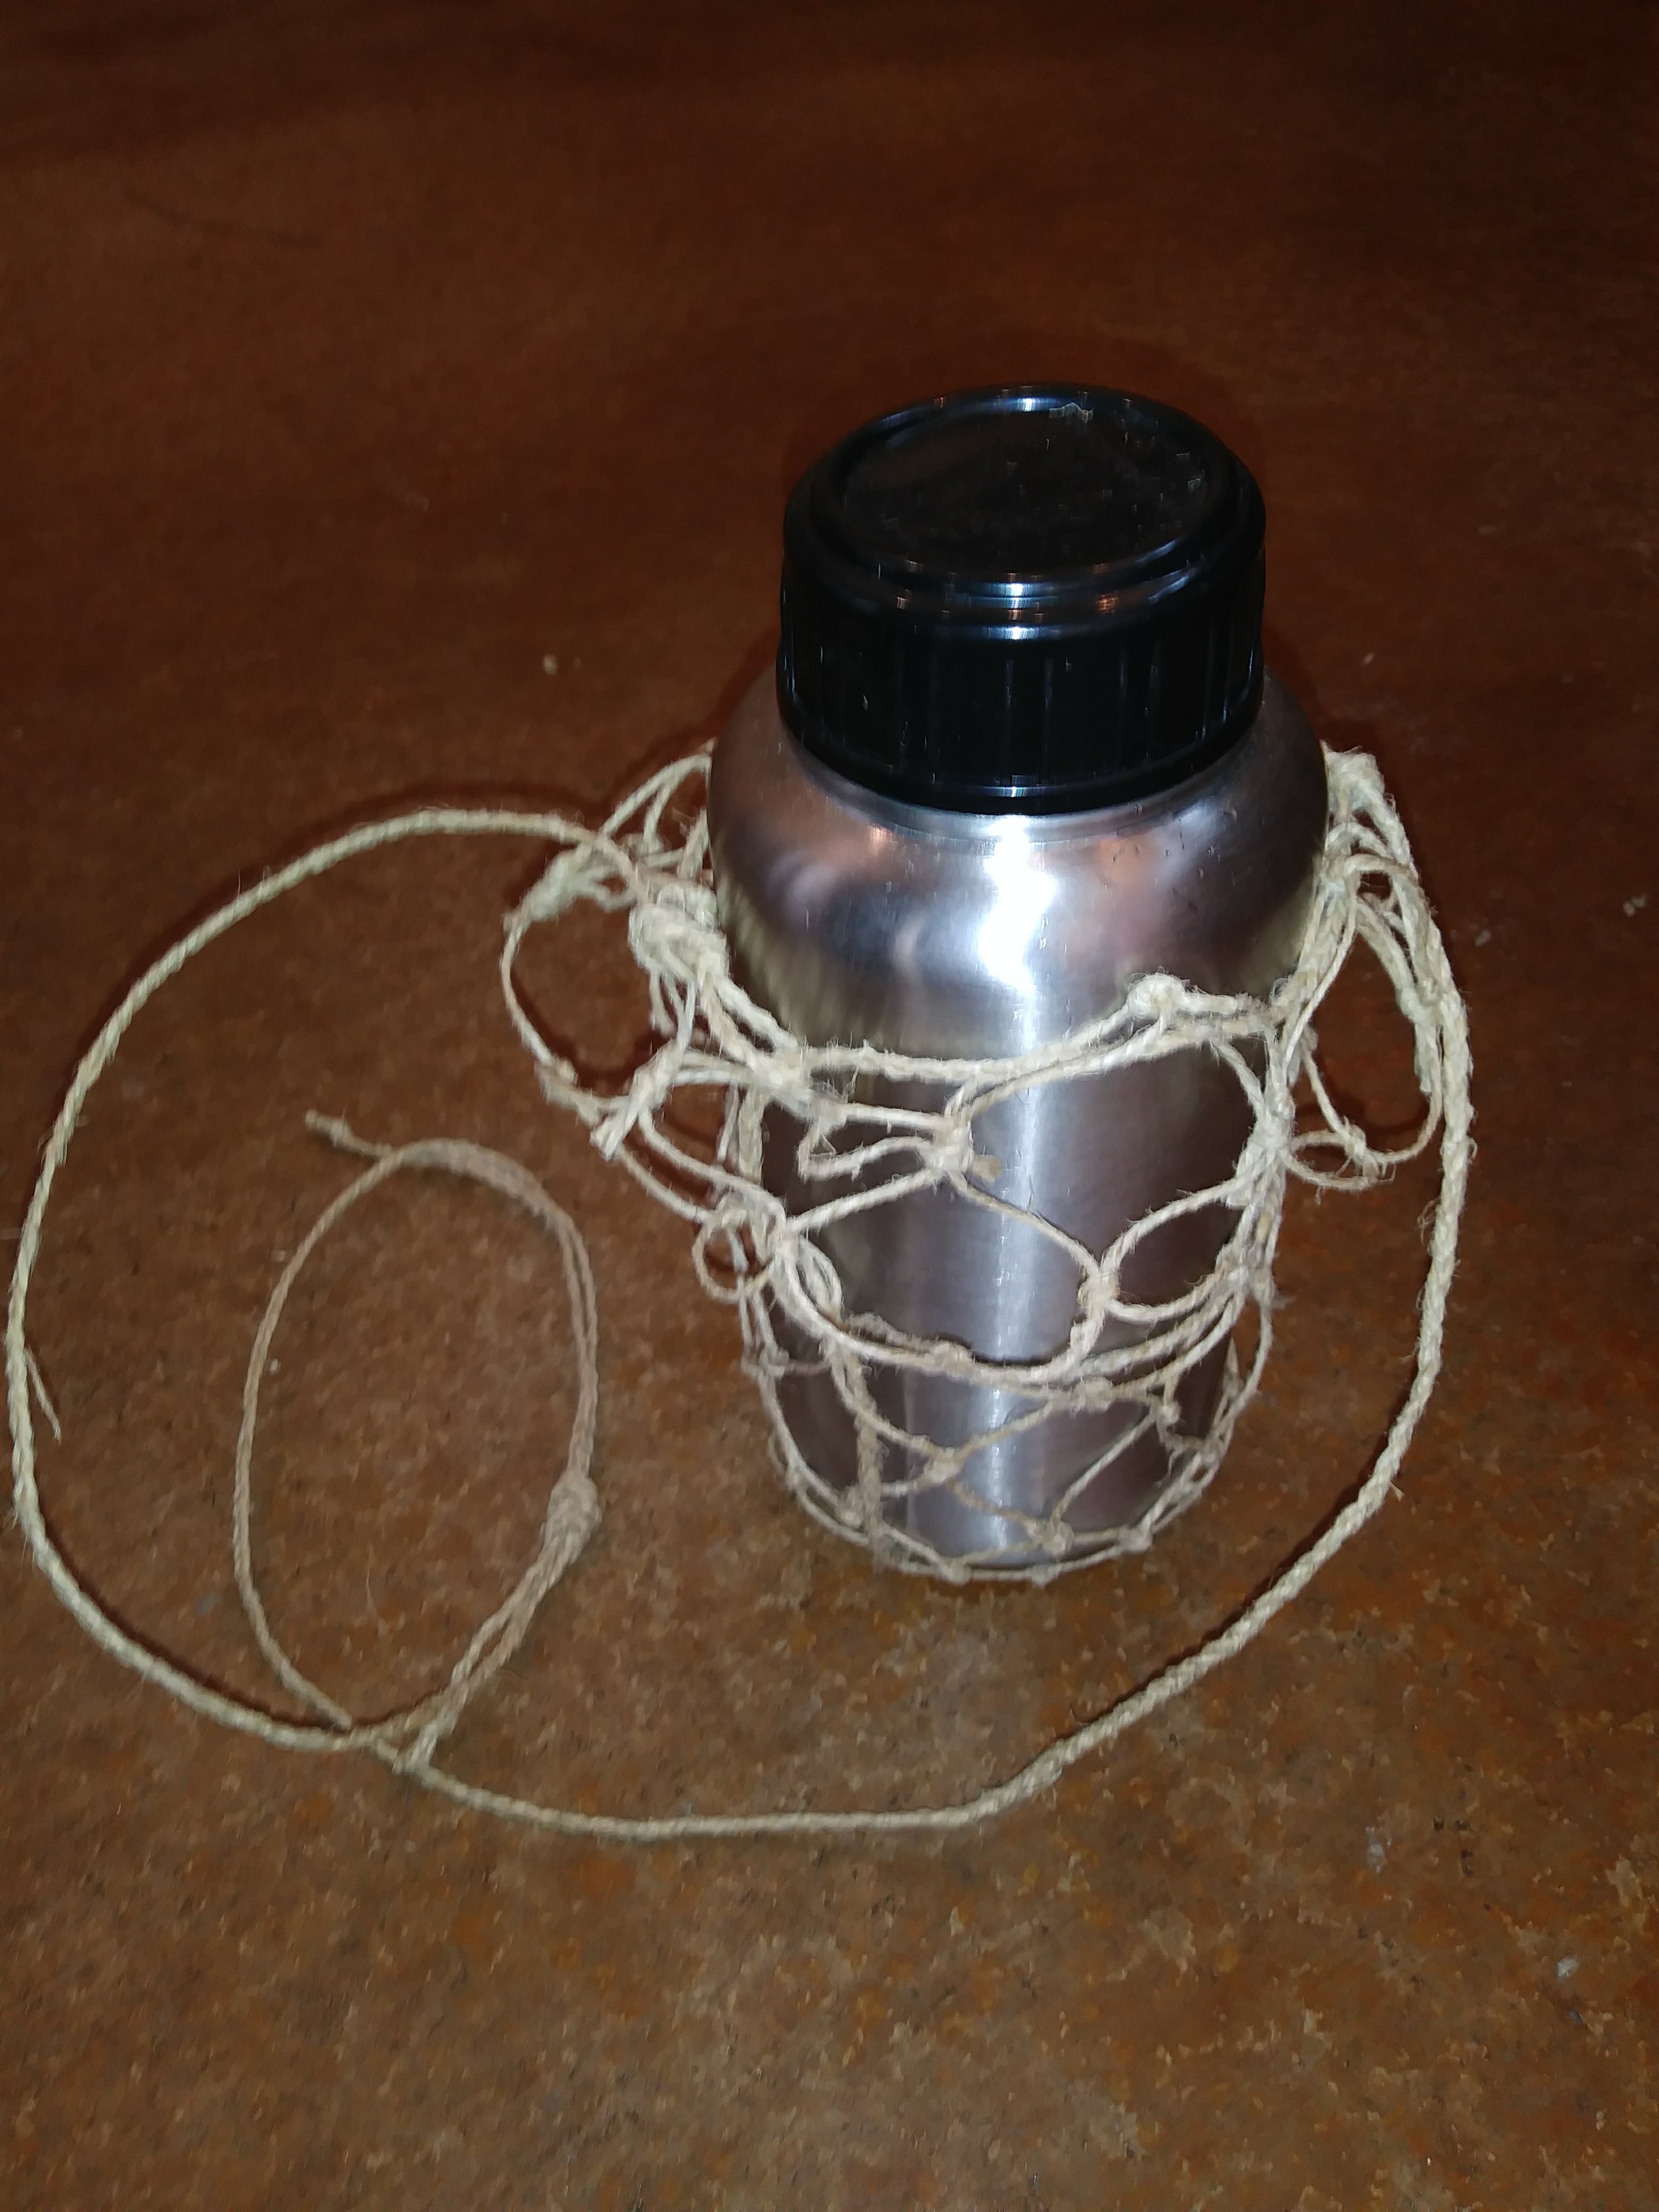
All I had was the string to work with so I had to make a heavier cord from this for a drawstring and strap. The simplest solution was to just braid up a heavier cord. In this case I just did a simple three strand braid. If I were making something more lasting I would probably finger weave a strap or maybe use a thicker, more complex braid.
Three 10 ft lengths of string become an 8-foot cord.


I realize these instructions are not very detailed but this level of Technology is extremely simple and has been reinvented time and time again. It needs a little detailing if you are willing to spend the time and experiment a bit. Don’t be afraid to tie and untie things, to add more string, to have a less than perfect outcome.
This is how we truly learn. When we have to make decisions on our own based on the skills, materials, and information we have at hand.
GOOD LUCK!
