
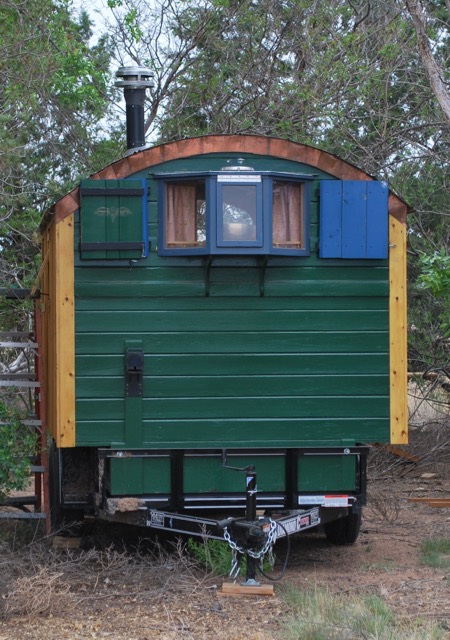
I have not been entirely idle on the vardo project but have not had time to post here. Work life has been eating up my spare time with travel, and fun though that may be, it means nothing else gets done outside the work day. Cutting a hole in my nice, dry roof haunted me for several months but with the aid of a high-temperature silicone stove-pipe flange, I was ready to dive in. I didn’t want to remove the roofing panels so the cutting was difficult. I did what I could with the circular saw and gnawed the rest out by hand with a chisel. Not pretty, but it worked in the end. Then it was just a matter or cutting a hole through the steel and cleaning it up with a file.

I created a cover for the hole from an old, solid copper serving platter (see photo below) that looks nice, and will cover the ugly. The gap between the layers was filled with stove gasket insulation.
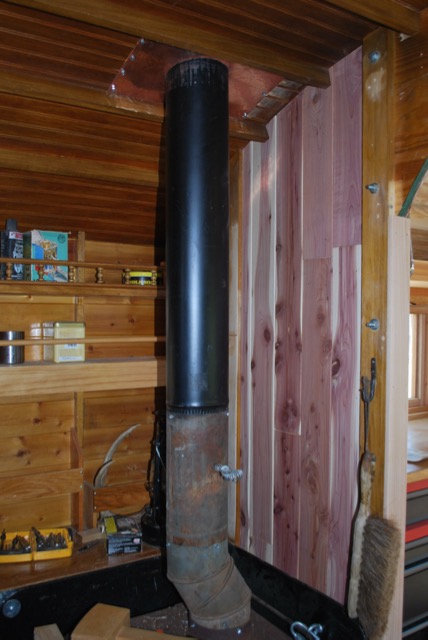
The upper pipe will get a coat of high heat paint while the lower portion will get stove polish along with the stove itself. In the background, the new juniper paneling is visible. Otherwise, the place looks like a wreck. The mallet is handy to solve all measurement problems.

Learning from experience, I created this new chimney setup so that the outside pipe could be easily removed, if necessary, for off-road travel. I will probably shorten the pipe by a few inches as it sticks up fairly high. Once this was completed, I could get back to the good stuff.

In order to maximize storage space a small shelf was created to hold soap. The size was determined by a standard Bronner’s soap bottle and it holds two comfortably.
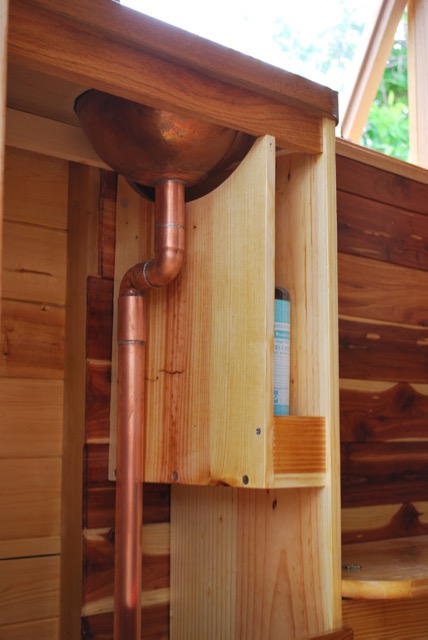
Some scraps from the wood pile were recovered and planed down to rejuvenate them for use. Nothing fancy here, just utility.

Everything in the area has another coat of varnish so as soon as create a method of securing the Samovar, the washing-up area will be complete.

Finally, I have begun varnishing the floor. The new oak contrasts with the old but will darken soon enough.

Nice subtle humor about using the mallet to correct for measurement mistakes. Of course….there must be some truth there for it to be funny. Beautiful work!
Looking good and gooder. Was the out-the-wall pipe not drawing enough?
No, it was fine. Just with the addition on the rear I had no choice.
It looks like you used steel fasteners for the copper plate. I think that you might get a galvanic response from that.
Good eye Bill. Yes, I am totally out of the fasteners I need and my local suppliers (the Ace-holes and the Lowe-brows), don’t carry much in copper, bronze, or brass. I don’t even have any copper flashing nails on hand currently! The best I can come up with locally is brass wood screws set in a finish washer. This is, however, something that will get fixed in due time. Thanks for pointing it out!
Oh yeah, and the sheet metal screws just look wrong.
I am waiting with baited breath for a photo of the other side of the new addition. I have noticed a few photos show just a small peek at what is going on. I know it’s red…maybe a tool box, or maybe it’s actually that kitchen you spoke of. I just can’t wait to see.
Just to let you know, I’m a few weeks away from taking my new vardo build out for its first road trip. I opted for a 10 footer. With the two extra feet I figured out how to sleep my wife, myself, and our two teenage boys. I have borrowed from your build heavily, with parts and pieces from other builds found on the “instructables” app. I really appreciate all your hard earned wisdom and documentary. Thanks for a huge amount of help!
Renos are looking good.