


As if I didn’t have enough irons in the fire…
I decided to make (and learn) a new instrument this summer; a three-string cigar box guitar. It took a few weekends to get it right; figure out the design, apply a finish, and re-work a few details in the setup before I was pleased with the action, feel, and sound. It’s fretless so I am also learning a lot about the slide as well. It’s got a great, bluesy sound and maybe I’ll post a few riffs when I’m feeling up to snuff.

There are plenty of web and print resources for making a Cigar Box Guitar (CBG) so I leave the detailed instructional stuff to the pros. However, Cigar Box Nation is a great starting place if you are interested in homemade musical instruments and I’d suggest starting there if you have no other experience. You can even buy an inexpensive kit if you don’t know where to start but, in the spirit of the cigar box instrument movement, I decided to wing it for the first one. I did however, have to find a cigar box so I picked up one from C.B. Gitty for a very reasonable price. While there, I bought some parts for some other instruments in the planning stages and some very affordable strings to boot.
![]()
So how do you make a Cigar Box Guitar?
What follows is my brief overview of making a CBG from mostly found materials. As a side note, you are certainly not limited to cigar boxes for a resonator. A quick look around the internet will reveal some fairly ingenious sound boxes from oil cans, wine boxes, and gourds. I was tempted to save the few dollars and just knock up a box myself but decided that for my first specimen I would stick to the traditional model.
So what do you need to make a functional guitar?
There are essentially only three parts to this ancient style instrument; the neck, the resonator, and the strings. Yes, it’s a little more complicated than that but looking at the essentials helps simplify the construction.

Neck
The neck is any straight piece of hardwood about 35 inches (100 cm) long, about 1.5 inches (3.8 cm) wide, and approximately 3/4 inch (2 cm) thick. Mine was made from a less-than-perfect recycled oak scrap out of my wood pile. While strings can actually be harvested from the steel radials in tires, these make for some pretty limited and primitive sounds. I just used a set of guitar strings I had around for the setup and strung it properly when complete with a set of open G tuning strings from C.B. Gitty.

Resonator
The resonator in this case is a wooden cigar box. Depending on how you decide to put it all together, the cigar boxes may need to be reinforced and modified to hold the neck. They are only intended to hold cigars so the pieces may need glued tight to avoid rattles.

Strings
The string assembly needs a few things to keep them under tension and control their length (for tuning). Starting from the bottom of the instrument you will need something to firmly attach the strings to; tacks, screws, or some sort of tail piece. I had a very cool hinge without anything to do so I used it. The screw holes are just small enough to hold the ball ends of standard guitar strings. Next, you will need a bridge. This is simply a bar with grooves to hold the strings in place at an even spacing. This should be something dense like bone, very hard wood, or even a screw laid on it’s side. At the far end of the neck the strings will need to pass over a nut which is essentially another bridge at the other end. Finally, the strings attached to some sort of tuning peg or geared machine to change tension (and tone).
Put it Together
Here is the construction in a nutshell. Cut out the neck and peg head shape. If the neck passes through the body of the box (as opposed to laying over the top) it should be dished out where it would touch the top. The notches are where is will join with the box.

 A groove was cut with a rasp to hole the 1/4″ bolt that serves as nut.
 Cut this notch deeper than 1/8″ so the action won’t be too high.
 The peg head can either be set back as above or angled back like a traditional guitar. This allows the strings to be pulled down over the nut. As this left the peg head a bit thin for my taste I laminated a piece of hickory on the back for strength.
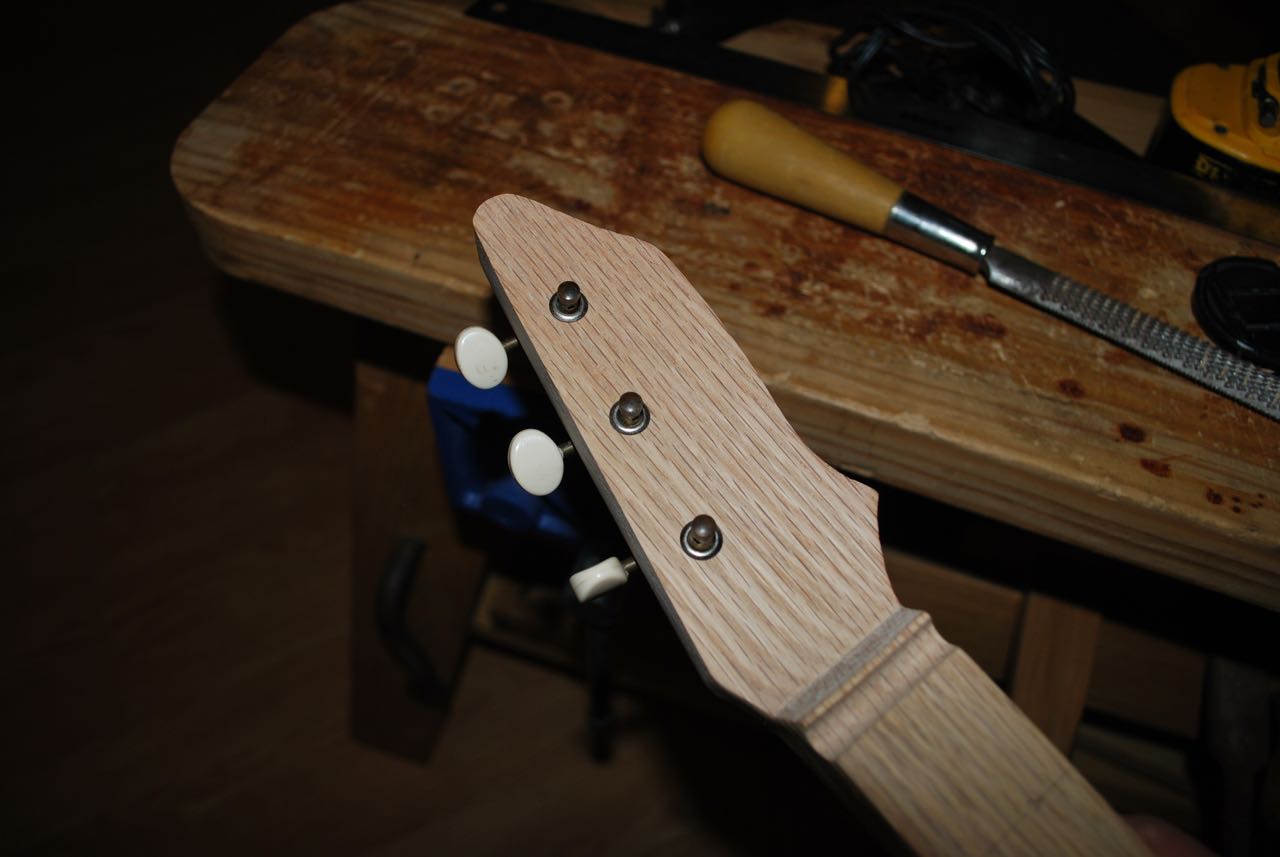 Drill holes for the machine tuners. Mine were recycled from an old Harmony guitar (a garage sale gimme) and served perfectly.
 Here you can begin to see the carving of the neck. I rounded mine fairly traditionally but this is up to the maker/player. The rest of the shaping will wait until the neck is fit to the resonator.
 Once the neck location was determined, an appropriate corresponding notch was created in the box.
 Test fitting the neck. You can see the wasted area that was removed to make sure there was no interference with the sound board (the box top).
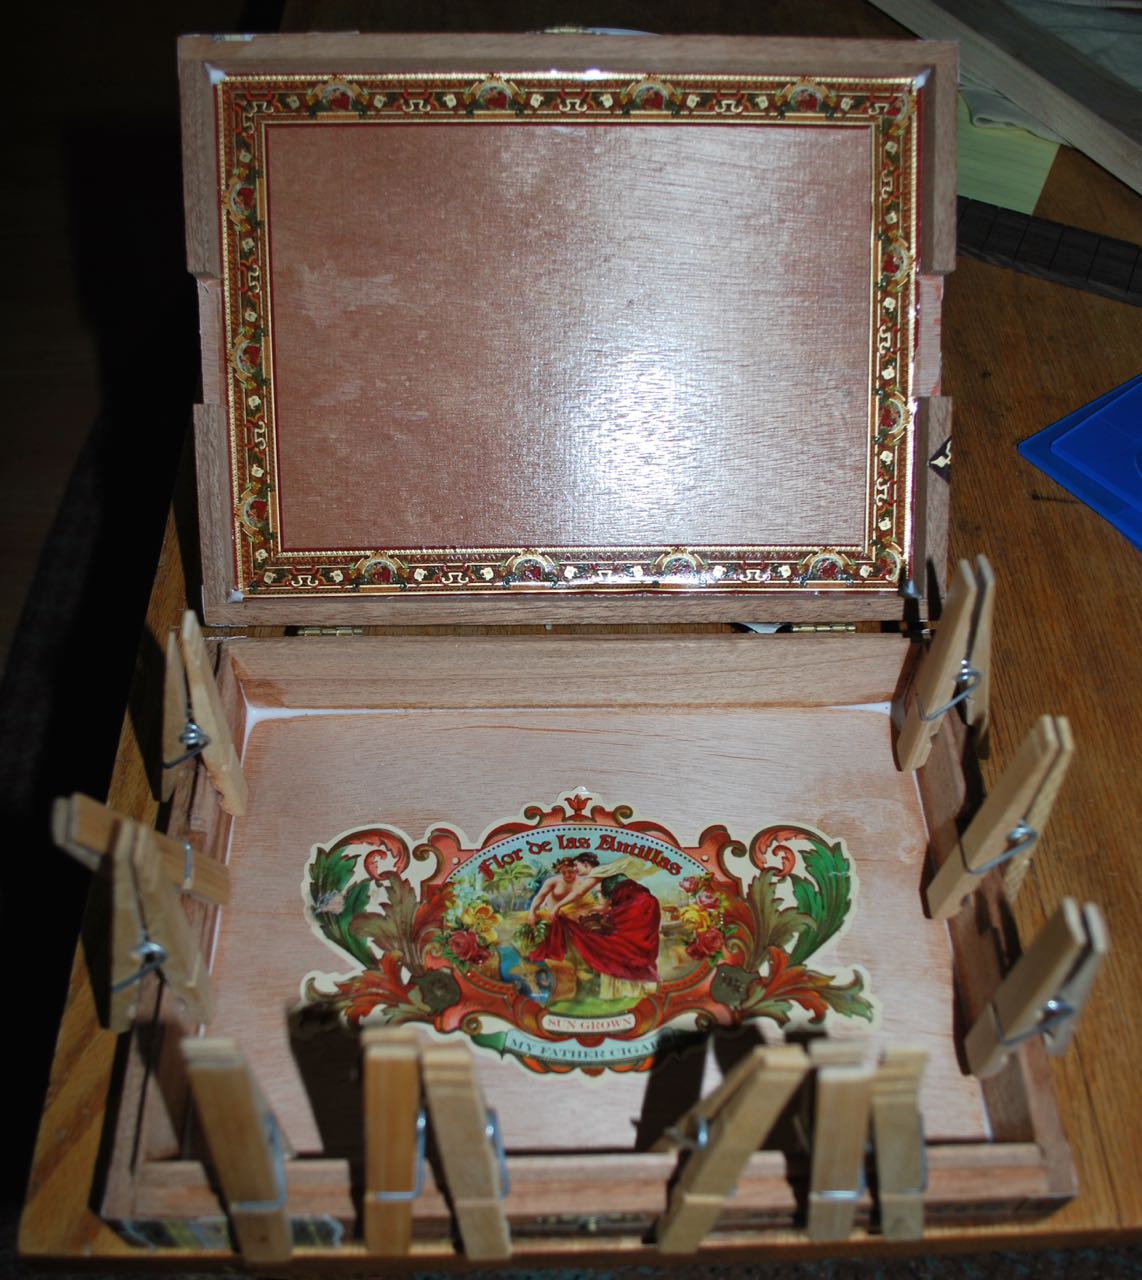 The box wasn’t too sturdy and had a bit of a rattle upon “tap testing.” All joints were glued up for strength. Note I moved the interior lid sticker to the inside back where it can be seen through the sound holes.
 The resonator is dry fitted into place. After this, it was just a matter of removing the leftover bit of neck, glue the box in place, glue the lid shut, and attach the hinge that serves as tail piece.

 This nifty hinge served perfectly and suited my mental need for brass or bronze fittings where possible. I didn’t like my first experiments with a bolt for a bridge so I whittled a simple one from a scrap of ebony. I played it “in the white” and made the few adjustments necessary before finishing up.
 Fret positions were measured out and marked with a wood burner.
 With a parallel-sided neck this is a simple process.
 Piloting for screws with a gimlet.
 Attaching the tuning machines permanently.


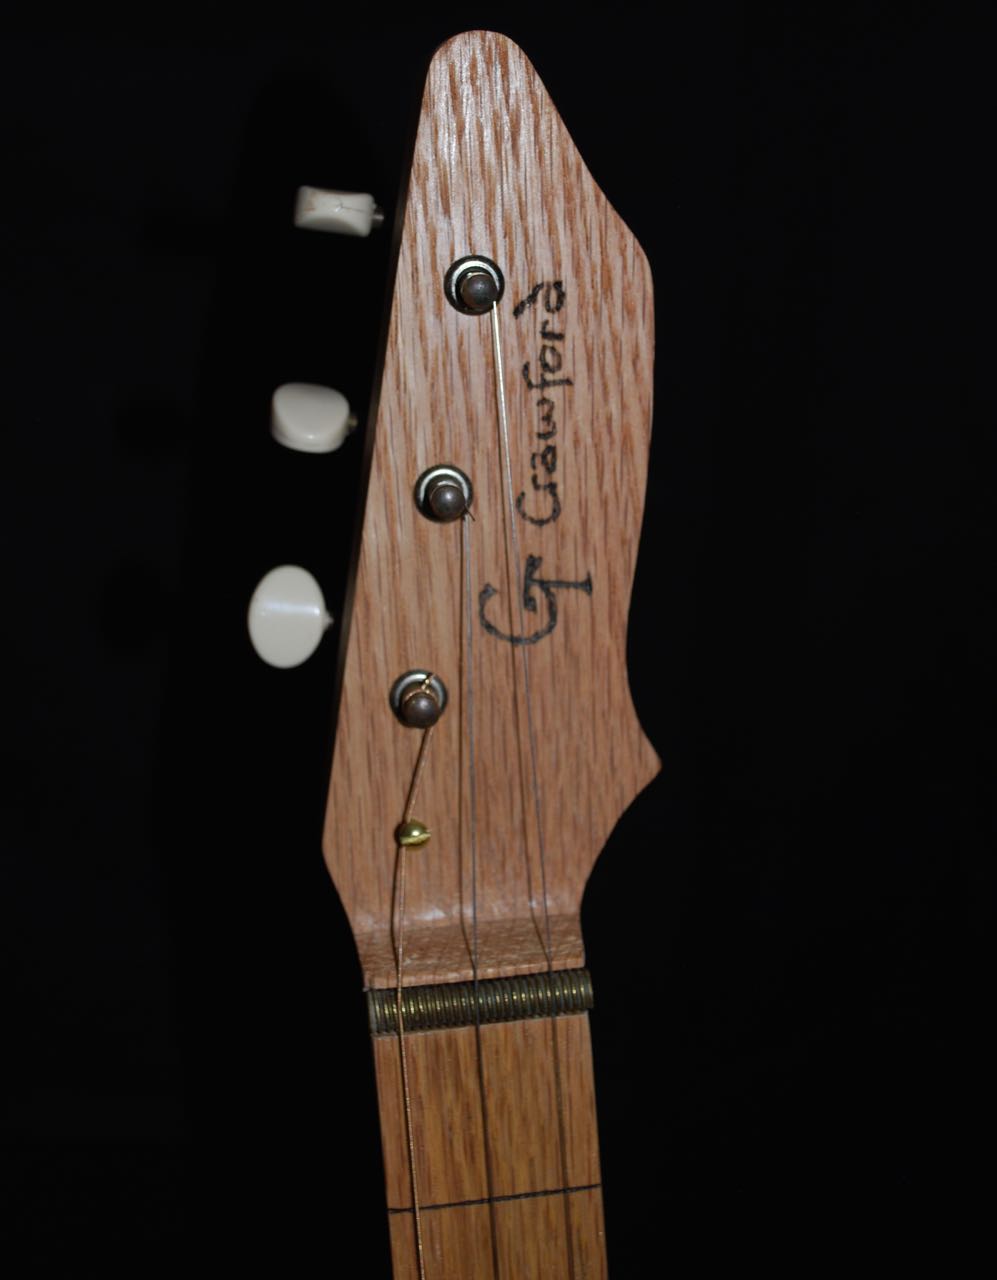
A few coats of tung oil later, and she’s up and playing. I’ll update this as I get familiar with my new toy. YouTube is full of instructional videos about playing a three and four string guitar. Mine works well in an open G tuning. Very bluesy and surprisingly bright and clear.
Looking at my junk craft piles around the house I believe I easily have the makings for three or four more. My next one is already rattling around my head and I think it will be fretted for added versatility.
Come back soon…
George

That’s a beautiful instrument! Just lovely George. I’m looking forward to seeing your next one. It’s amazing how much character an instrument or object made from found materials has and I’m glad you are happy with the sound. Thank you for posting your process, A short video of you playing it would be nice too.
Amber
Thanks Amber, I hope to post a video but I’m still in the learning phase. It will happen, just not sure when. Once it’s recorded and posted, it will be out there for the ages.