

This post is a re-cap of the Vardo build. I get questions about this project at least three times per week and I think it has inspired a few other people to make the leap. I still consider it a work in progress even though it is four years old and has 18,000 miles under it. New and improved ideas are being added right now but maybe this will help somebody get started.
 After the sketch-up, start making parts. This was a momentous occasion for me.
 Assembly begins. Mild panic sets in; “will this work?” and “am I crazy to dive into this?”
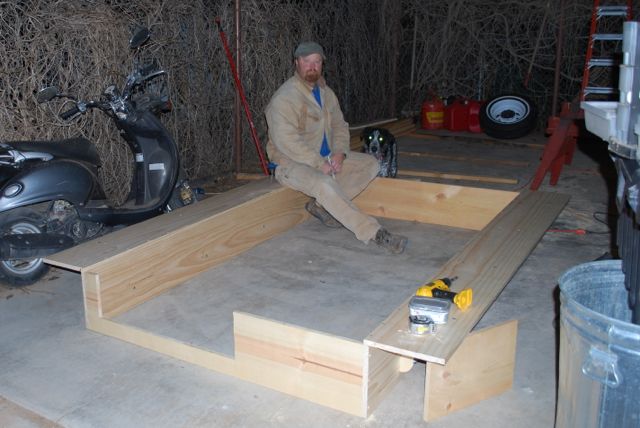 At this point, I took some time to ponder. “Is the size and layout really going to work?”
 Attaching the ledge to the prepared frame.
 Build, build, build. Using a window of good weather in January.
 Even relatively easy details, like door placement and size, were still up for change.
 Finally, I can get a real sense of scale.
 I fell in love with the design once the box was built.
 Working alone means lots of clamps.
 Gawkers were willing to take pictures.
 The bed framing becomes integral to the structure.
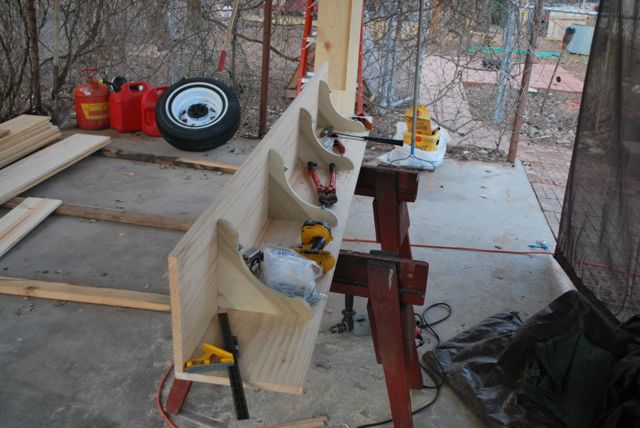
 Seats were designed and tested for size and functionality.
 The first storage is done.
 Wood is good!
 The shell becomes complete.
 Now for the details.
 Temporary window inserted for a quick trip to the desert.
 Quick coat of paint and off we went.
 A little living helped bring together the details.
 Spending time in the space gives an idea of where things are needed.
 Finish work is a process, not an event.
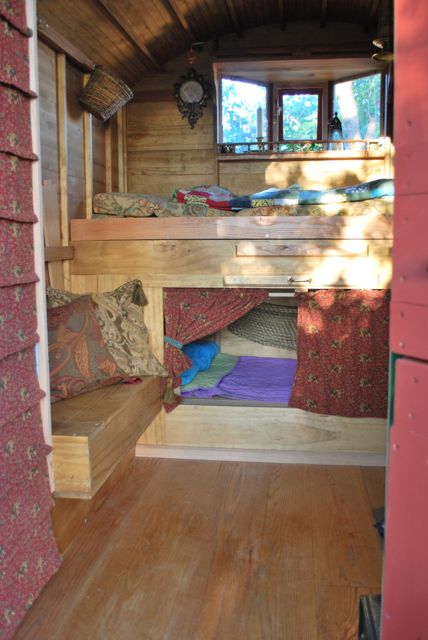
 The Vardo becomes a home.
 A safe and cozy nest on the road.
 Still far from done, I took her cross-country anyway.
 Things began to come together after a few thousand miles travel.
 Finishing touches are added constantly.
 As are safety details.

 Still making changes and additions four years down the road.
More big changes are happening and I hope to get up some new information very soon. I think an important fact that this project showed was that, for a relatively low-budget, and a little patience, a little home can be built over time but still be usable along the way. I didn’t wait for every last detail to be completed before putting this house to good use or I’d still be waiting today.

Much thanks George, inspiring stuff, and very relateable. April will be the ‘ground breaking’ for me if things stay the course.
Excellent Jim! Time to take the plunge. I can’t wait to see it.
I’ve been following and wanting to do this for some time. But I was wondering two things, 1) what size trailer did you start off with and 2 what was its weight capacity. I’m wanting to dig into this asap but don’t wanna build a “masterpiece” that breaks the axle as soon as I step in it. Btw, and I’m sure you hear it all the time but, I love this thing! Excellent work!
Hi Wes,
Thanks. It was a little but heavily built trailer for carrying dive gear, tanks, etc. I had to extend the frame a bit to fit the box on. Check out the Vardo build page and go to Instructables. I think most questions are answered there.