
Over the weekend, I was able to design and nearly finish a new leather haversack. I’ve wanted to make one for a while but I’m always hesitant to start a big sewing project if I don’t think I’ll finish it in a short time… I hate lingering unfinished projects (not to say I don’t have a few lying around).
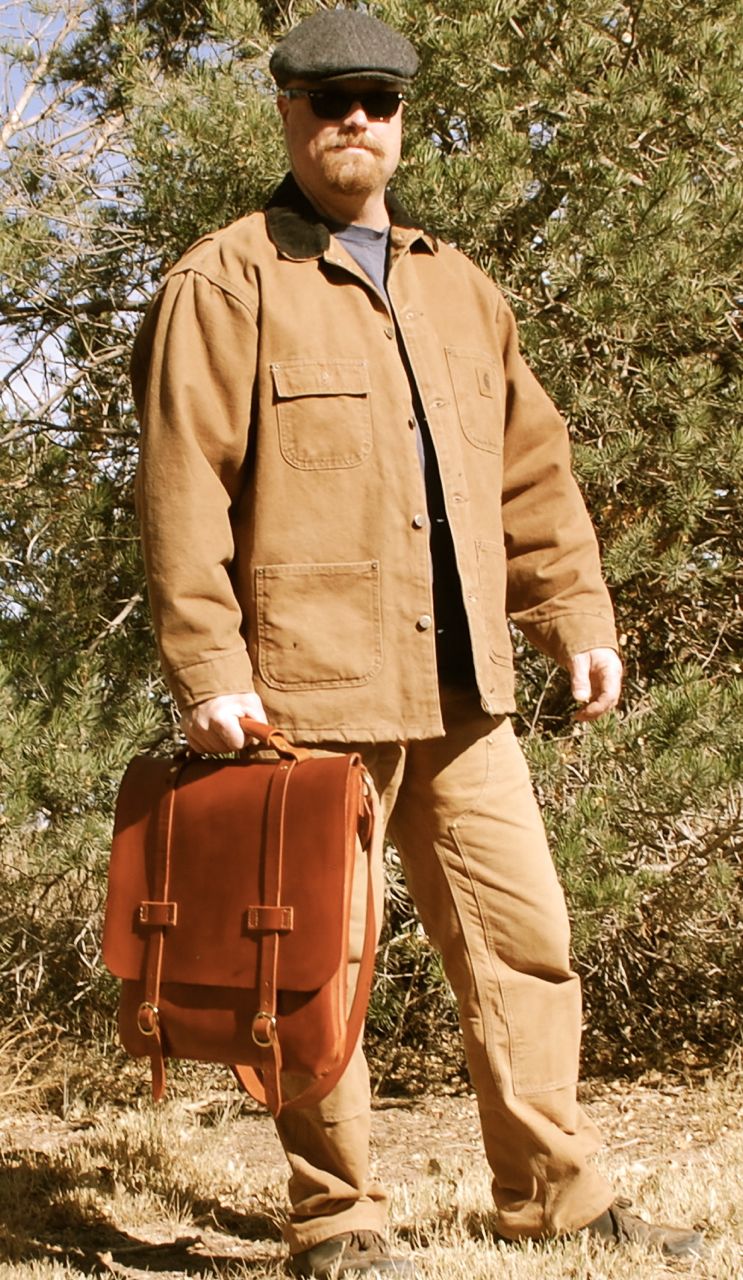 [update: outdoor photo of the finished haversack.]
 So, while this idea has been bouncing around in my skull for some time, I was inspired by running across a beautiful bag from Morocco in a store in Santa Fe a couple weeks ago. It was about 20″ square with a flap that covered the entire body and was supplemented by a small pocket inside and a larger, open pocket outside. So voila! That’s exactly the design I was pondering.
 It didn’t occur to me to document the process right away, and I didn’t do it well, but here’s how to make a haversack in a few pictures and very few words.
A little historical trivia because I am an archaeological geek; “haversack” means “oats bag” and is associated with soldiering, pilgrims, and other travelers for at least two millennia. Something very like this was carried by Roman Legionnaires and is shown on Trajan’s Column. Here’s a likely reconstruction of their bag:

Okay, back to the business at hand. The layout consists of three connected square sections, in this case 18″ x 54″ (18 x 3). I happened to have a beautiful soft bend of 8 oz. vegetable tanned leather from Spain that just barely fit the size I needed. This used most of the side, so I used some similar weight shoulder for the pockets. I gave the whole thing a dye coat of tan water dye as the pieces were cut.
Below is the basic bag coming to life, outside pockets visible, with a third pocket inside, not shown.
 I like the simplicity of this design, but at this point was forced to decide as to whether the stitching will be outside and visible making a flatter, but bigger bag (see backpack for external stitching).

An observation: folks who don’t MAKE stuff, don’t always appreciate the large number of steps in an apparently simple project like the above. For example: the inside pocket must go on before the outer (so you can get to the stitches), rivets need to be set before they are hidden away, edges skived, beveled, and burnished, stitch holes punched, etc. Above is the bag nearly ready to “close”. Hope I didn’t forget anything.
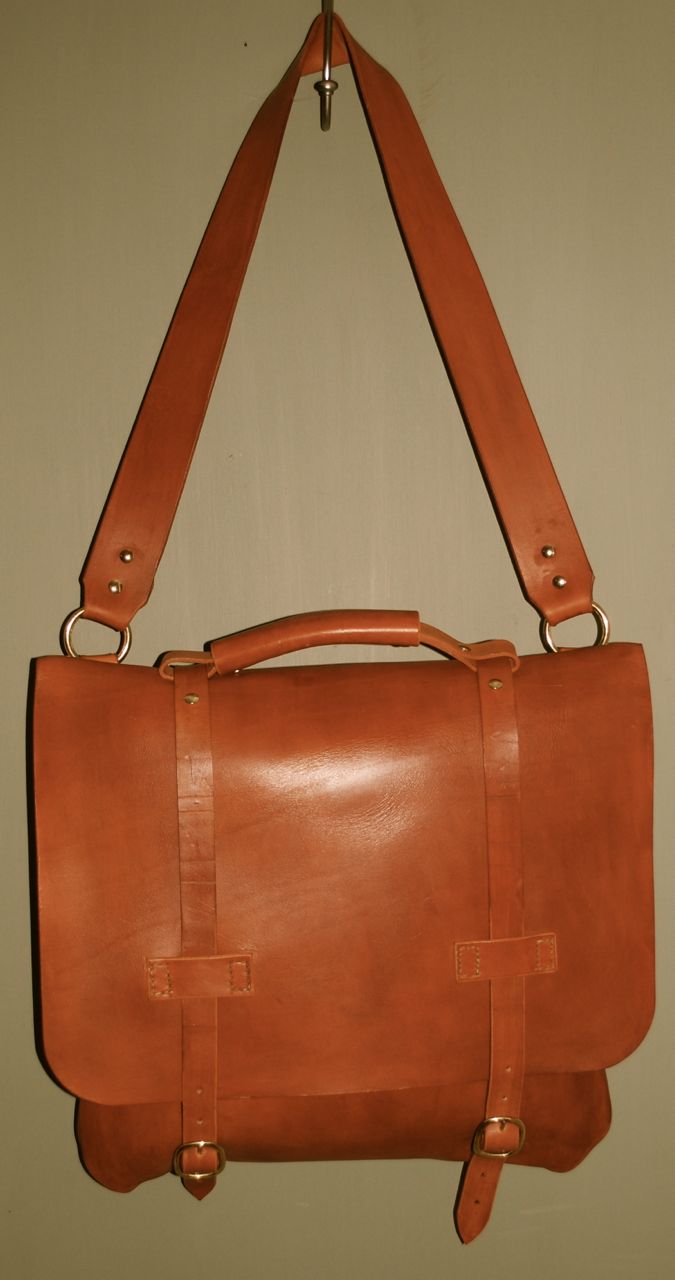
I sewed it “inside out” to hide the seam and to puff out the body a bit. Turning back out was quite a chore and took some struggling but in the end, I think it looks good. It’s not really quite this red but that’s an issue with my camera and photography skills.


 It shouldn’t be assumed that this is cheap. The body alone is 6.75 square feet of leather meaning you need about 10 square feet of good hide to start with to make the entire bag. With the materials and all the labor involved, it’s easy to see how a leather worker can often charge $500 or more for a similar project. I buy up leather in quantity when the price is low when I can but this project still could cost over $150 in materials alone.
But in the end, it’s really an heirloom of a centuries-old design. It will improve with age and hopefully this is a creation that will outlive me.

Looks Sharp! I think you did a real great job! I have a “vintage” leather backpack from the 80’s that I use for a simple overnight bag… but for a weekend it doesnt really hold enough…might have to give it a try
Thanks! I couldn’t fit “enough” in it either but I wanted it anyway. It will work well as a messenger bag on the bike or scoot.
maybe something that can accordian out to handle more when your packing alot, or with side straps to hold it in so you could put less in it without it looking as large.
The outer straps and flap can accommodate a bedroll at least.
Great job George – I like it
Cheers Mike. Thanks.
Beautiful result! Would be something for my hubby…
I love the above post about the leather haversack. I have worked with leather for years and know the the special talent it takes to make something that looks as nice as the project posted here.
I just discovered your blog because someone posted a link to your Instuctible about your Gypsy Wagon. I am now following you because I have spent the last couple of hours going through your entire blog and loved every inch of it. Reading and following your adventures has made me have rambling fever again. Thank you so much for your blog. I anticipate many more hours of pleasurable reading in the future.
Blessings,
Andi J.
Thanks a lot. That is so nice to hear. I like to follow other blogs about creative makers and I’m glad to put up the stuff I do as well. I hope there is plenty of stuff here to keep you interested. I look forward to any other thoughts, ideas, or comments in the future.
George