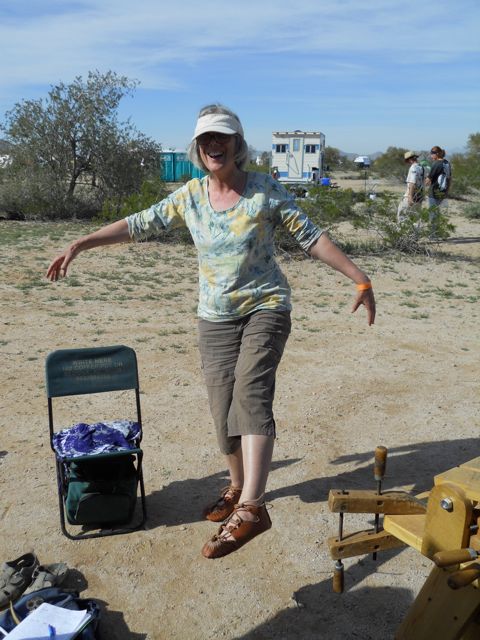
One of the many things taught at Winter Count this year was shoe making in the form of carbatina or ghillies. These are relatively simple shoes notable for their one piece construction and generally involve very little sewing. I am interested in how things are learned and for me, the process is more important than any other aspect. Hopefully, students take away some knowledge that they can apply beyond the class setting and in an afternoon can learn something that they can use for life.
Historical examples vary widely but tend to have a lot of similarity in the complex toe-cap. Shoes are a difficult piece of clothing and protection because the fit is critical and even minor problems with the shoe will impact the feet in a negative way.
The toe cap is formed by strips of leather overlapping which gives flexibility and room for expansion. The simplest forms are one piece but better versions are found with insoles and outer soles to extend the life and create a sturdier shoe.
These were all made from premium oak tanned leather (ca. 8 oz. or 3.2 mm) which proves to be tough to cut but provides a long lasting shoe. It was a great set of students in the classes and I think we ended up with 17 pair of shoes in the end.
An earlier post describing my journey into Ghillies can be found HERE.
It’s time for new shoes. After a soon-to-be-finished commission for a leather satchel, I intend to dive into a brogue-making project in the style of 19th century Ireland. This basic design certainly dates back much further than this as shown by archaeological finds in bogs throughout Europe. Don’t confuse these brogues with the more modern usage such as:
This is a brogue in the Scottish/Northern English semi-formal fashion with decorative holes reminiscent of the drains left in old field shoes. Nor is this to confused with the type of shoe that some modern-primitives call “ghillie-brogues” or more properly, just “ghillie”:
These earned their proper name from Scottish Ghillies; a term used to denote game wardens, hunting and fishing guides, and sometimes, even poachers. A simple shoe style that probably goes back several millenia in Europe.
What I decided to shoot for was a shoe that is relatively simple to produce, is closed for winter use, and can be regularly worn in public without arousing too much comment.
Haarlem, Netherlands, ca. 1300-1350.
To me, something like the “bird shoe” above is very cool but not really acceptable in an unforgiving office environment. I would gladly hunt elk in these but for some reason, modern work culture has a fairly standardized and limited uniform. This style tends to be cut from a single piece and sewn around three-quarters of the sole. This one is punch decorated, probably to show off the stockings inside, a sign of wealth. This is a form of “turn-shoe” or soft-sole sewn inside-out then “turned”. A sturdy high top 12th century Dutch example with a center-seamed upper is seen below. In my opinion, these would make a fine winter shoe.
12th Century center seam shoe from the Netherlands.
I can’t help but see the similarity between these and North American center-seam moccasins.
The style above is a well-documented Irish “Type 1” dating anywhere from the 1st centuries A.D. through the Middle Ages. A little more complex in construction, especially to get a perfect fit, it has been argued that these may be the result of craft specialization in the early Christian period of Northern Europe. I plan to make a pair of these and contemplate them as a possible design for teaching simple shoemaking. There is some real sewing involved, but not enough to intimidate most beginners.
From: Lucas, A.T. (1956). Footwear in Ireland. The Journal of the County Louth Archaeological Society 13(4).
For those who know American moccasin styles the pattern above seems very familiar as a one piece, side-seam shoe.
So, this brings us to the “Irish Brogue” or Type 5 shoe. These are known well up into the nineteenth century and I wouldn’t be surprised to find them in even more modern contexts, especially amongst the poorer populations. There are similar shoes depicted in Colonial America, probably made in the home for lack of money or access to a cordwainer.
Early American shoes from Newport, Rhode Island.
The above brogues appear to be a “built” shoe, having separate soles, multi-pieced upper, and a heel lift; the only difference between these and others from the period is the lack of ties or buckles. Although difficult to tell from the image, they are likely constructed similar to those below:
Lucas, A.T. (1956). Footwear in Ireland. The Journal of the County Louth Archaeological Society 13(4).
Hopefully, updates will soon follow to track the creation of a new pair of shoes.
This is a great series of photos of a surviving craft still producing their own leather. This maintains an economy (for them) that could have very little cash outflow, replacing the cost of raw materials with labor. I hope these industries survive.
Nestled into the Sierra Norte mountains of Oaxaca is the small town of Yalalag.
Yalalag is very precious town, not only for it’s strong Pre-Hispanic traditions, but also because like only a handful of other small towns in Mexico, most of the Yalalag population is still dedicated to the traditional craft of Huarache making.
Huaracheria Aquino is the largest ‘Taller’ workshop in Yalalag and they are well known for their high quality Zapotec Huaraches.
What also sets this family run business apart from most other Huarache makers in Mexico is that their crafting process begins at their in-house tannery, where they vegetable tan all their leathers to their precise specifications.
Huaracheria Aquino is famous for their traditional women’s Zapotec Yalalag sandals (the only existing traditional women’s leather sandal/huarache style in Mexico).
Photo of young Zapotec Woman in Mitla, by Guy Stresser-Péan, 1957
As a craftsman of sorts, I understand that making a “one-off” of something does not imply expertise and replication builds a real understanding of the object being produced. However, this is certainly not my first leather working or shoemaking project but a major improvement on a theme. The lasts I purchased earlier in the year on Ebay have finally been used to actually make a shoe so I documented the process as it came along last week; mistakes and changes included in the process. While searching for huarache construction, I have only been able to find the simplest tire sandal designs and many links to “barefoot” running sandals. I recently found the Huarache Blog and scoured it for inspiration and design secrets from real huaracheros in old Mexico.
Sole cut out, punched for strapping and nailed to the last.
The lasts shown here seem to fit me well but are an Oxford dress shoe style, I think, meaning they run a little long in the toe. New lasts are pricey (ca. 50 euros/70 US), but I think it will pay in the long run to invest in a better design for myself and those people I might make shoes for.
Wetting out the first strap.
I didn’t show the strap cutting process as there is little to be learned about that. My fancy new Osbourne strap cutter can be seen in the upper right of this photo
Since this project was experimental, I used scrap leather, meaning I could only get about three foot (one meter) straps. In future, I’ll probably use 6 foot or longer pieces (2+ meters).
Nailing the strap to the last.
Pre-punched holes in the mid-sole and away we go. A little tallow on the straps helps cut the friction of the leather but ended up being not worth the trouble.
Placing the twining thong.
This is a signature of the style I chose. The vamp or tongue-like piece was later removed as I didn’t like the way it looked. I’ll experiment more with that later.
Lacing and twining.
Unlike normal, I completely finished the first shoe and removed it from the last to check size and shape to determine any major changes that would need to be made.
Heel added and lacing up the back. I think this step shows the evolution of the strap sandal to the modern huarache.
The straps running under the mid-sole look like a problem here but are ultimately skived down, wetted, and hammered flat.
Straps ends as added in. Longer straps would lessen the ends here.
I used simple wire nails to attach the soles but sewing would work too.
Ends to be trimmed and skived, and a finished sole.
Pulled from the last, they actually matched. I don’t know why I was surprised but that made me happy.
Preparing to nail the sole.
This method is fast and efficient, and I suspect rather tough. The nails are pressed through the leather and rubber into a thick leather scrap below. Otherwise, you would need to pry it up from the work board.
Nailing the sole.Bending the nails in preparation for clinching.
The nails are bent over (inward) to prepare to “clinch” them. There are no photos of this part of the process but this was done by setting the shoe back upright on a small anvil and hammering the nails down tight with a punch. The pre-bending causes the nail to curl inward and back up into the sole. Voila! The Huaraches below have about five miles of hiking on them now and they’re beginning to have some character.
Huaraches you say? Do tough guys wear such things? In an era of cheap, slave-made garments, its easy to forget how self-reliant our ancestors were for such things as raiment. I include this excellent photo of Capitan Alcantar I found on the Huarache Blog as a great historical image of a man of action wearing his huaraches and ready for war.
Click the image for more historic photos like this.

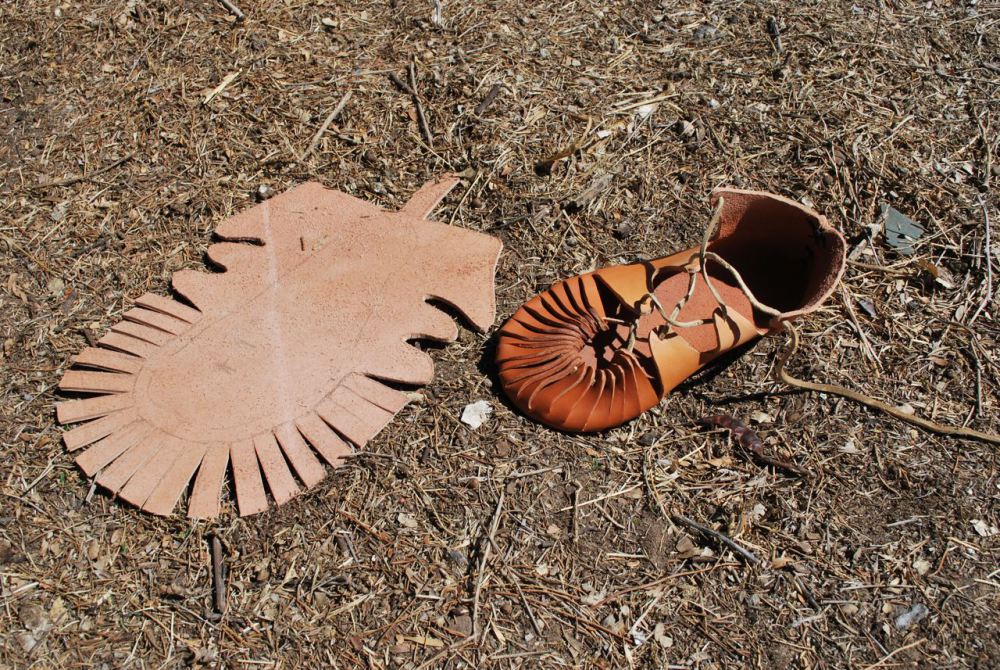 Historical examples vary widely but tend to have a lot of similarity in the complex toe-cap. Shoes are a difficult piece of clothing and protection because the fit is critical and even minor problems with the shoe will impact the feet in a negative way.
 The toe cap is formed by strips of leather overlapping which gives flexibility and room for expansion. The simplest forms are one piece but better versions are found with insoles and outer soles to extend the life and create a sturdier shoe.
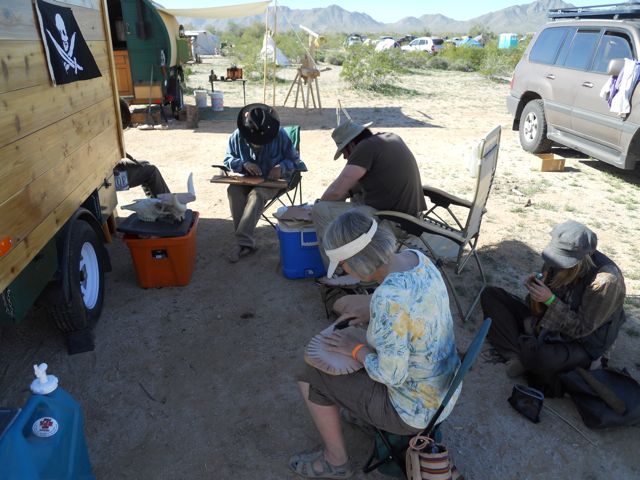

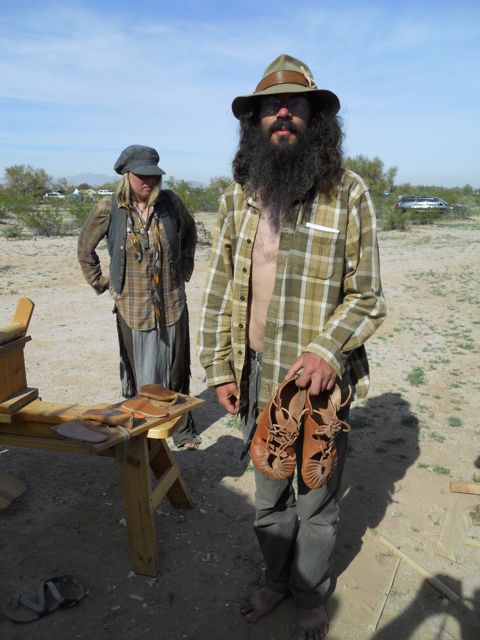
 These were all made from premium oak tanned leather (ca. 8 oz. or 3.2 mm) which proves to be tough to cut but provides a long lasting shoe. It was a great set of students in the classes and I think we ended up with 17 pair of shoes in the end.